Limit candidate access to the test to a specific time period
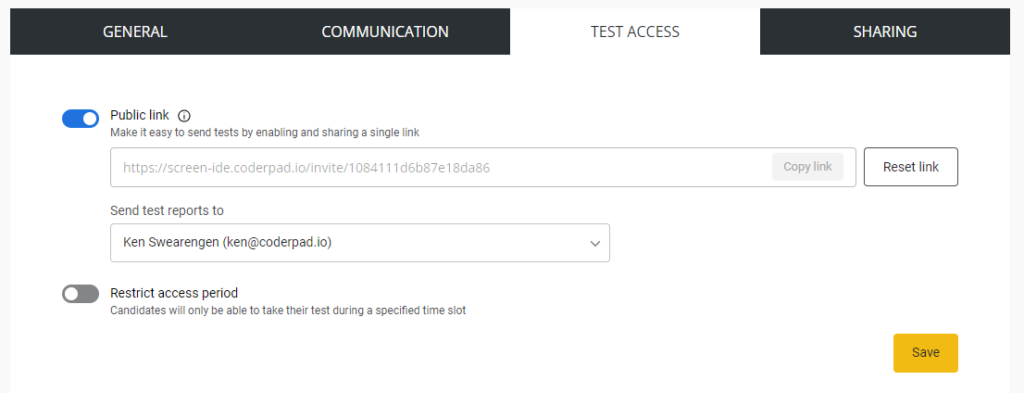
Also in the Test Access tab you can control when a candidate is allow to access the test, to enable this simply turn on the Restrict access period toggle. You can then configure the start and/or end time — both are optional.
Start date and time
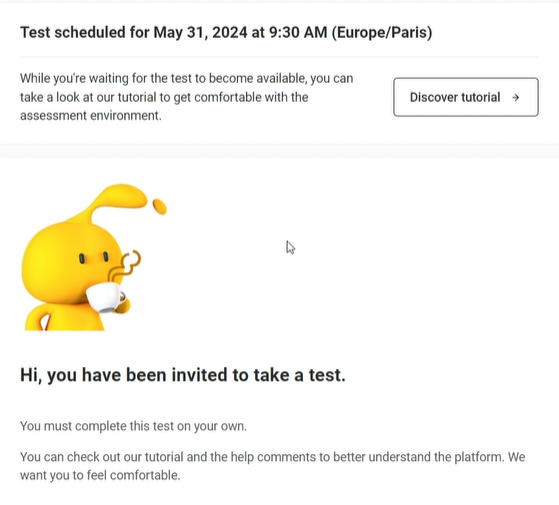
When a candidate attempts to access the test before the start time, they will be shown a screen similar to this one that indicates what time the test window opens as well as the option to take the Screen tutorial.
End date and time
Candidates will need to complete their test before the set end time.
⚠️You have to have the Global timer enabled in order to set the test end date and time.
⚠️ Depending on when candidates start their tests, they may not have the full time initially allotted — for example, if the test is supposed to last 60 minutes but they start the test 10 minutes before the end time, they will only have 10 minutes to complete it.
In the Test settings the SHARING tab allows you to share the test with a team in your account or with another Screen paying account.
Share a test with other teams
To share the test with another team, simply select the team you want to share the test with from the drop-down menu in the Share the test with other teams section.
Share a test with another company account
Click Get a new link for a link to send to the administrator of the Screen account you want to share your test with:
In the Report type drop-down list, select the access you want to grant to the receiving account.
If you select Share with detailed reports the receiving account gains full access to candidate reports, including the list of questions and answers.
If you select Share with simplified reports the receiving account only sees the candidates’ final score.
Copy the link and send it.
If you need to edit these permissions in the future, you can change the type of report received for all associated accounts in report drop-down menu of The following accounts are using this test section. You can also remove test sharing with accounts by selecting the trash bin icon next to the account:
Archive or delete a test
Archiving tests removes them from the Tests list until you want to use them again.
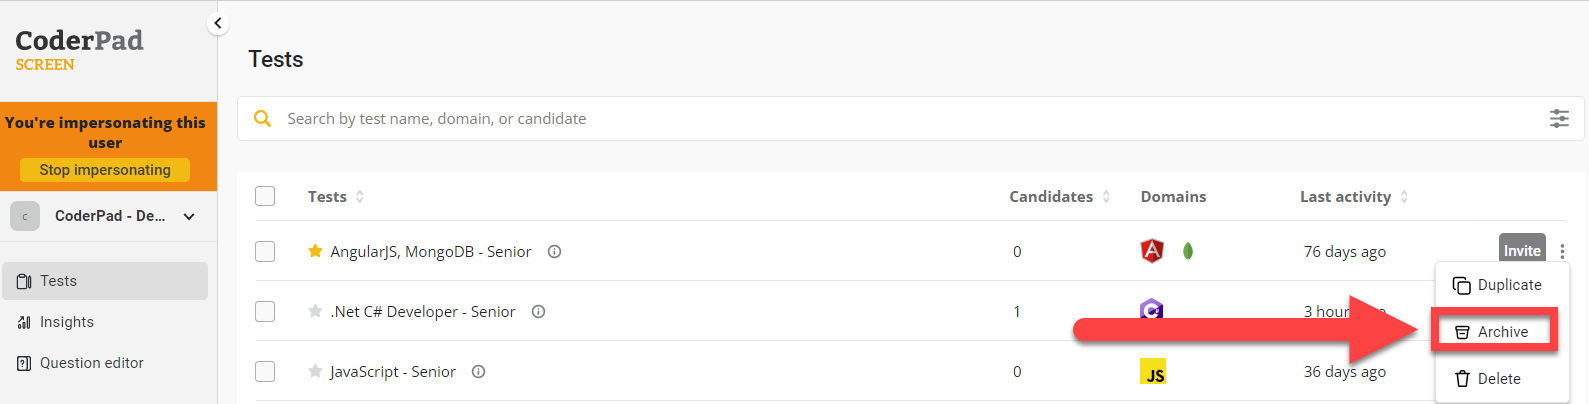
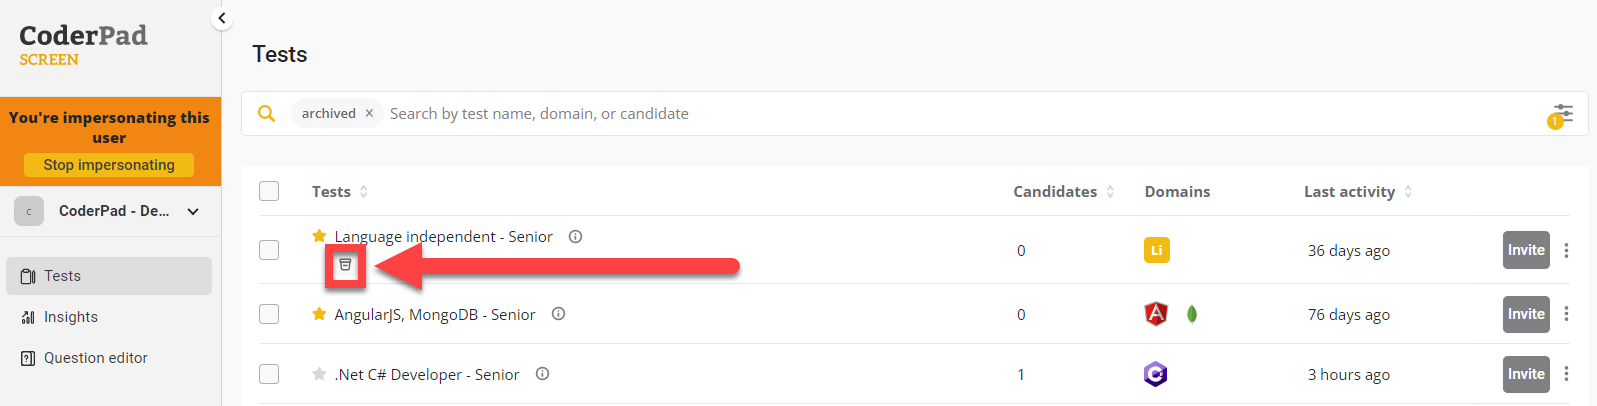
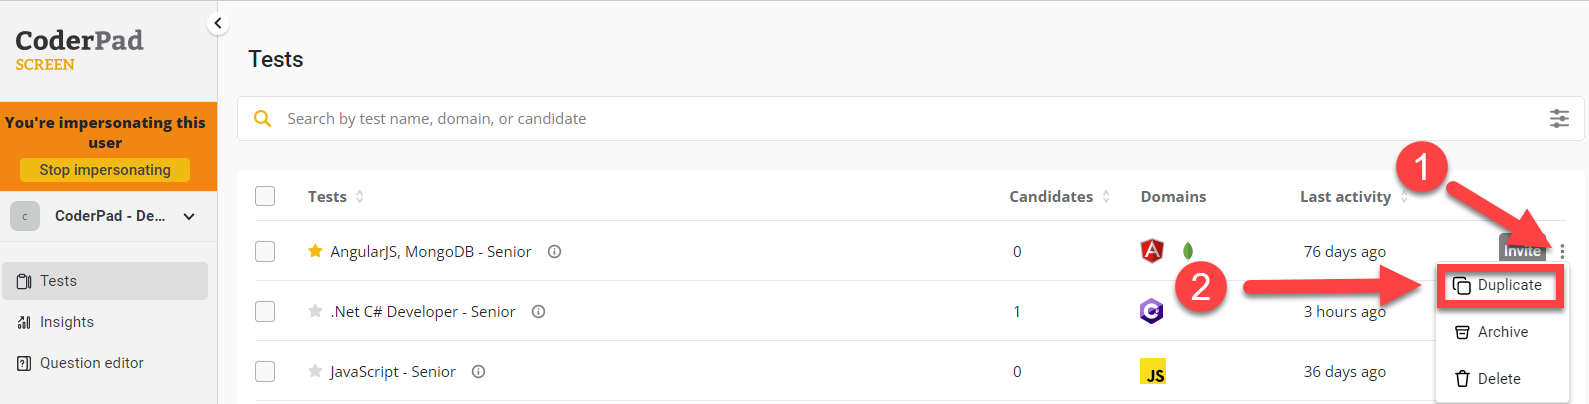
Go to Tests and scroll to the test you want to archive.
Click on the three vertical dots to the right of the test title and select Archive from the dropdown list.
The test disappears from the list.
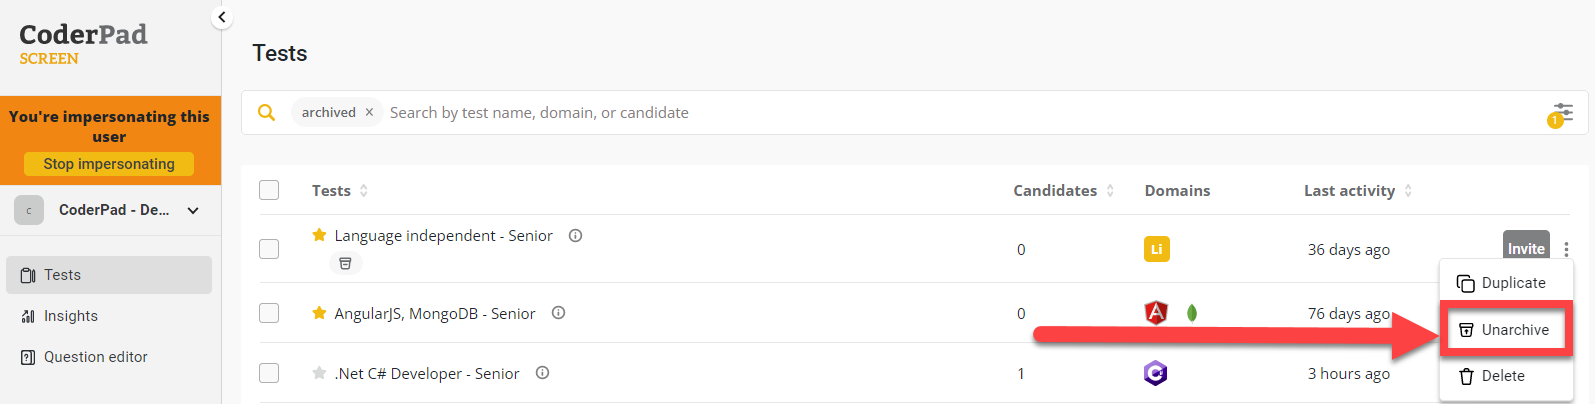
To see it again, tick the Show archived tests box in the advanced search menu:
Archived tests appear in the list together with an archive box logo.
To add the test to the main list again, click on the three dots to the right of the test title and select Unarchive from the dropdown list.
The test is visible again in the main list, without an archive icon.
To delete a test, simply click on the vertical ellipses and select Delete from the drop-down menu.
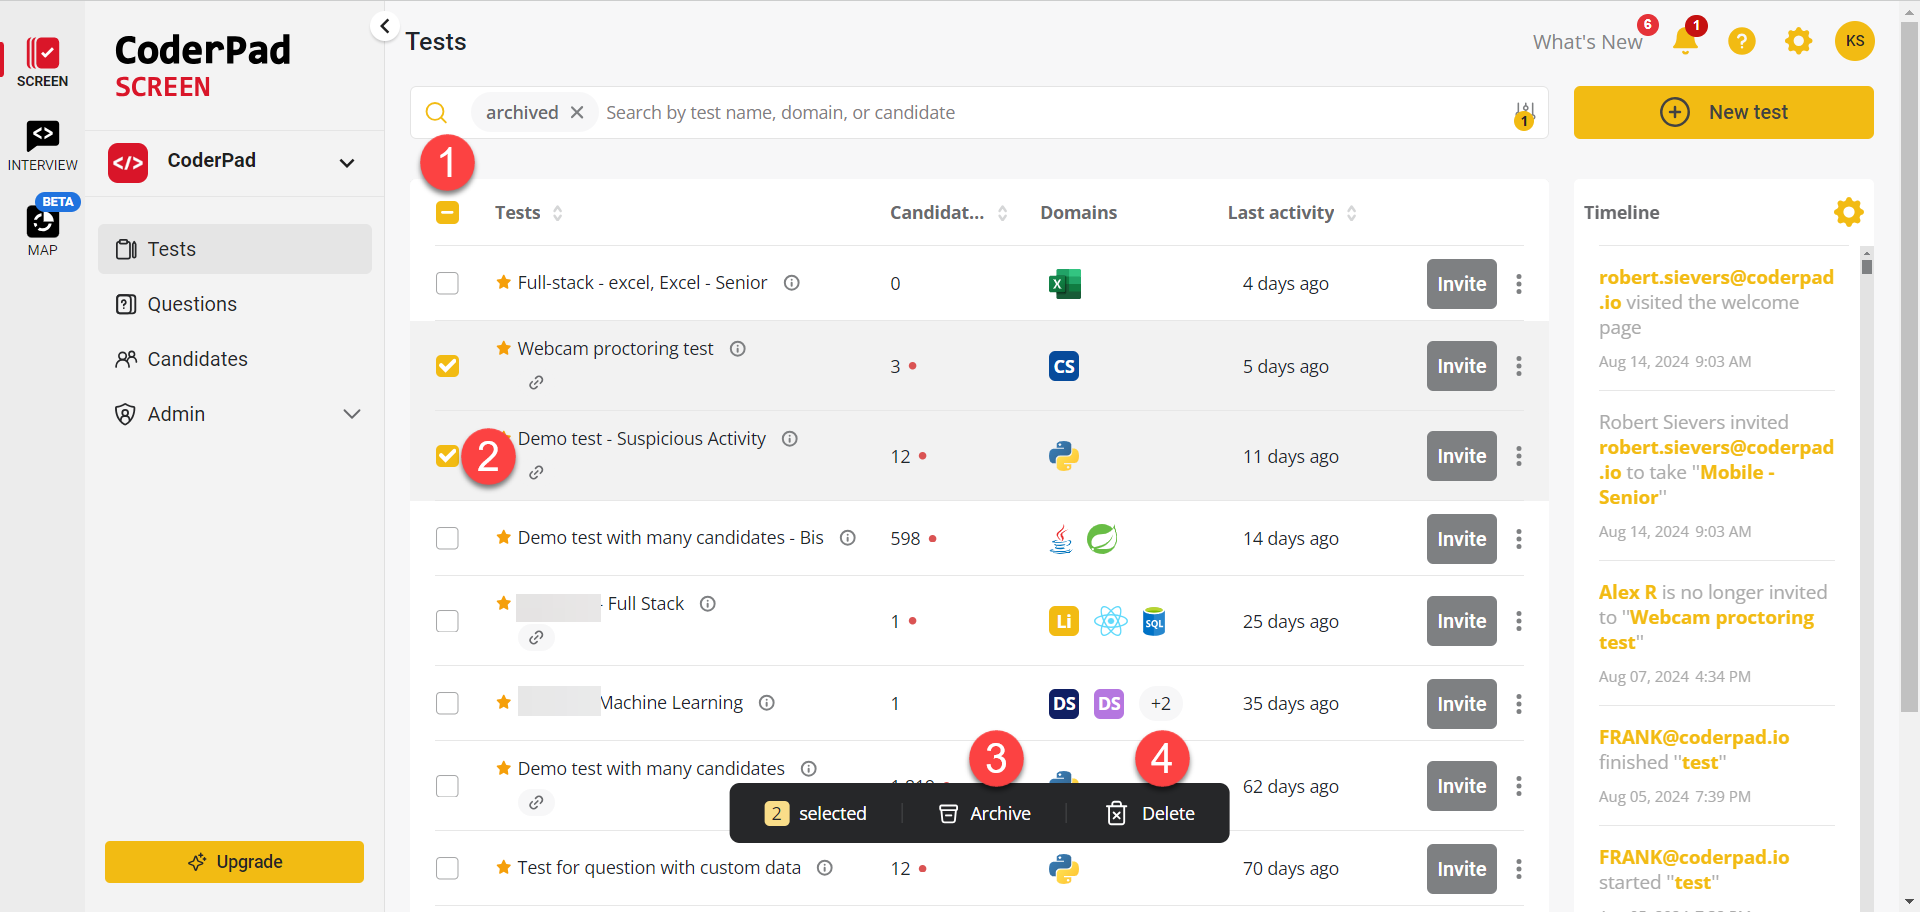
Bulk archive or delete
To archive or remove multiple tests, you can select either the checkbox next to the Tests label to select all tests (1), or you can select the checkboxes next to individual tests (2). Then click the Archive (3) or Delete (4) button.
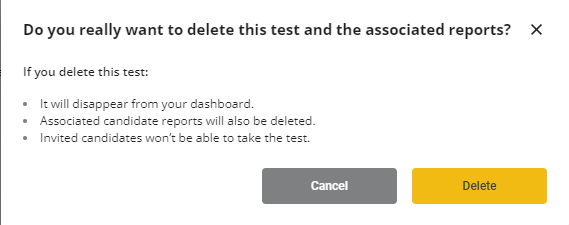
If you choose to delete a test you’ll get a confirmation screen to verify that you want to remove the tests and all the associated content from your dashboard.
Brand a test
Branding features are available to TEAM, BUSINESS, or ENTERPRISE plans.
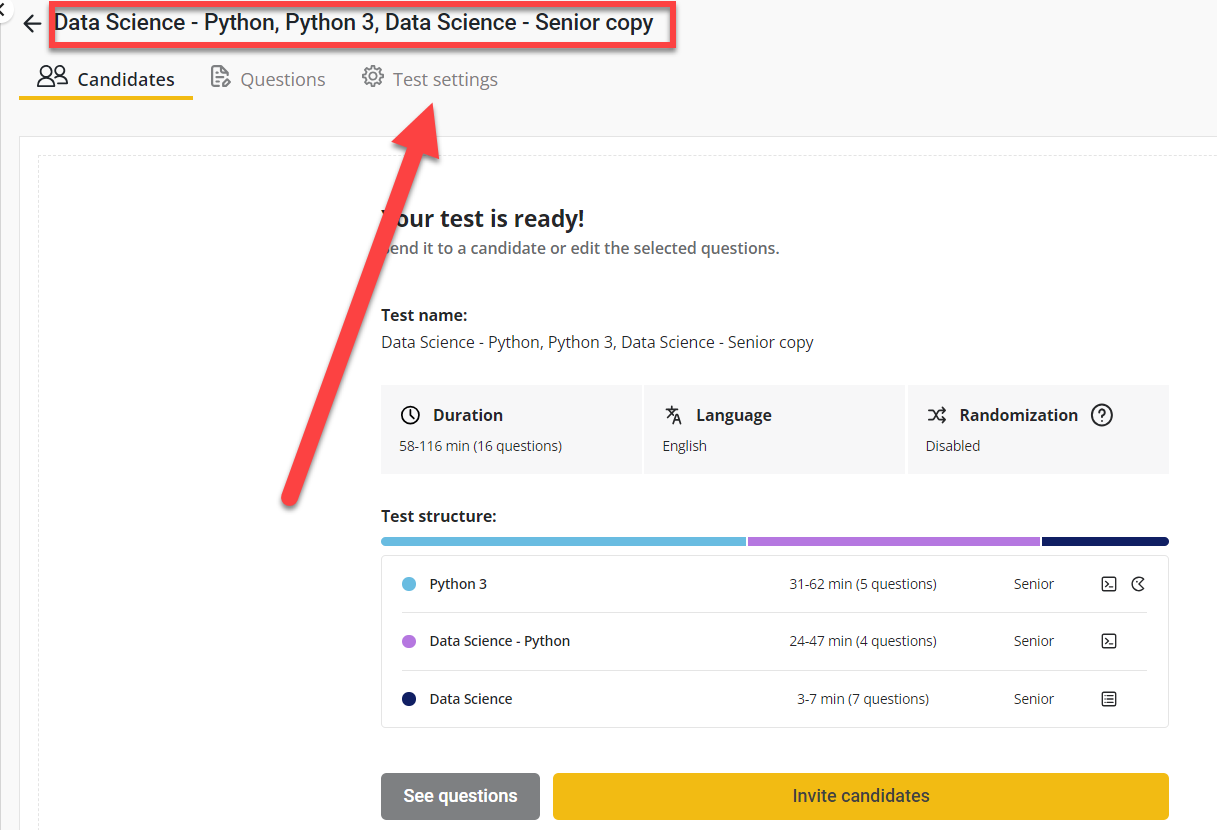
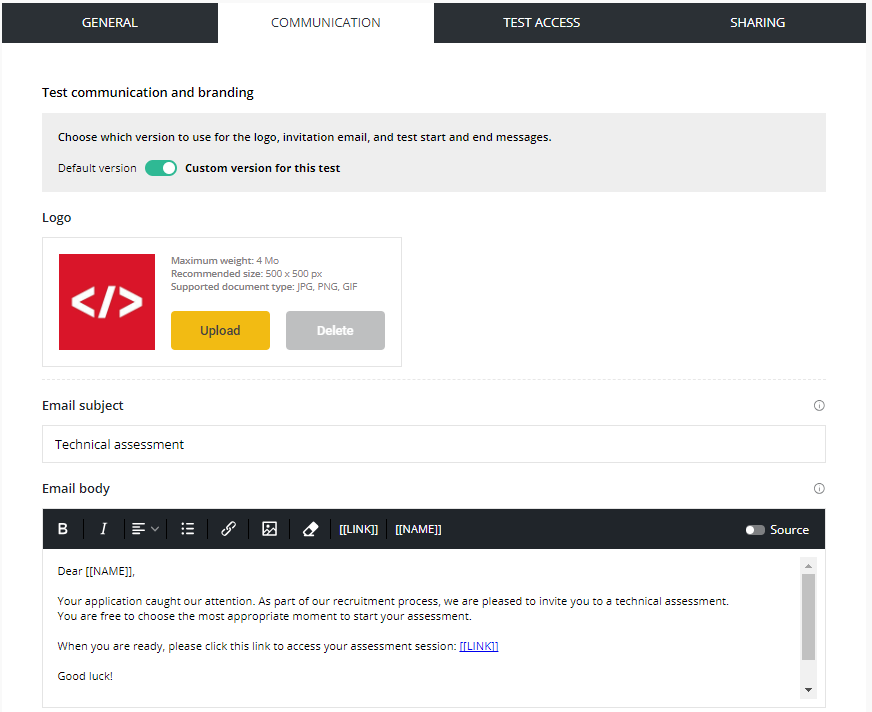
To customize your test when it’s ready, click on Test Settings then Communication.
✅ If you did not customize your test when you created it, this can be done at any time by clicking on the name of the test.
Edit email template
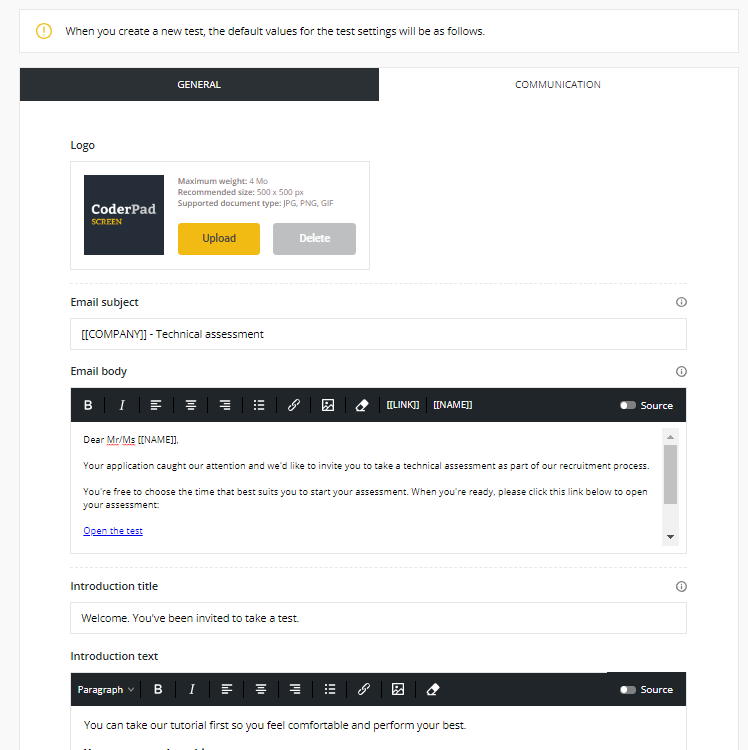
Edit the subject and body of your email that invites your candidates to take the test.
⚠️ Do NOT remove [[NAME]] and [[LINK]] tags from the email text.
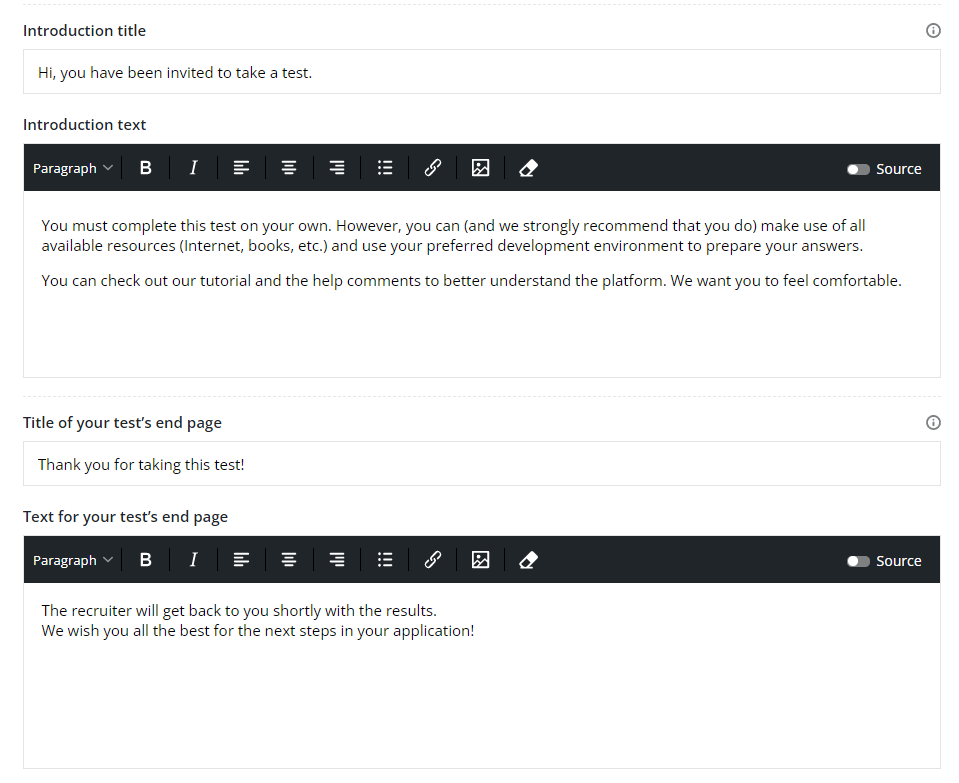
To add branding to the test, customize the introduction screen that candidates see when they click on the invitation link.
You can add images, new text, etc.
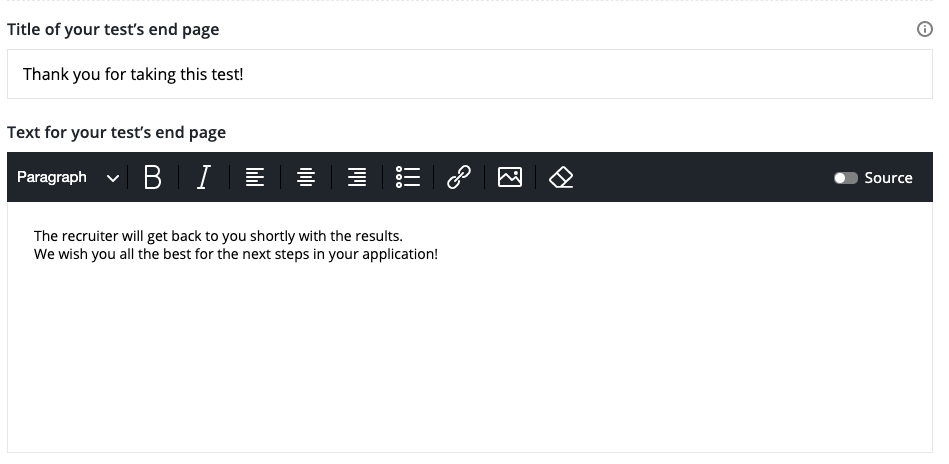
You can also customize the last page of your test.
Lastly, add your company logo and name to the Company Profile page, which you can access in the settings menu at the top right of your screen. They will appear in all invitation emails, introduction pages, and candidate reports.
Test template
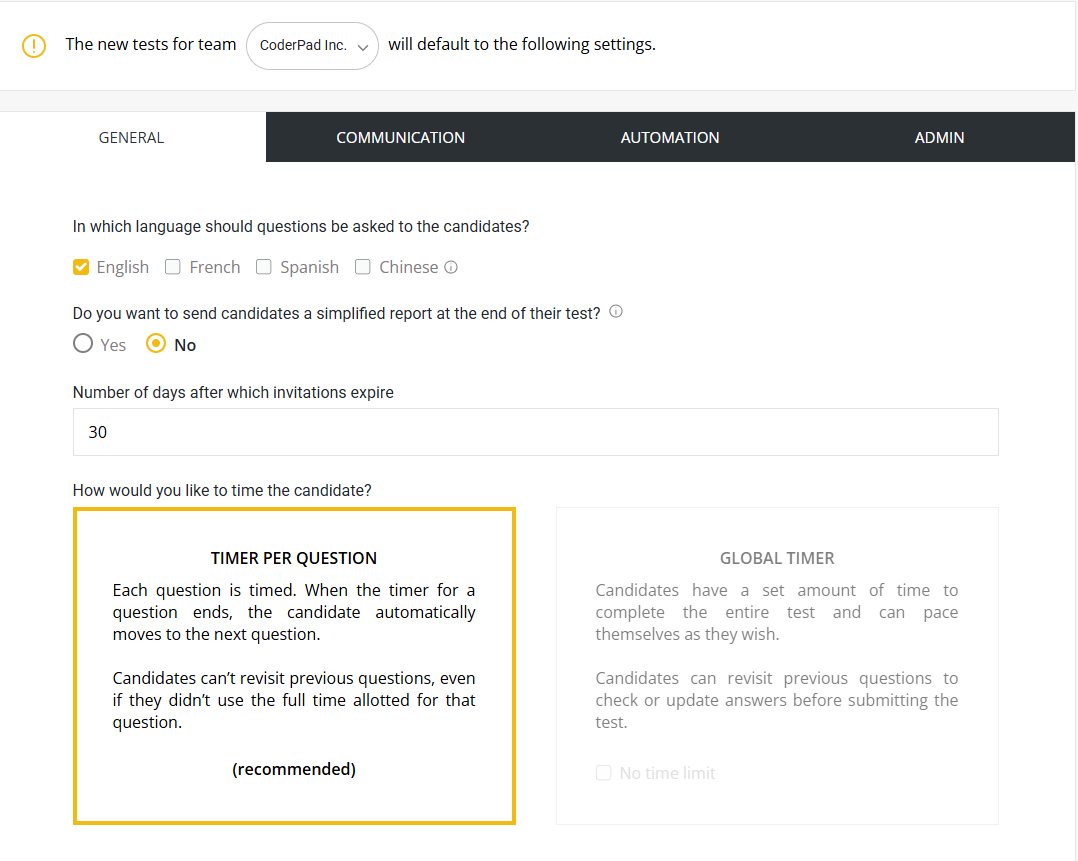
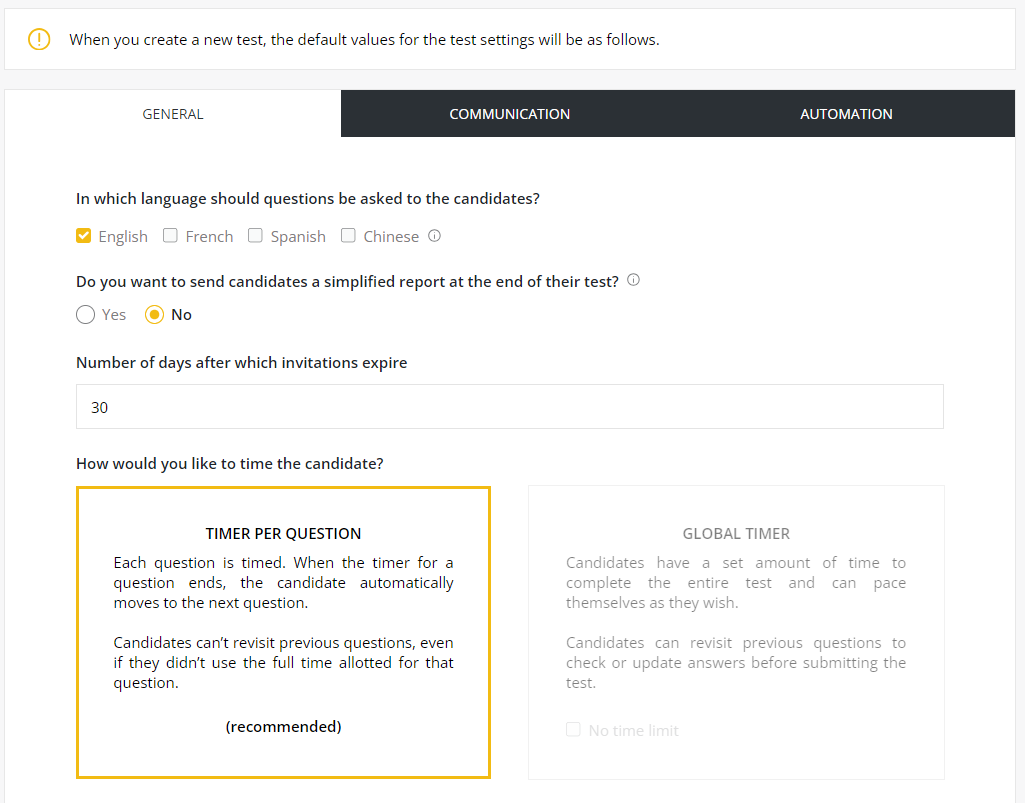
Test template settings are default settings that are automatically apply to new tests. You can edit these test settings and the changes will then apply to all new tests.
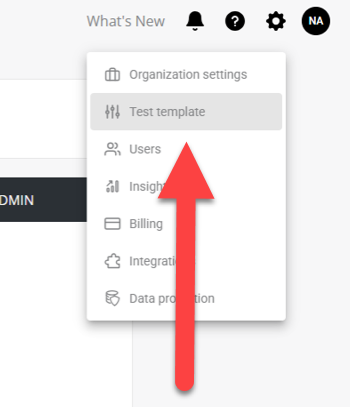
From the main dashboard page, click on the settings icon ⚙️ and then Test template.
This will open the General settings tab for you.
✅ Options for the test template are the same as individual test settings.
In the GENERAL tab, choose settings for:
Language
Whether candidates can copy and paste as part of the test
Sending candidates simplified reports of their results
Turn on AI Assist for Project questions
Number of days after which test invitations expire, and
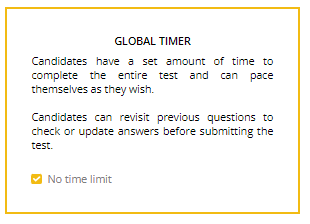
Type of test timer
✅ To set your tests to have unlimited time, simply click the No time limit box under the Global Timer setting.
In the COMMUNICATION tab you can edit the emails you send to your candidates, customize the messages of your test introduction pages and test end pages, and add your logo to any Screen communications your candidates receive.
✅ You can still choose to apply specific settings and branding to any single test. See the Editing test settings page for instructions.

![A settings page titled “Reminder emails” showing editable templates for automated candidate reminders. The section includes a “First reminder” sent 3 days after invitation and a “Second reminder” sent 7 days after invitation. Each reminder has fields for “Email subject” and “Email body,” with the body displayed in a rich-text editor. The editor contains placeholder variables like [[NAME]] and [[TEST_LINK]], and example reminder text prompting candidates to open and complete their CoderPad Screen test. A toggle labeled “Source” appears in the top-right of each editor.](https://coderpad.io/wp-content/uploads/2022/08/image-160.png)