For backend frameworks like Node.js, Ruby on Rails, Spring, Gin, and Django, you and your candidates will have access to a RESTful API client which you can use to test your candidate’s API design.
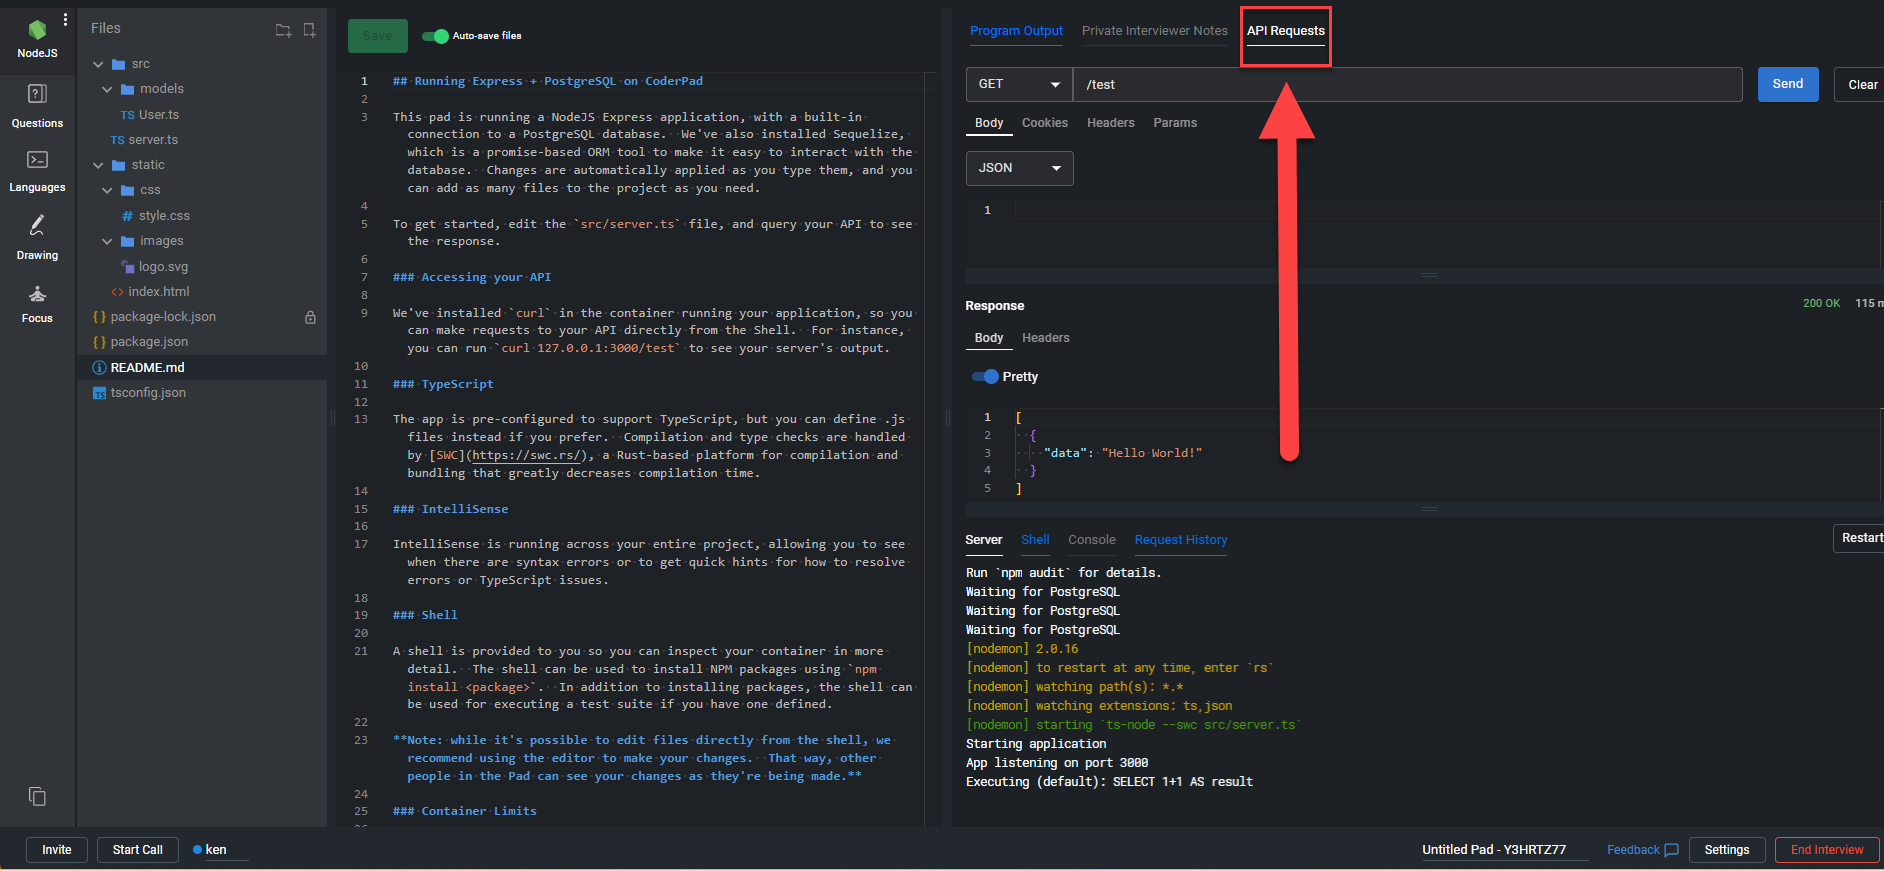
To access the API client, simply click on the API Requests tab in the top right of the screen.
Click on the image to make it larger.
The API client is divided into three sections:
Request window
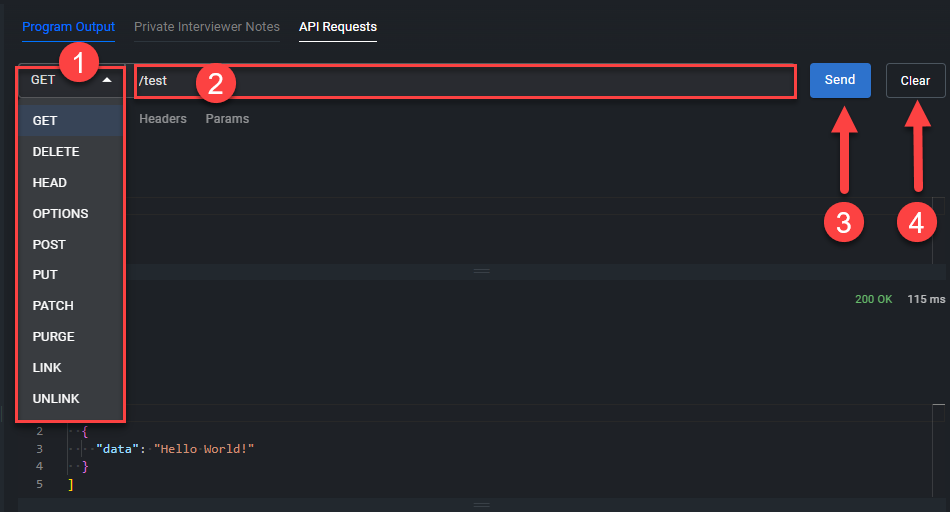
The first part of the API client window consists of the following:
A dropdown list of HTTP verbs
The URL bar
The Send button to dispatch your message to the endpoint(s) you created in the editor
The Clear button to reset your API client window.
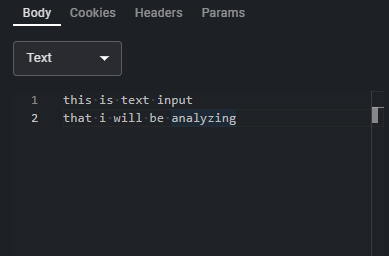
Body
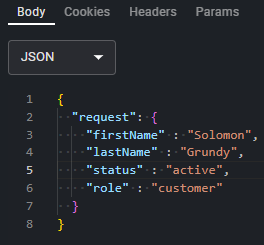
You can set your body payload to JSON, Form, or Text in the dropdown:
JSON
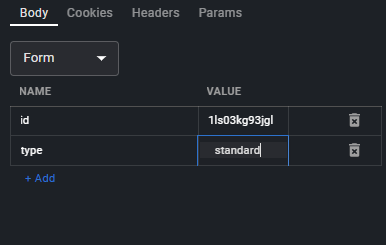
Form
Text
To add a form row, click Add +. To clear a row from the form list, simply click on the garbage bin icon to the right of the row.
Cookies
You can create cookies by selecting the Cookies tab below the URL. You have to option to enter in the following for the cookie:
Name
Value
Expires (expiration date)
Domain
Path
To add a cookie, simply click +Add. To remove a row, click on the garbage bin icon to the right of the row you want to remove.
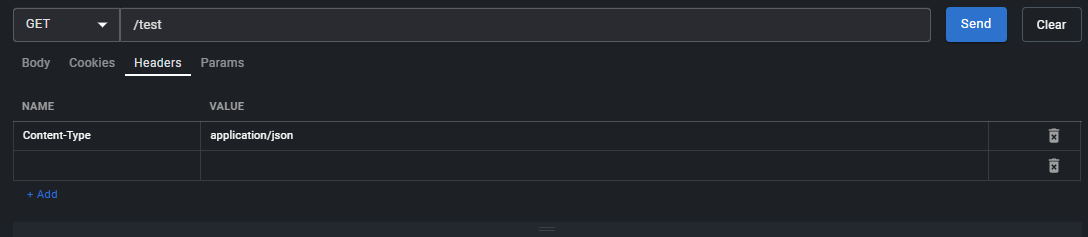
Headers
You can add headers by selecting the Headers tab below the URL and then entering in the appropriate Name-Value pair.
To add a header, simply click +Add. To remove a row, click on the garbage bin icon to the right of the row you want to remove.
Params
You can add query parameters by selecting the Params tab below the URL and then entering in the appropriate Name-Value pair. Notice that when you add the parameters the URL will automatically populate with the appropriate syntax.
To add a new header, simply click +Add. To remove a row, click on the garbage bin icon to the right of the row you want to remove.
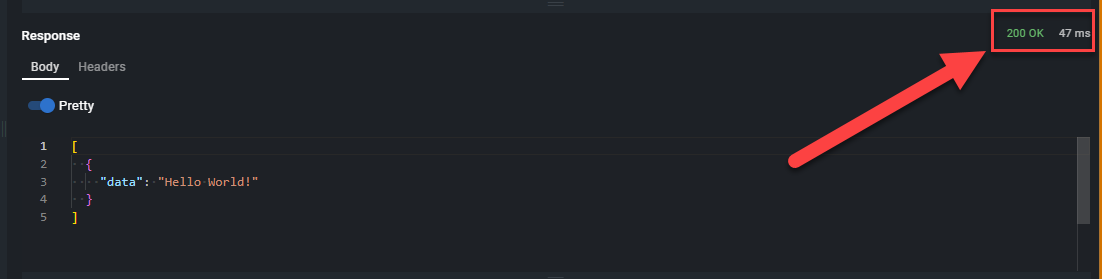
Response window
In the top right corner of the response window you can quickly see the server response status and response time:
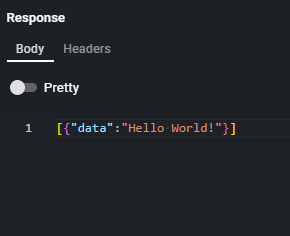
Body
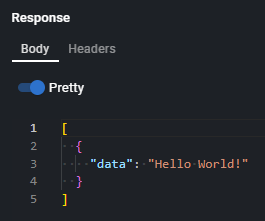
The response body will be in whatever format your endpoint is set up to produce. You do have the option to Pretty the response body for better readability:
Pretty toggle on
Pretty toggle off
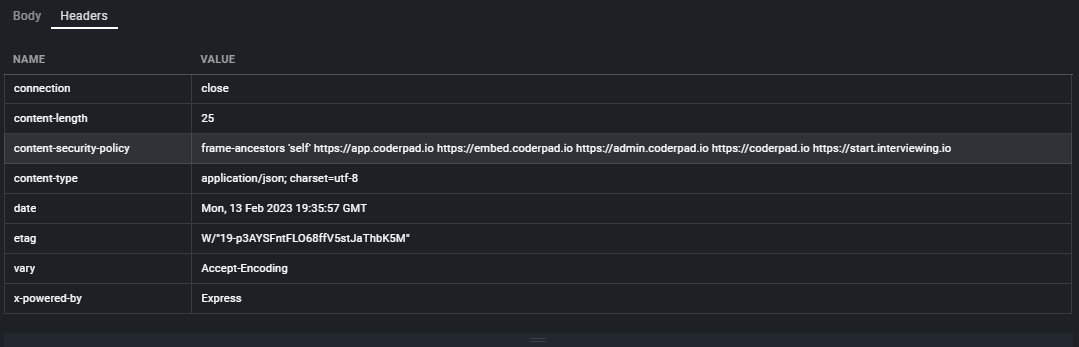
Headers
To view the response headers, simply click on the Headers tab:
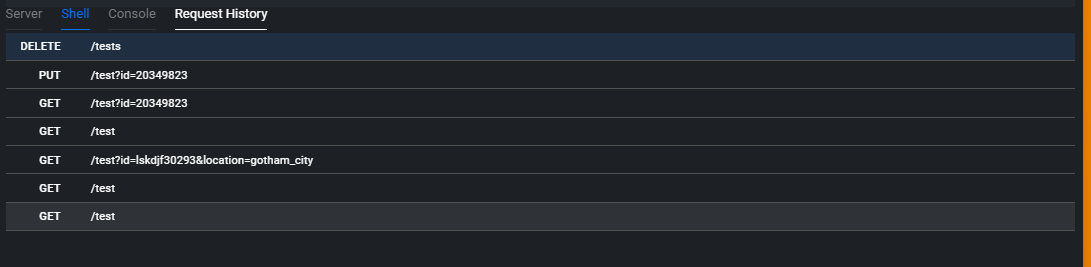
Request History window
You can review your request history and rerun old requests by selecting the Request History tab and then clicking on the previous request you’d like to view or rerun:
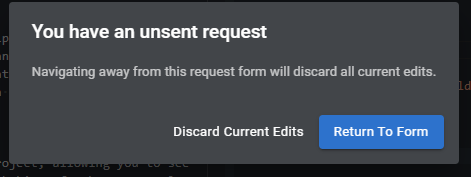
✅ If you try to click on a request history item while you have an unsent request at the top, you’ll get a modal prompting you to replace/clear the request window and replace it with the data from the request history item you just clicked on.
You’ll also be able to review the candidate’s Request History in the playback window once the interview has ended: