✅ Only Enterprise plans support SSO integration. If you’d like to upgrade your plan to enable SSO, please reach out to our sales team.
SSO can also be combined with User Provisioning through the SCIM protocol.
Prerequisites for activating SSO on your CoderPad account:
You must have admin rights for your CoderPad Interview account.
You must have identified the proper person at your end who will be able to implement the required configuration changes on your SSO provider account, i.e. your system administrator.
Supported SSO features
The CoderPad Okta integration supports SP-initiated and IdP-initiated SSO logins.
It does not currently support Just-In-Time (JIT) provisioning or Single Logout.
Supported SCIM features
The following SCIM operations are supported:
Creating users
Updating user attributes (name, family name)
Deactivating users
Deprovisioning users
Group management (Creation / Renaming / Deletion / Assign to users)
Importing users in your Identity Provider
Importing groups in your Identity Provider
✅ Account-wide failure to login may occur for your users during the configuration process. Reversing the SSO activation on the account can be done at any time if the configuration fails.
ℹ️ At any time, even when the SSO configuration is active, it is possible for an admin to log into the account using email and password credentials as long as the option to enforce SSO is not active
Step 1: Obtain SSO configuration values from CoderPad
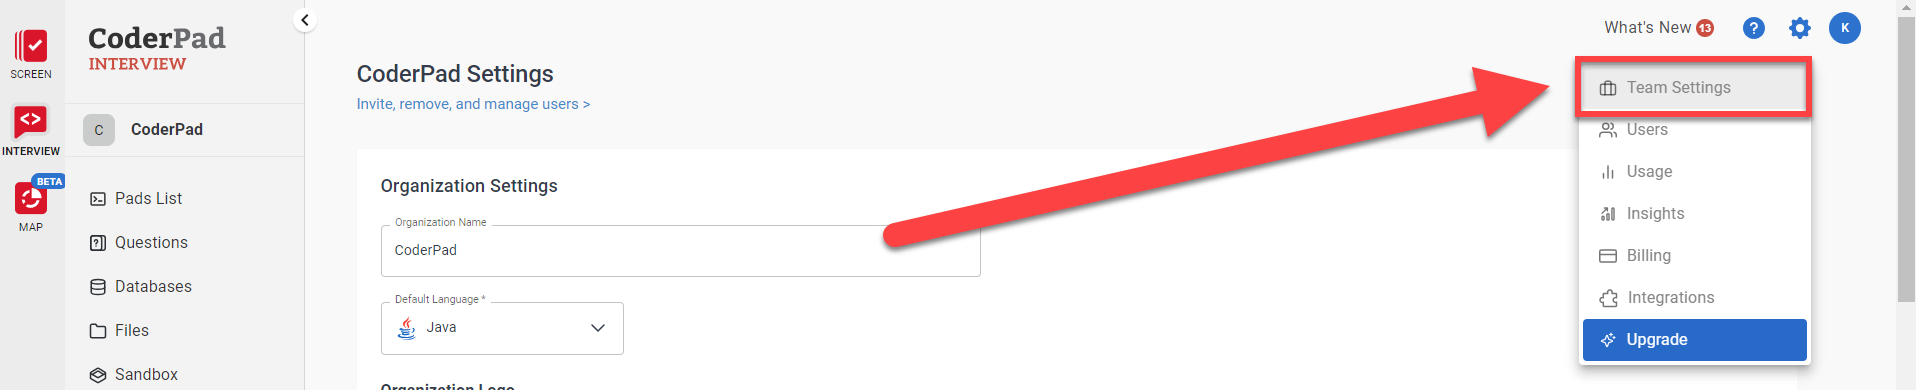
To obtain the SSO values you’ll need to give to your SSO provider, you’ll first need to navigate to the Team Settings screen in CoderPad Interview by clicking on that option in the settings menu .
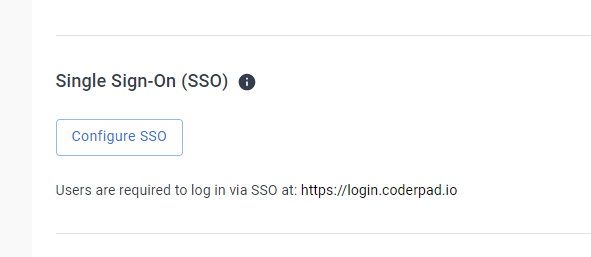
Then, scroll down to the Single Sign-On (SSO) section and click on Configure SSO.
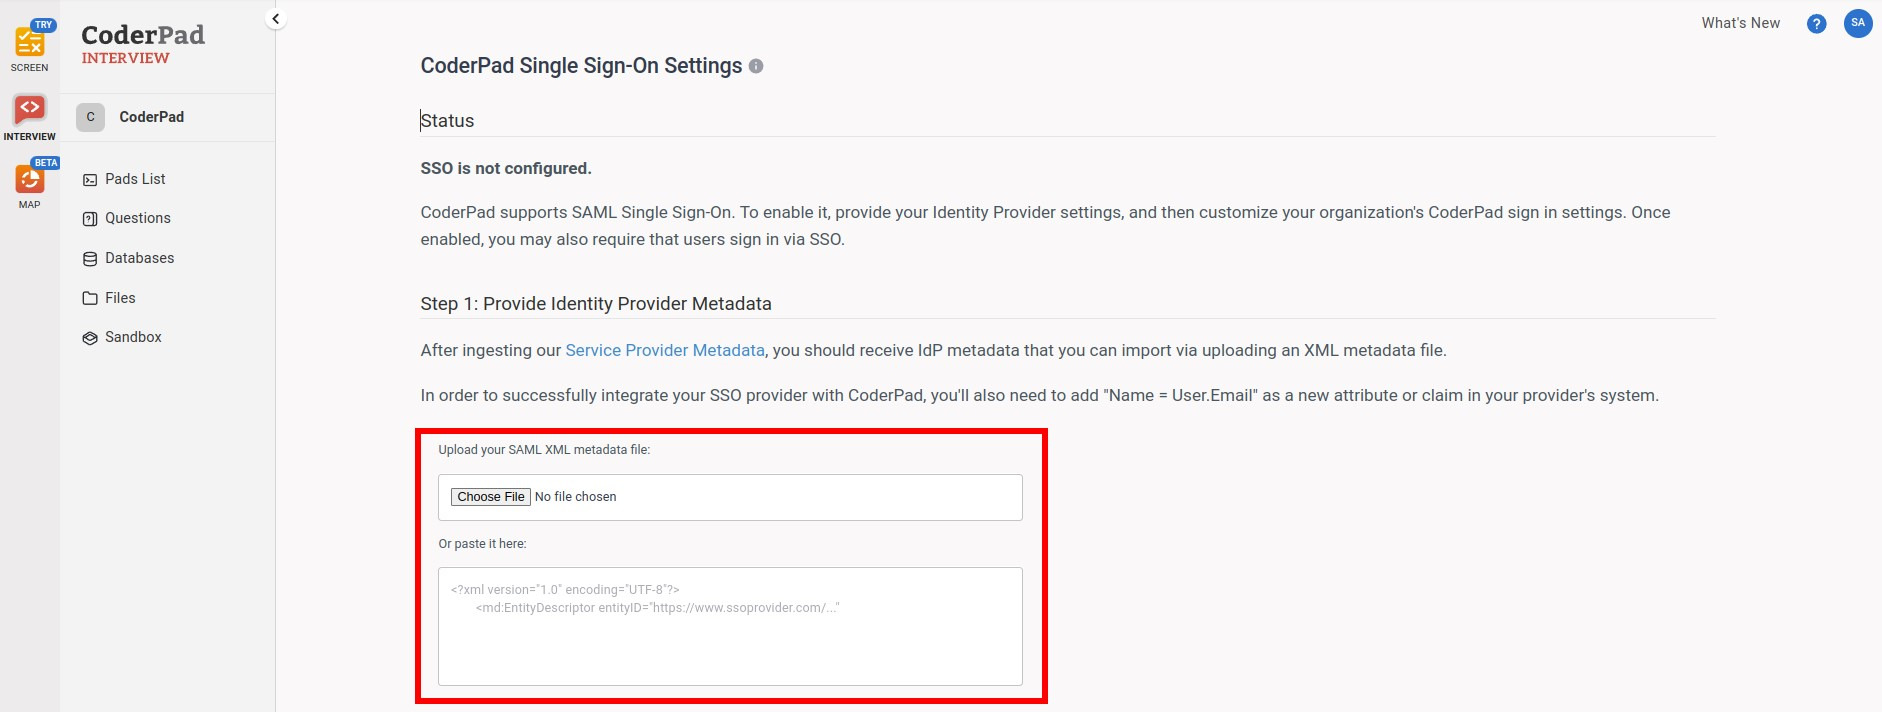
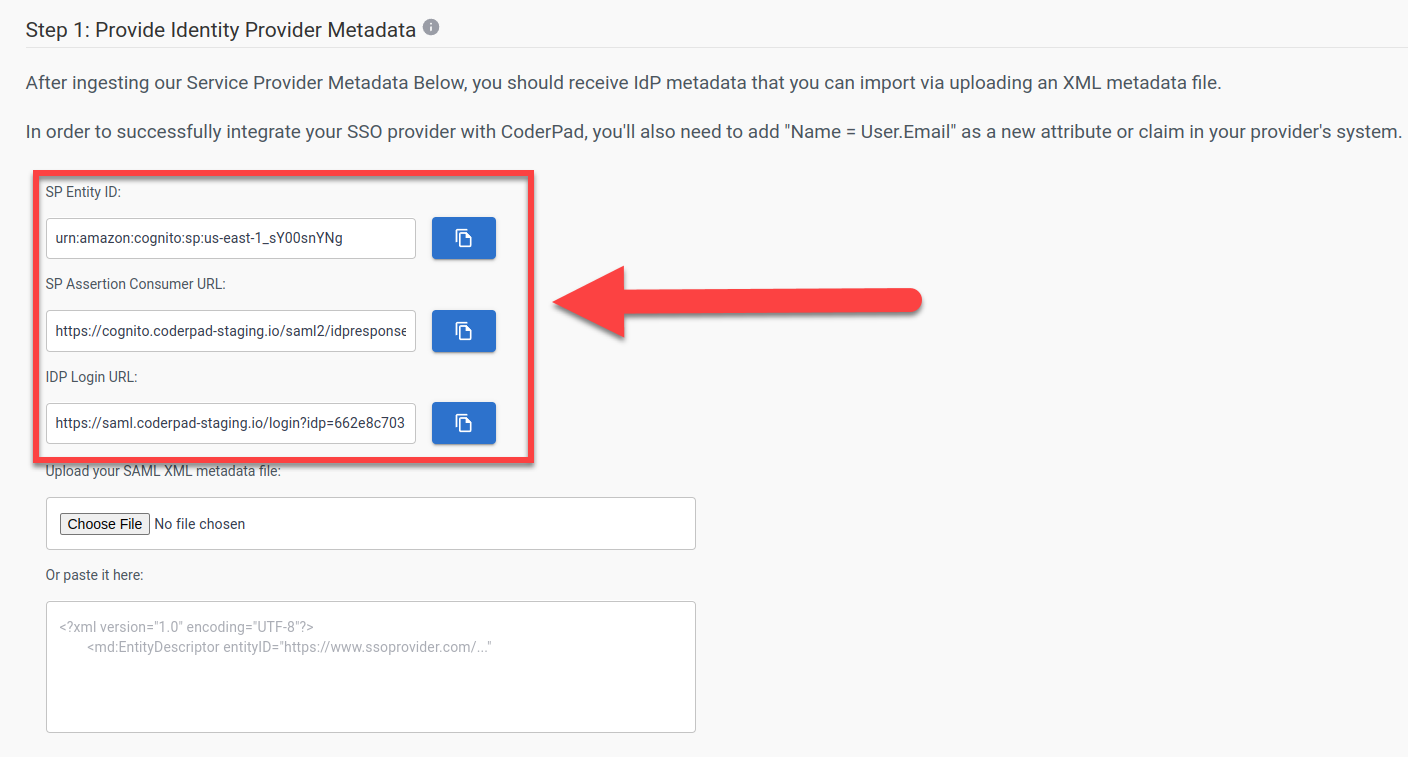
This will open up the SSO configuration screen. In Step 1: Provide Identity Provider Metadata you’ll see the three values you’ll need for your SSO provider:
SP Entity ID
SP Assertion Consumer URL
IDP Login URL
Step 2: Configure Okta
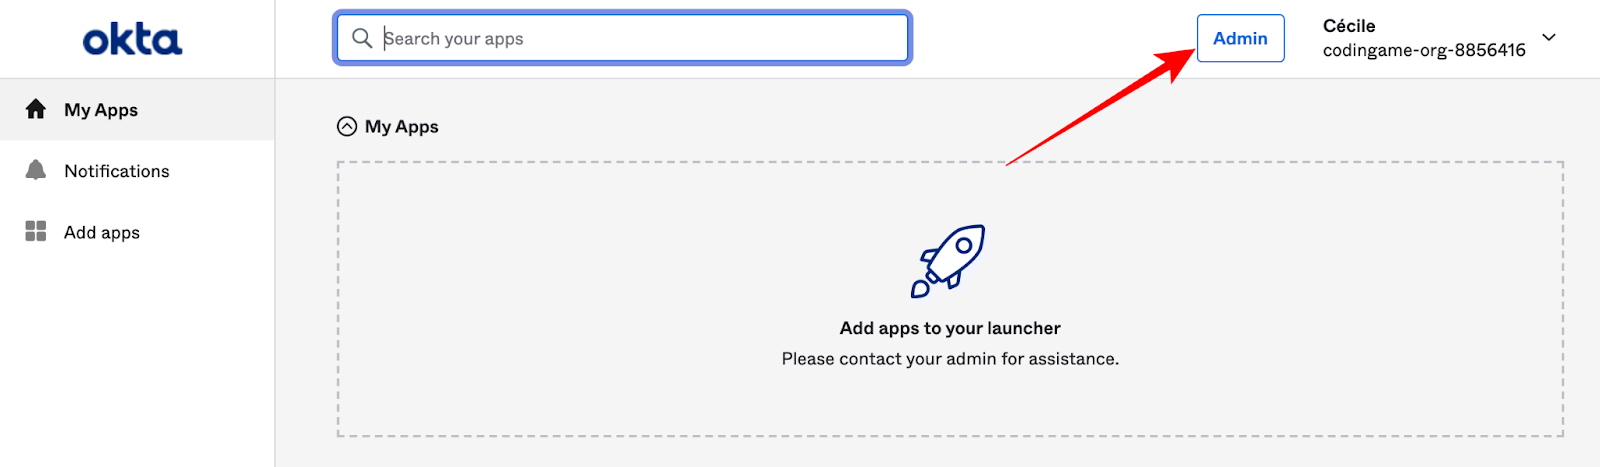
1. Log on to the Okta Admin interface
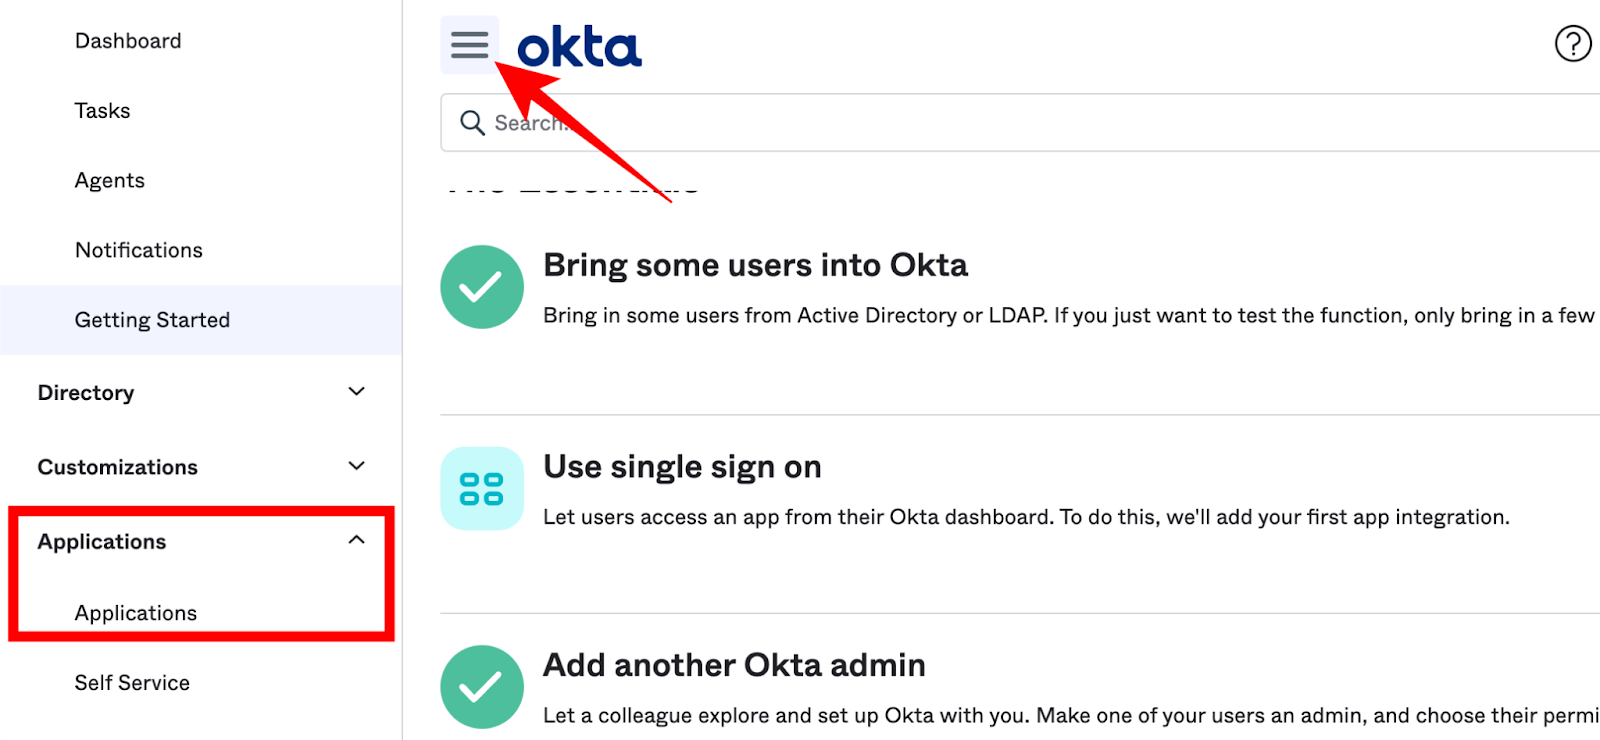
2. In the menu select Applications > Applications:
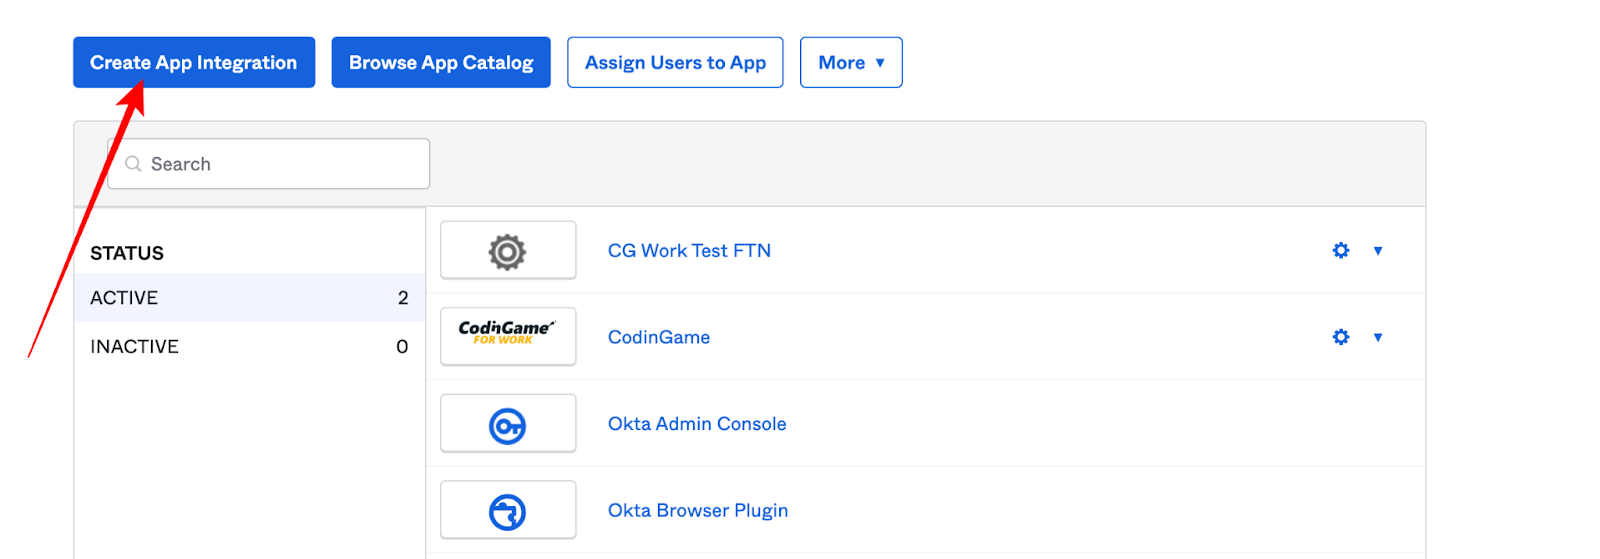
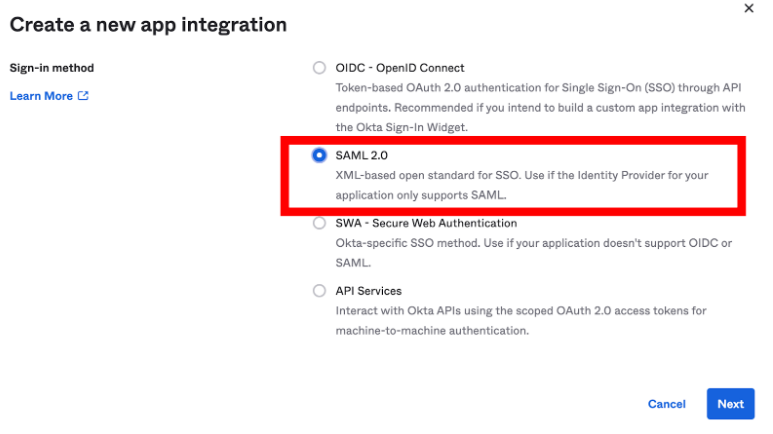
3. Select Create App Integration and then select SAML 2.0. Click Next to proceed:
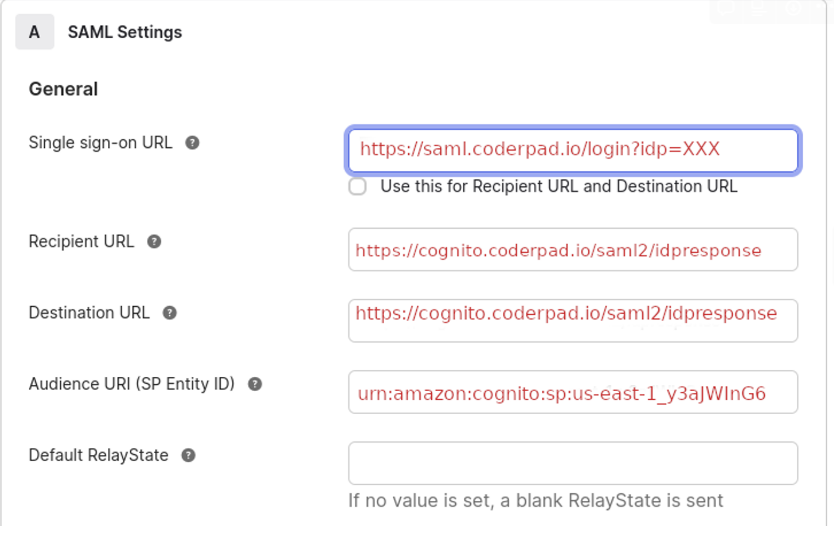
Uncheck Use this for Recipient URL and Destination URL
Recipient URL = SP Assertion Consumer URL
Destination URL = SP Assertion Consumer URL
The resulting SAML settings should look like this:
For the other fields, use these values:
Name ID format = Unspecified
Application username = Email
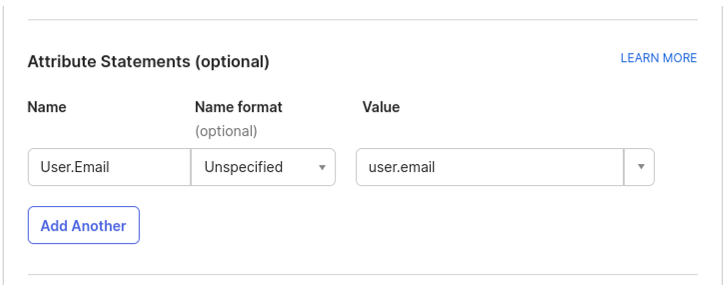
5. Add the attribute statements (the SAML won’t work without them):
Name = User.Email
Value = user.email
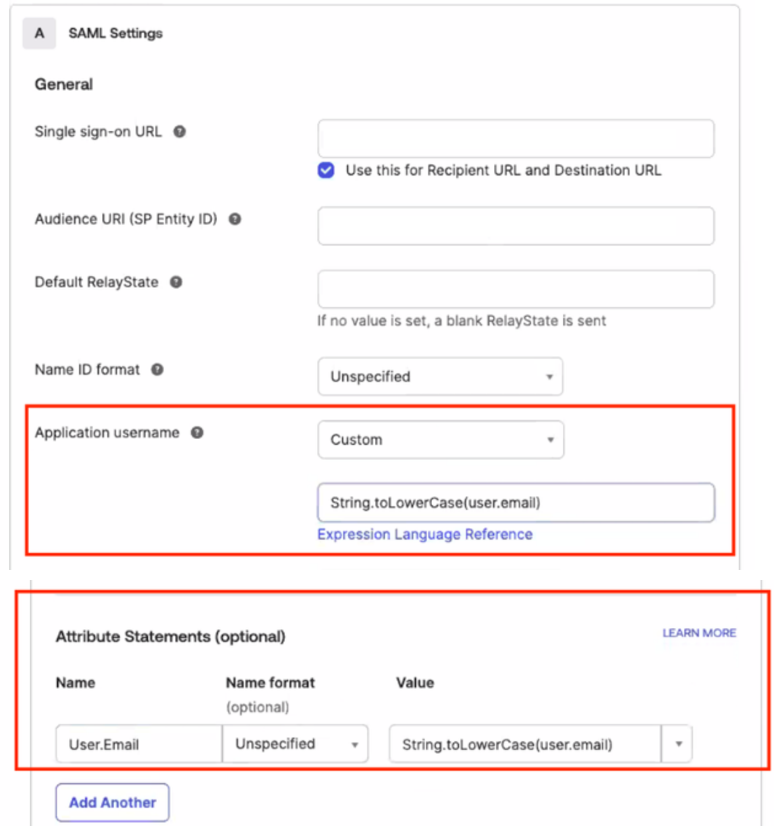
⚠️ When user.email contains uppercase (even just first letter capitalization) letters, CoderPad won’t be able to match the user so it will end up in an login error. To solve this issue, please review and follow this document from OKTA Support.
This knowledge base article demonstrates how to convert Okta usernames to all lowercase characters when assigning users to an application. The provided solution leverages the Okta Expression Language to create a custom application username format.
6. Next, you’ll need to obtain the Identity provider metadata file from Okta. In the Sign On tab of the Application, copy or download the Identity Provider metadata file.
7. Back on the CoderPad SSO Settings page, upload or paste the file into the respective input box.
7. Test the configuration: Ask one of your users to login through SSO to check that it is working before proceeding to the user provisioning steps.
Adding SCIM User Provisioning
Once SSO has been activated, User Provisioning can be turned on using the SCIM protocol:
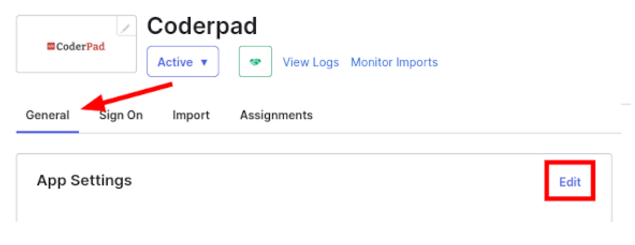
1. In Okta, select the CoderPad application then General > App Settings > Edit.
2. Then under Provisioning select SCIM and click Save.
3. From the new Provisioning tab, click on Edit in the SCIM Connection section.
4. Enter in the following configurations:
SCIM connector base URL = SCIM URL
Unique identifier field for users = email
Supported provisioning actions = Select all the options
The Test Connector Configuration action should be successful at this point.
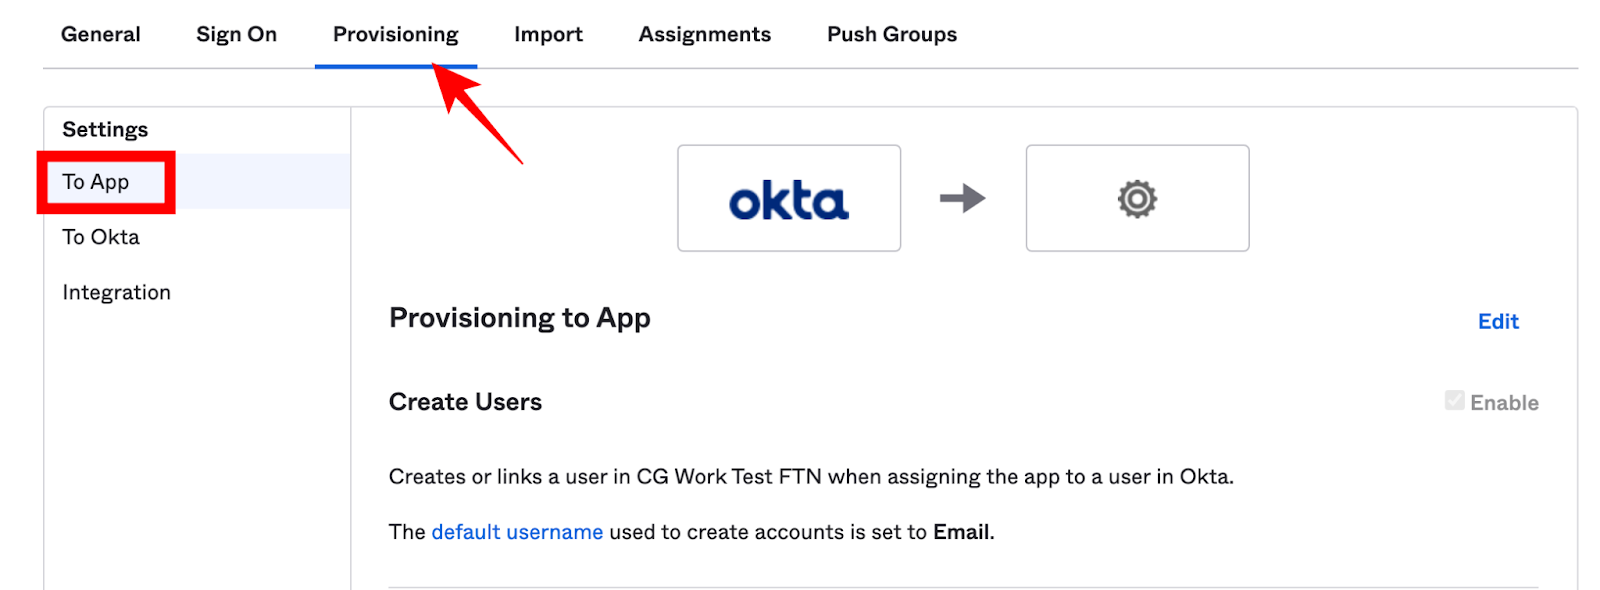
5. Edit the provisioning. Navigate to Provisioning > Settings > To App and select Edit:
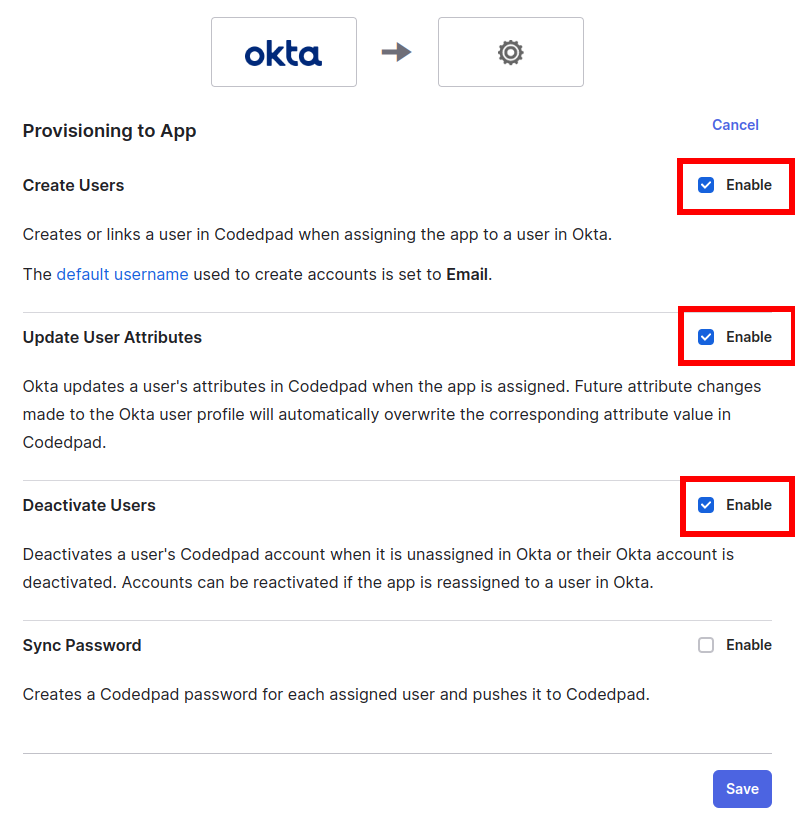
6. Check Create Users, Update User Attributes, Deactivate Users.
7. Click Save.
8. Go to the Push Groups tab of the App
9. Click Push groups >Find groups by name
✅It is recommended to select all groups assigned to the Okta App
10. Click Save.
11. SCIM provisioned users will automatically have user rights but not admin rights. To manage permissions through SCIM please create different groups and let our support team know which group should have which permissions(Admin or Member); otherwise your CoderPad users may not have the appropriate access.
12. From now on users added to your groups will be automatically created in CoderPad with the proper set of permissions.
✅ After you assign new users with SCIM:
Have them connect through your company’s Okta tile first.
They will then receive an email with a link where they will need to click to verify their email address.
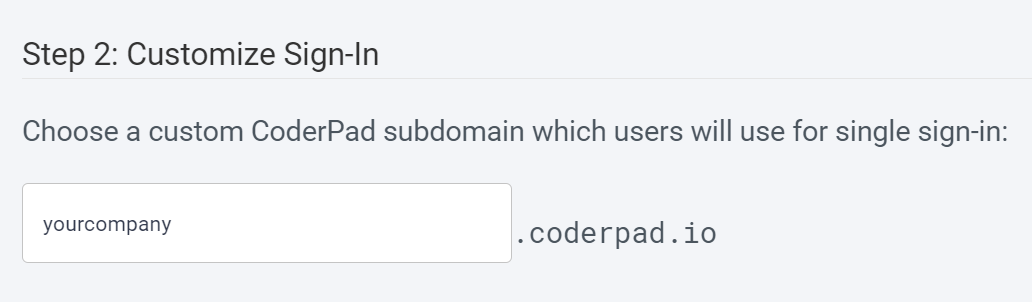
Now that you’ve configured your IdP information, you’re able to customize your SSO login subdomain. This will give you a dedicated sign in page specifically for your organization.
You should direct your users to use this subdomain for login; they’ll be greeted with a welcoming login screen specifically for SSO users to reduce confusion.
However, if one of your users accidentally attempts to login through other CoderPad pages – such as our homepage login button – we’ll redirect them to the correct location upon email input.
Mandatory SSO Enforcement
While we allow organizations to have both SSO and more traditional email/password user accounts, we recommend you enforce SSO login. The benefits of doing this are:
Simplification of organization-wide authentication
Reduced/simplified IT support requests
Ability to add security precautions (such as 2FA)
To make SSO mandatory, simply select the Enforce SSO checkbox in the step 3 section.
 .
.