Lever
Last updated on • Disponible en Français
ℹ️ As part of CoderPad’s rebranding effort, CodinGame Screen is now just Screen. We’re still working with our integration partners to update the searches, until then you’ll still see references to “CodinGame” when you search within the partner’s application.
Follow these steps to set up your Screen/Lever integration:
1. Setup in Screen
1. First, contact support to enable the Lever integration page for your account (available for paying customer).
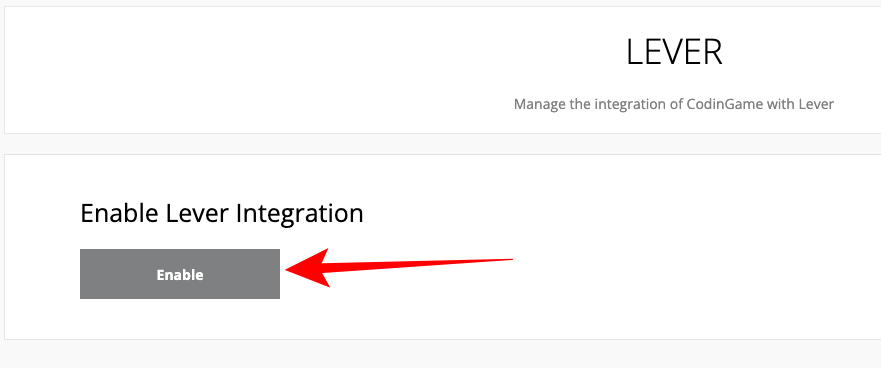
2. Once you’re in your Screen dashboard and are connected to Lever with your admin account, go to our Lever integration page and click Enable. This will authorize communication between Lever and Screen.
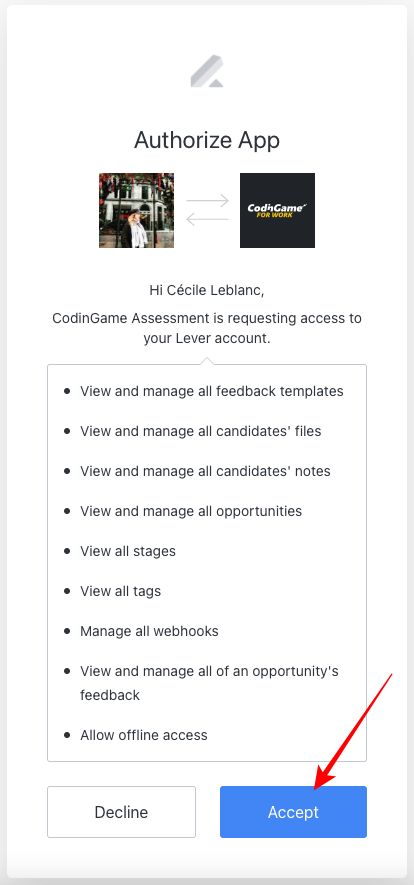
An authorization page will open. Click Accept to proceed:
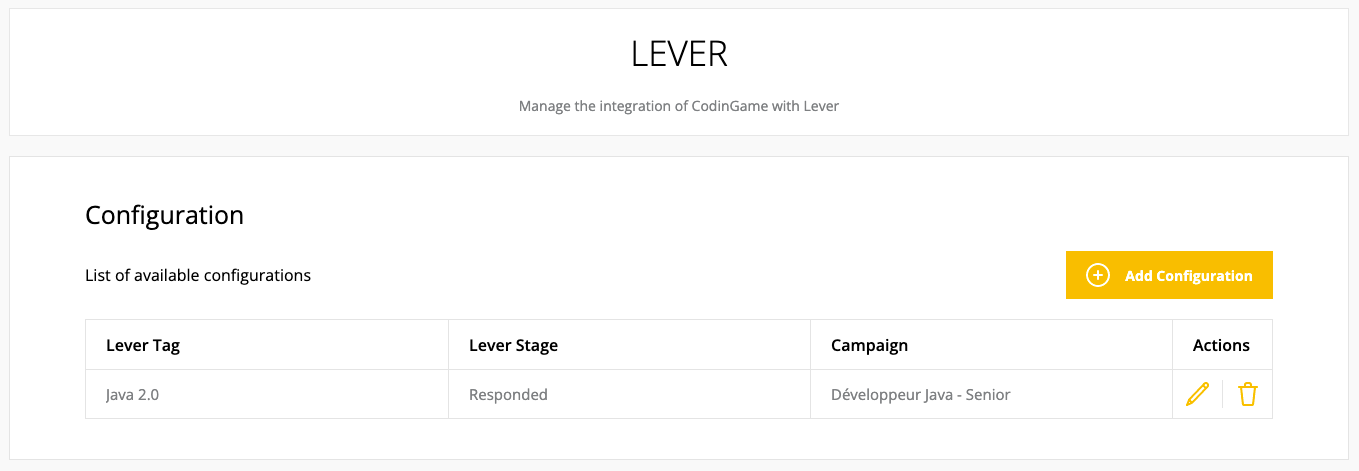
3. Once this is done, select the test settings to enable within Lever. Click + Add Configuration.
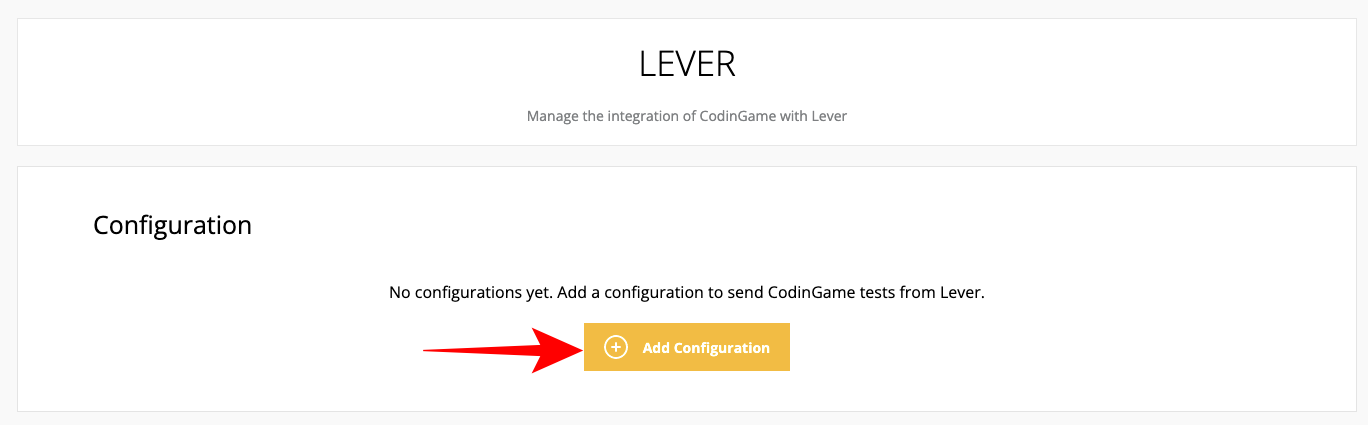
You’ll then see the Add Configuration window pop open. The Lever Tag is there to identify the candidate and the Lever Stage to choose at what step the test should be automatically sent.
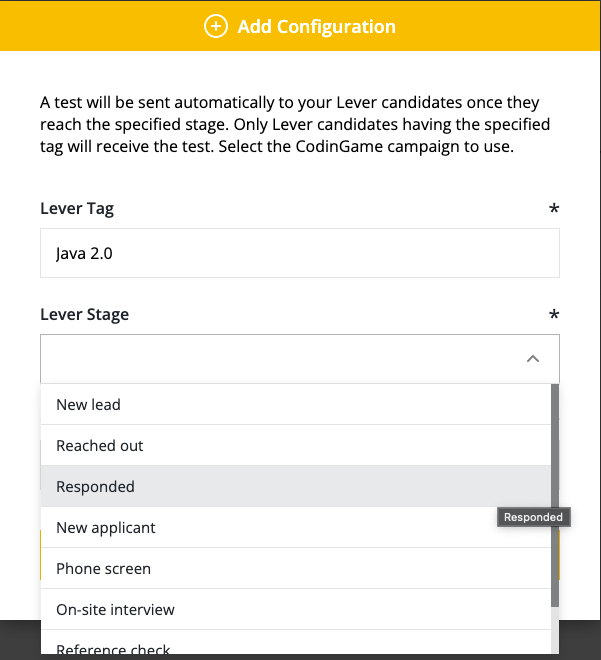
You can create as many test configurations as you want.
2. Configure settings in Lever
Check that your integration has been configured correctly.
1. Go to your profile on the top right corner and click ⚙️Settings.
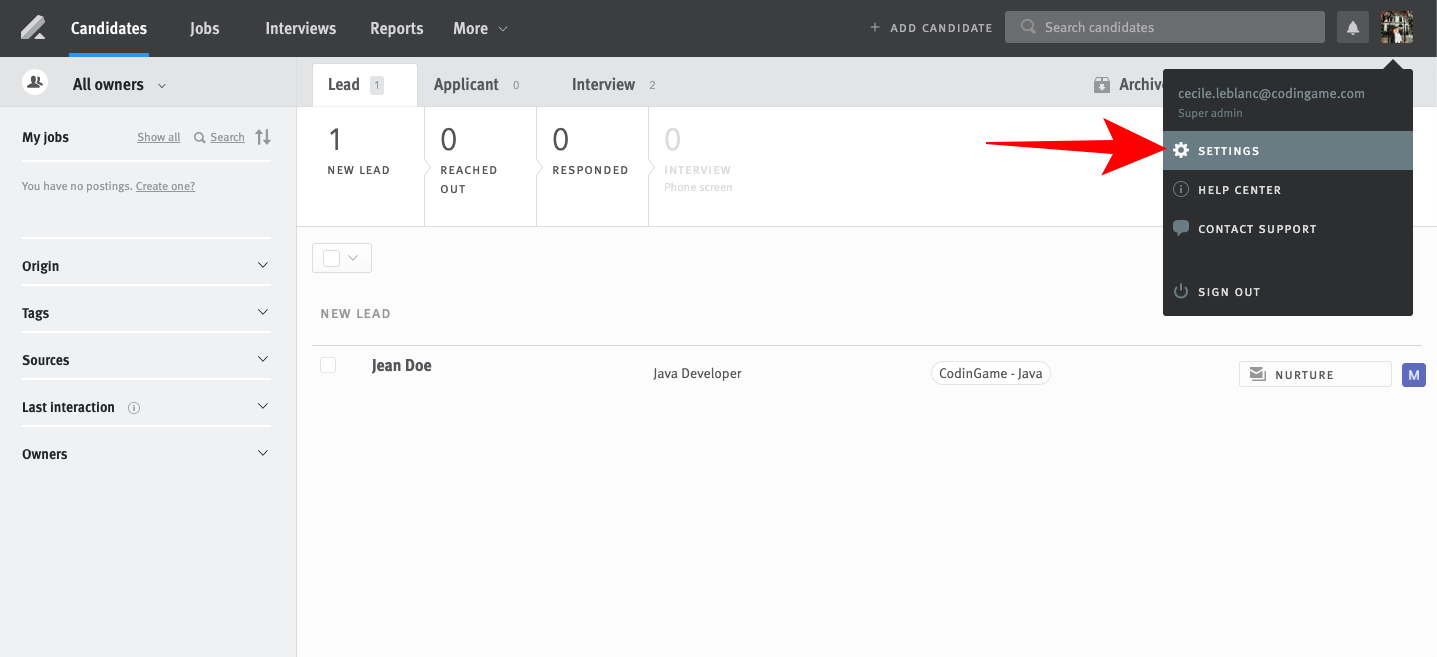
2. Then select Integrations and API.
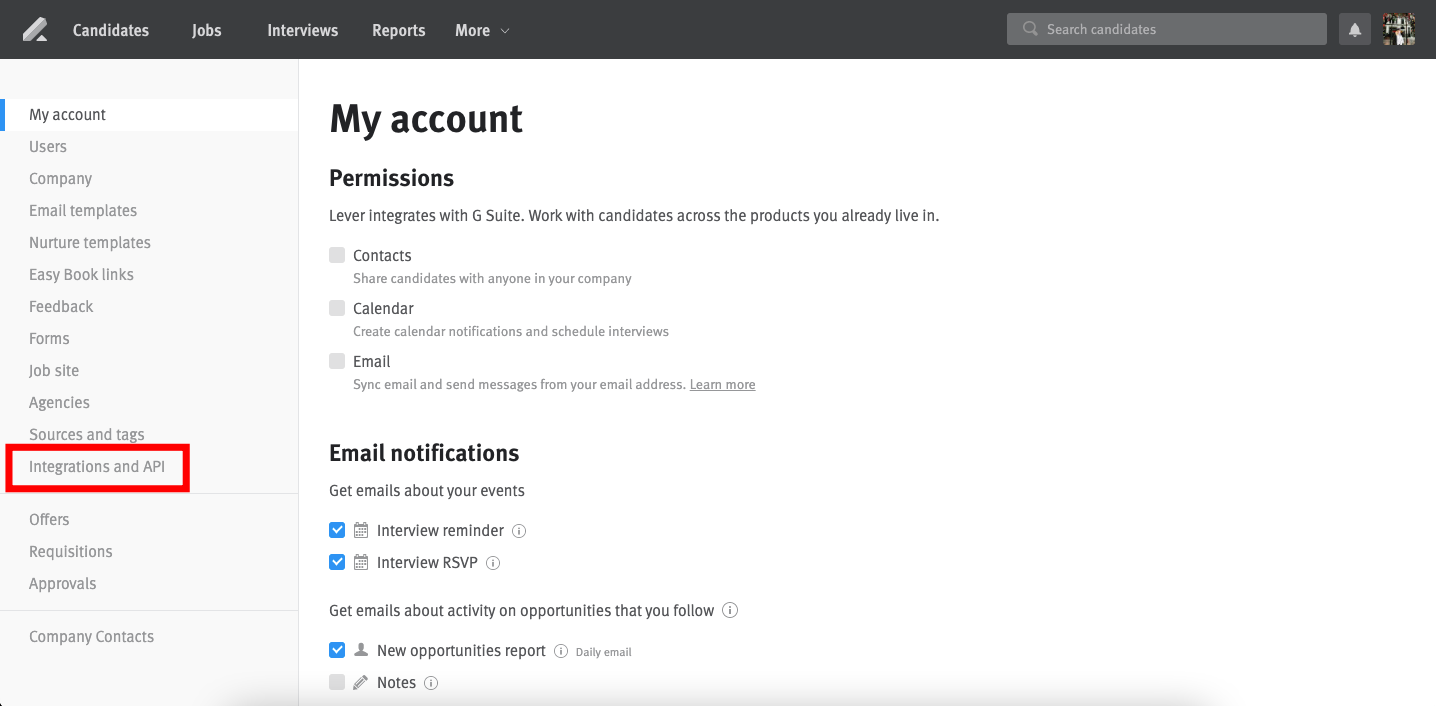
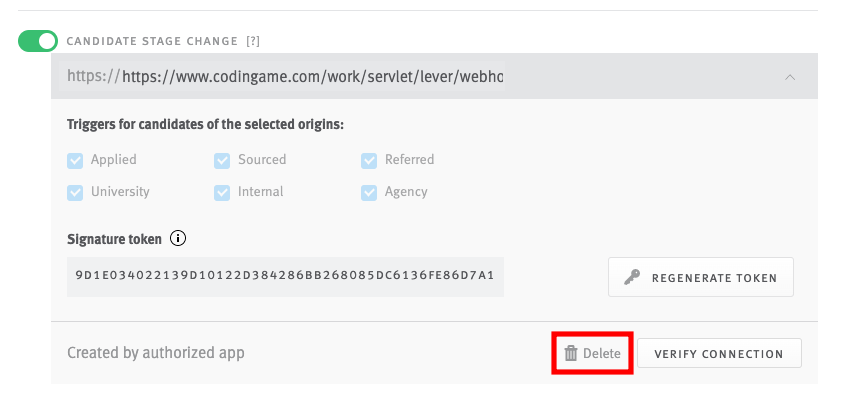
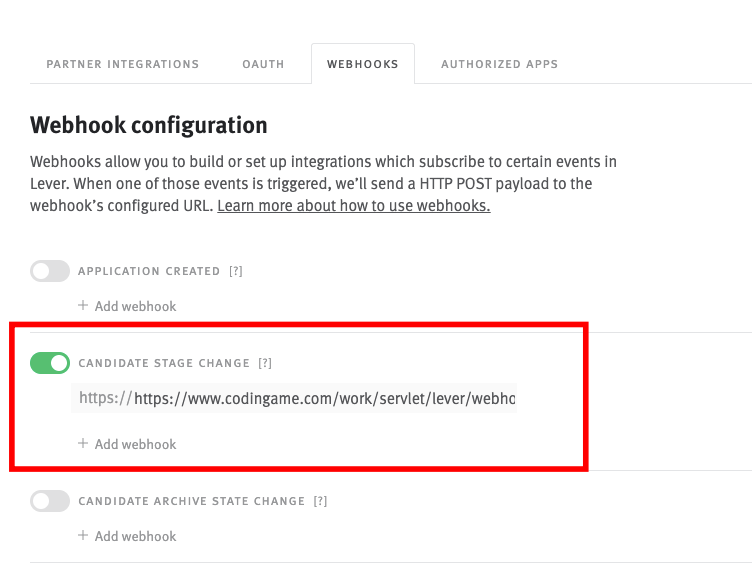
You can now see the Screen webhook in the Webhooks tab, at the Candidate Stage Change step, and can double-check that it is enabled.
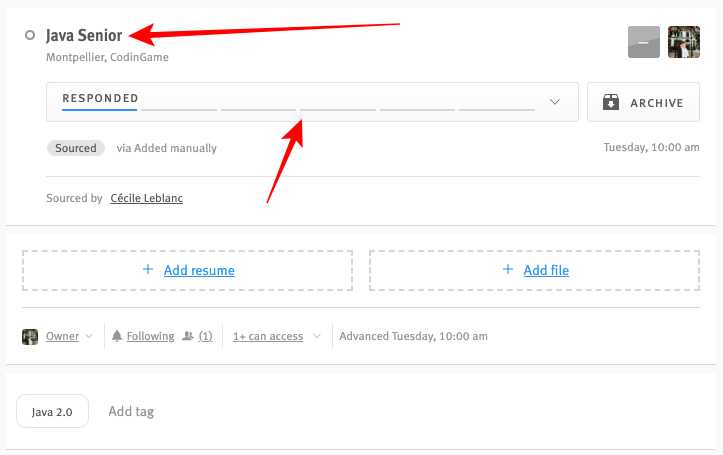
3. Add the tag to the Lever “Job” you need to send Screen tests for.

✅Test sending is not retroactive but will apply to all your new candidates.
Once your candidates reach the defined recruitment stage for this tag, they will automatically receive their associated Screen test.
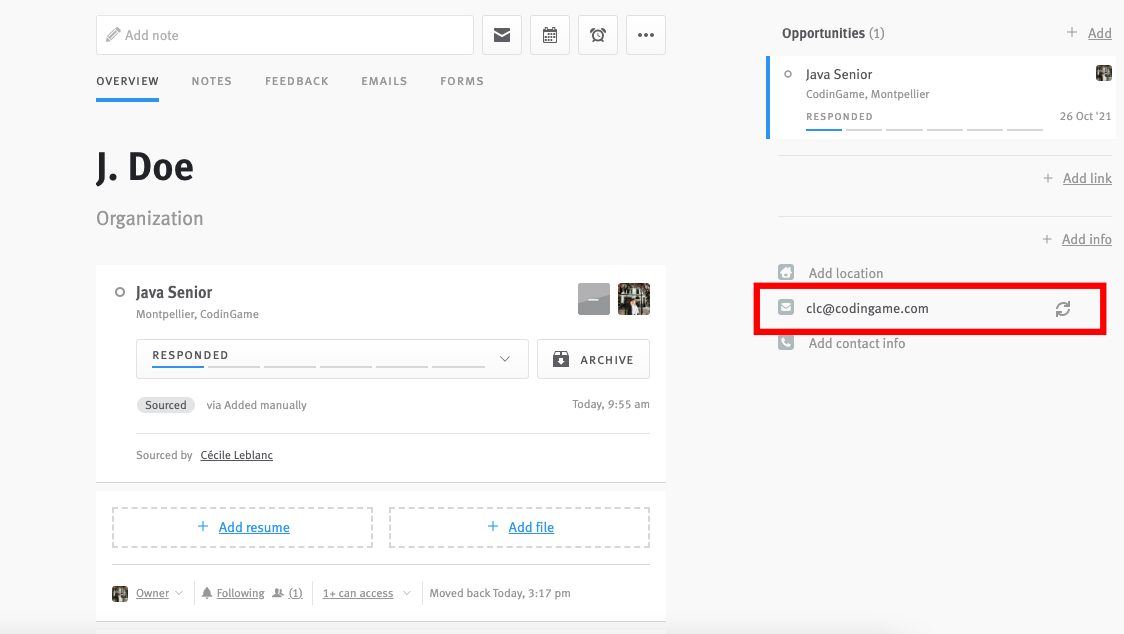
✅ Don’t forget to add your candidates’ email address if you haven’t already. Also note that the invitation email settings have to be configured directly in Screen.
Once your candidate is done, you can check on their results in the Lever timeline.
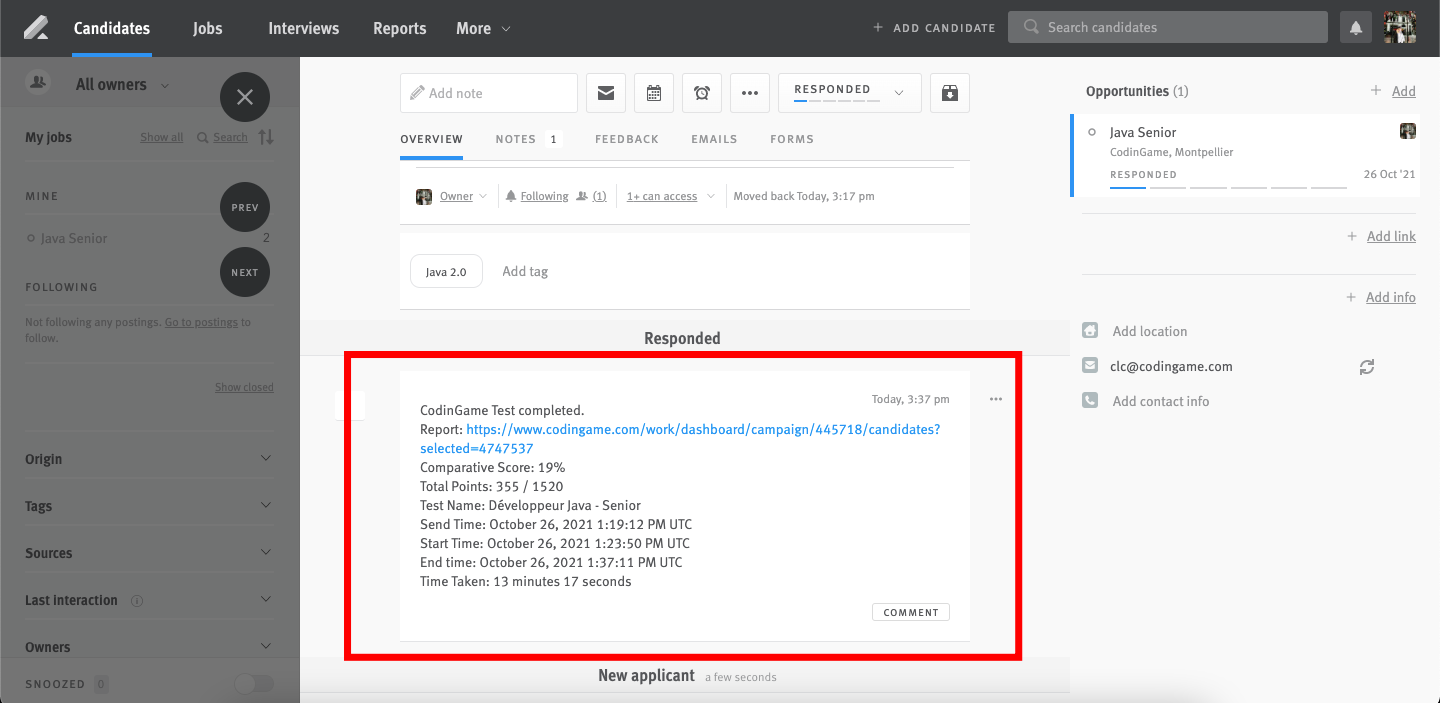
Click the provided link to go back to Screen and view the detailed results report.
Disabling the Lever integration
1. Navigate to your Integrations & API settings page in Lever.
2. Under the Authorized Apps tab locate CodinGame.
3. Click Revoke Access to disable the integration
4. You can also remove the webhook by going back to Settings > Integrations and API > Webhook tab and clicking on the integration menu.

5. And then click Delete.