Account administrators quick start
Last updated on • Disponible en Français
This document is for interview administrators who want to know more about setting up and managing their Interview accounts.
Interview is a platform for conducting remote interviews with programmers, in any browser. The Interview interface is very similar to common development software that programmers use, like an IDE, that runs and tests code as it is written. This makes for a comfortable and familiar candidate experience and allows the candidate to demonstrate their technical skills.
❗When you register an account, the person creating the account is the default account owner and admin. This person receives instructions for naming the team and inviting team members.
There are two user types in Interview: members and admins. New users who join your Interview organization are members by default.
All members of your team have access to the shared quota of interview pads, the private sandbox for test use, and the following Interview tabs: the Pad’s List, Question Bank, Custom Files, Custom Databases, and Usage.
However, only admins can:
– Edit billing information.
– Change your organization’s account settings.
– Set up or edit your organization’s integrations.
– Change membership types of other users on the team.
If your team needs additional admin accounts, the existing admin can promote other users from the Users option in the settings in their dashboard.
Once you login to Interview, the following will be available to you as an administrator:
ATS Integrations
You can access your ATS integrations by clicking on the Integrations menu option under your account menu:

For full documentation on how to integrate your ATS into Interview, check out the feature guide here.
Manage Account Settings
By selecting the Organization settings menu option under your account menu, you’ll be able to access the organization settings for your company:
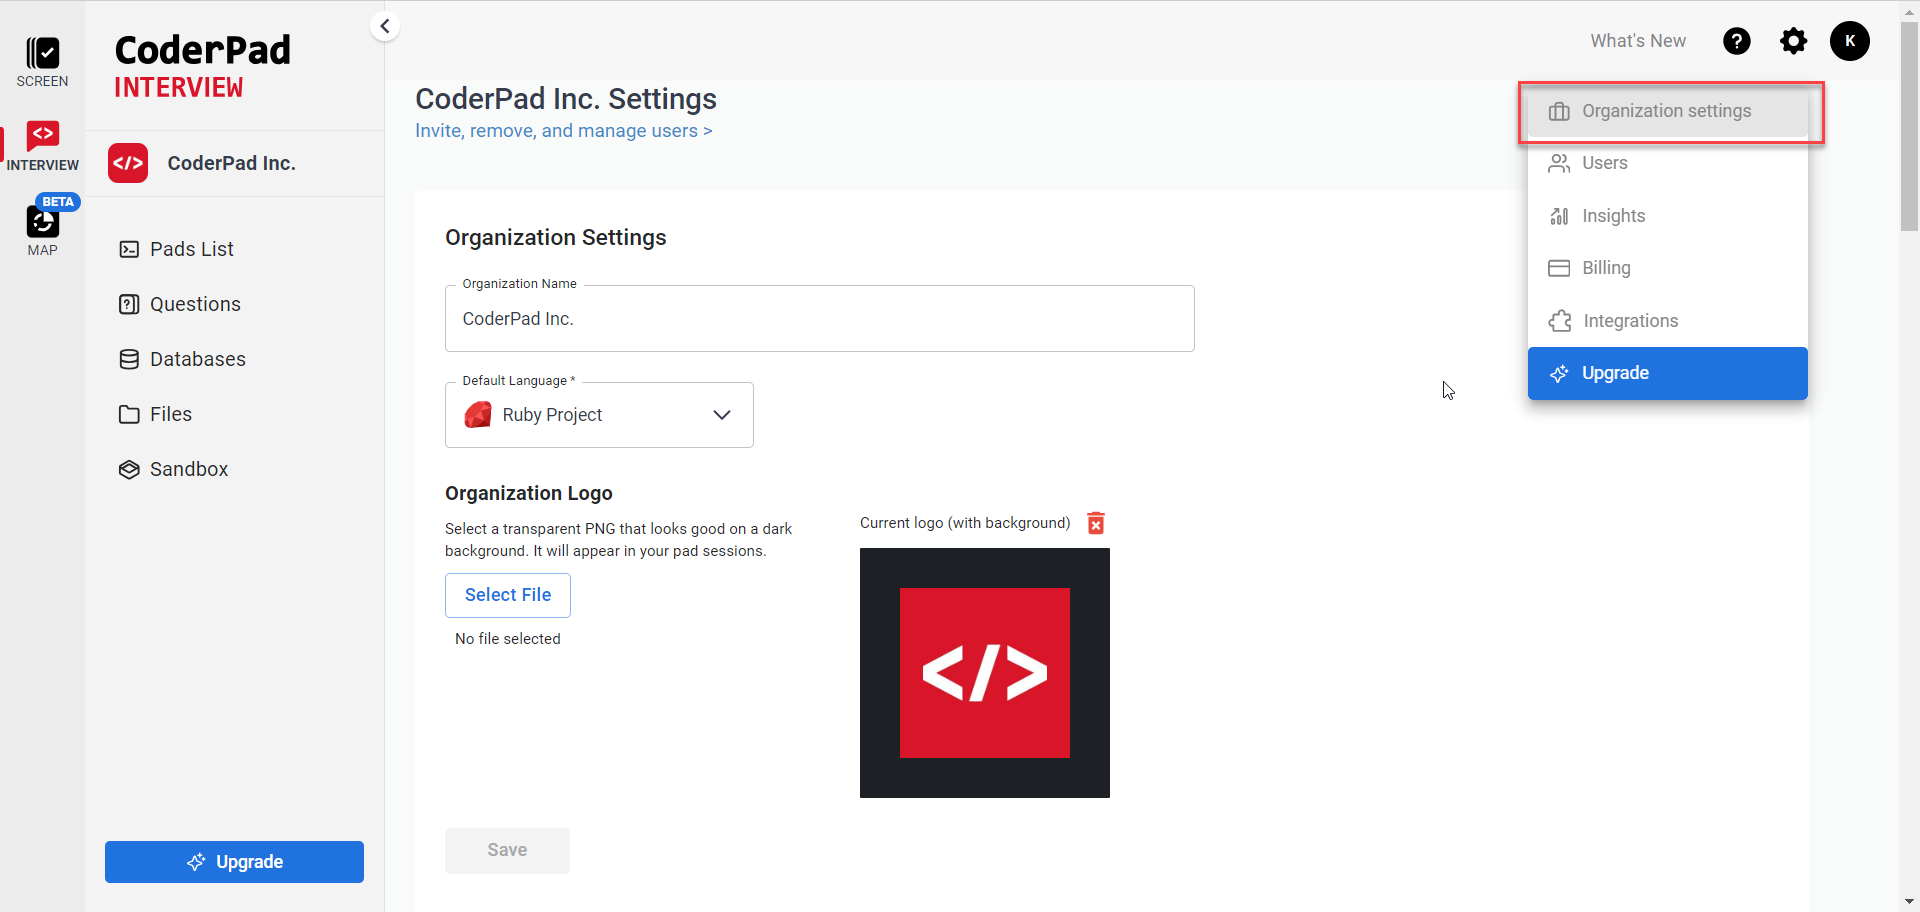
Here you can update your organization’s name and logo, select a default language for your organization’s pads, enable or disable team permissions, configure SSO, and more.
✅ For more information on managing teams in Interview — including changing user roles, enabling SSO, and adding or removing users — check out the user guide here.
Pad settings
You’ll see the following options available to you in the pad settings:
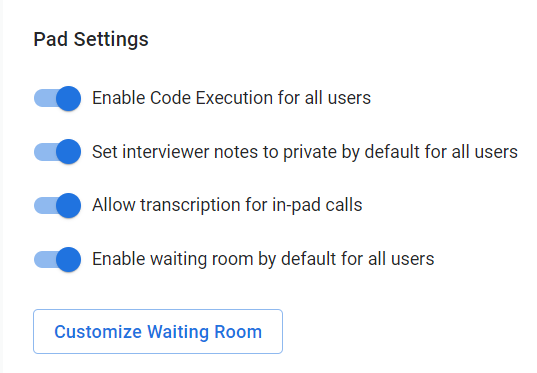
Default code execution
Turn this toggle on to have your new users have code execution automatically enabled when they create pads. If this is turned off, interviewers will have to turn it on in the pad settings for the candidate or the interviewer to be able to run any code.
Private interviewer notes
When this setting is enabled, interviewer notes are only viewable by the pad creator. No one else on the team will be able to view the notes.
Interview transcription
This setting will allow you to create transcriptions if you use CoderPad’s in-app audio/visual capabilities. More info can be found in our transcription feature guide.
Enable the waiting room
Enabling the waiting room by default sets all created pads to a “private view”. This means that the person who creates the pad will be the only one who can access the pad until the candidate is admitted to the pad via the pad settings or in the banner at the top of the pad.
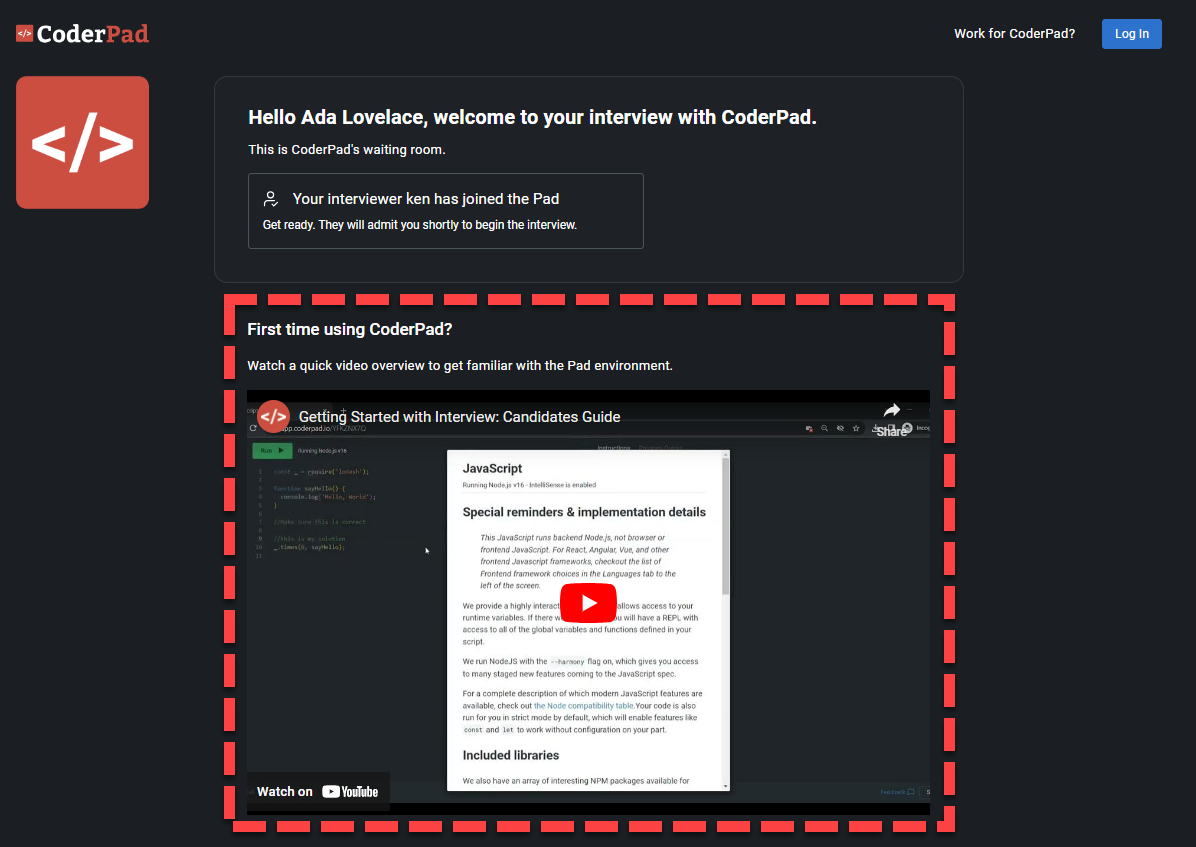
Other users who attempt to access the pad before it is marked public will be taken to a waiting room:

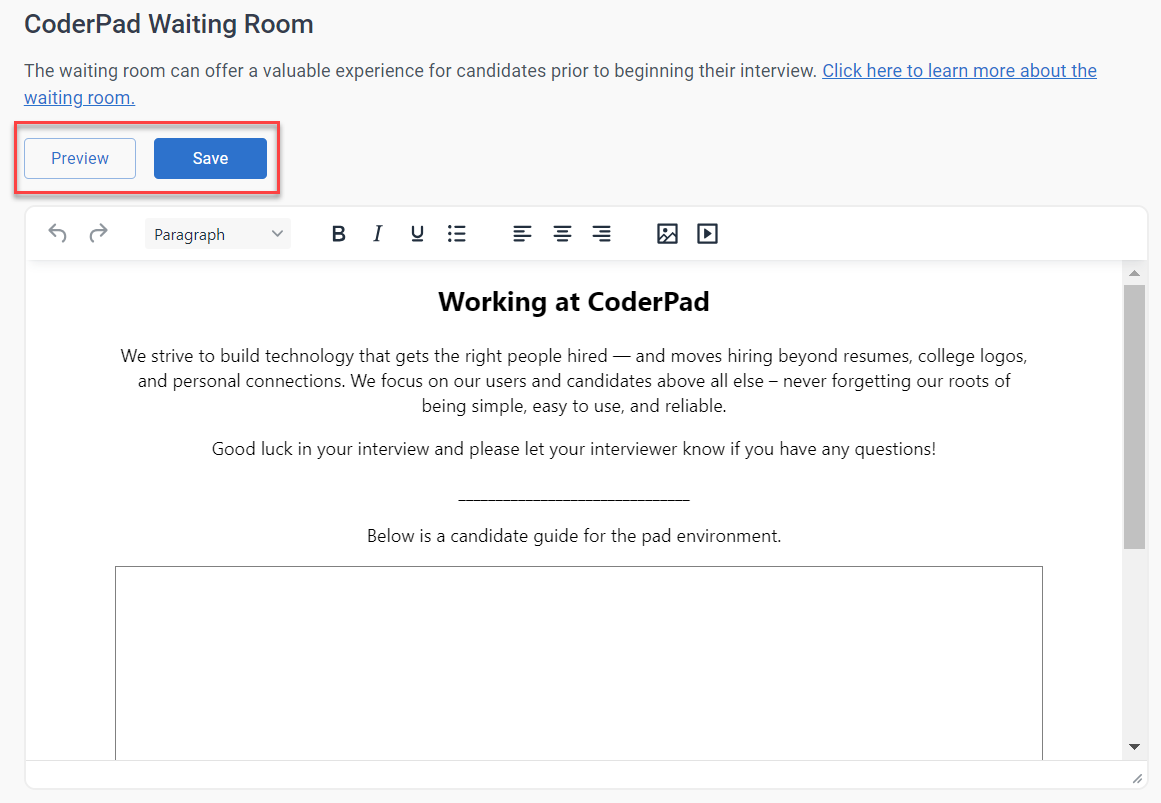
Customize the waiting room
You can edit the bottom portion of the waiting room to better reflect your company’s design themes and information on your interview process.
Below the waiting room enablement toggle, select the Customize Waiting Room button.
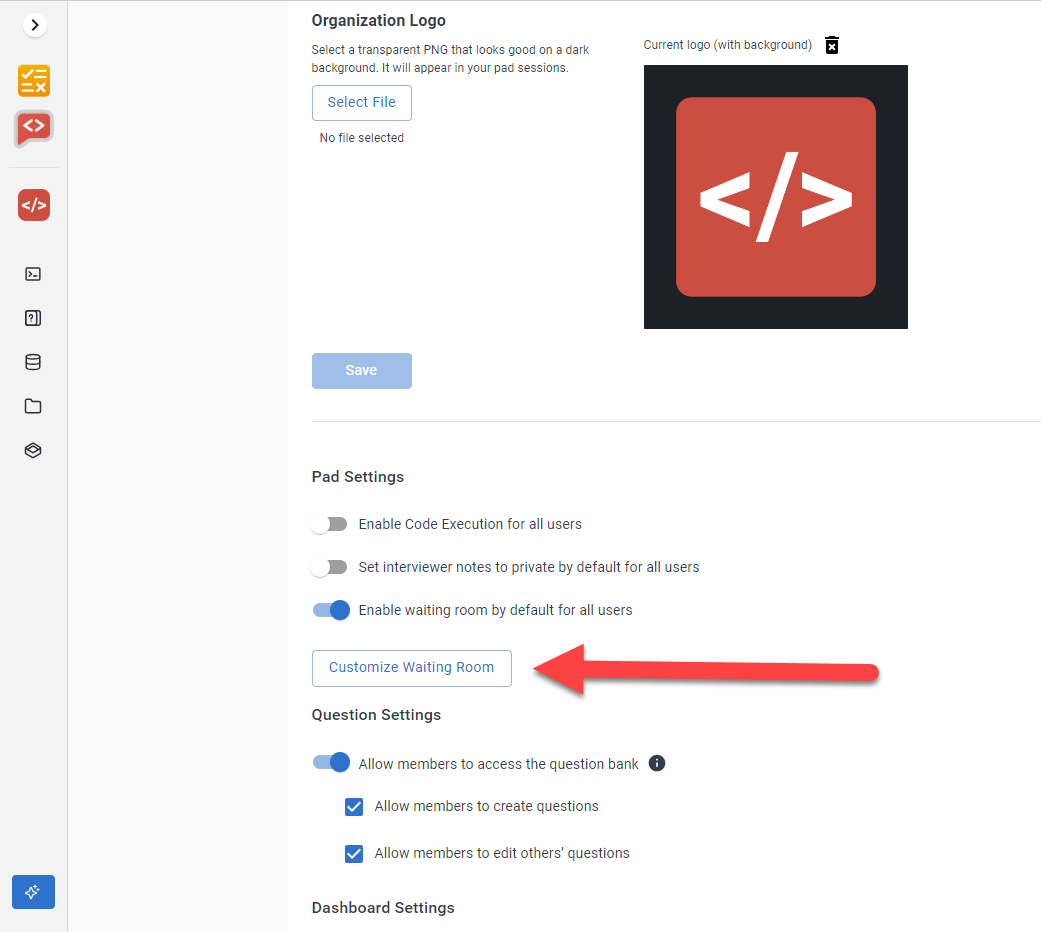
This will open the customization editor. Here you can edit the text of the waiting room and add videos and images as needed. Once your finished, you can click Preview to view your changes or click Save to finish.
Track suspicious activity
Under this section, you’ll see the following options:

⚠️ Pasted code and leaving the IDE does not always equal cheating. While the candidate could be copying code from sources like StackOverflow or ChatGPT, they could also simply be pasting code that they’ve been writing in their own IDE or editor like Notepad++. Also note that using the browser console will count as a ‘left event’ because the console is a technically different browser tab, even though it’s not rendered that way.
Playback mode notifications
You’ll be able to see notifications on the playback mode screen when a candidate has copy/pasted code or if they left the IDE.

Real-time notifications
You’ll see pop-ups appear on your interviewer’s screen every time a candidate copy/pastes or leaves the CoderPad browser tab.

Question settings
Restricting Question Access and Creation to Administrators
You may want to limit question creation to Interview administrators to make sure they’re only created by certain users. To do so, simply turn on the Restrict question creation and editing to admins toggle.
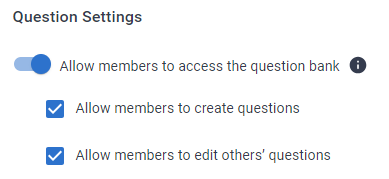
You can use a combination of the Allow users to edit each others’ questions and Restrict question creation and editing to admins toggles to fine-tune your users’ question creation and editing access:
| Allow members to edit others’ questions | Allow members to create questions | Access Level |
| ✅ON | ✅ON | All users can edit and create questions |
| ❌OFF | ❌OFF | Only admins can edit and create questions |
| ❌OFF | ✅ON | All users can create questions, but cannot edit each others questions (can only edit their own) |
| ✅ON | ❌OFF | Only admins can edit and create questions |
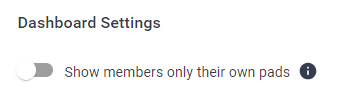
Dashboard settings
Pad restriction
In the Dashboard Settings, you can enable the Show members only their own pads toggle to restrict pad access for members to just those pads that they have created.
✅This option is currently only available to Enterprise accounts.
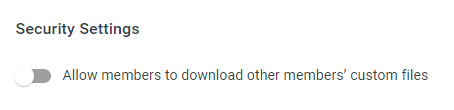
Security settings
Custom file access
Turning on the Allow users to download other member’s custom files toggle allows users to use custom files created by other users in their pads.
Pad management settings
Auto-End Pads
✅ Please not that auto-end pads is an Enterprise-only feature.
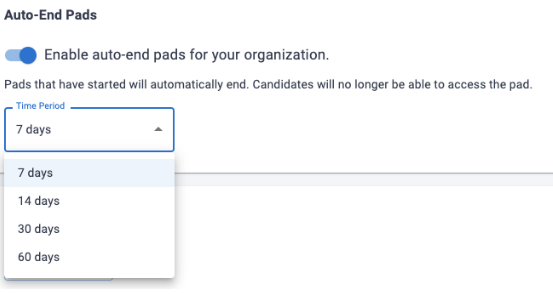
Auto-end pads allow you to set a default time for pads to end once an interview is started. You can enable this feature under Auto-End Pads in the Manage Pads section of the Admin Team Settings page.
✅An interview is considered “started” when an interviewer and a candidate are in the pad, and the pad has been modified. For a take-home, this means the candidate has joined the pad and started working on the take-home.
By default the setting is toggled off. To turn this feature on, simply click on the toggle.
Once toggled on, the time-period input will allow you to select a default time. The available time periods are 7 days, 14 days, 30 days, and 60 days.
⚠️The setting itself is forward-facing. Meaning that ONLY pads created after the setting is toggled on will be auto-ended.
Auto-Delete Pads
✅ Please not that auto-delete pads is an Enterprise-only feature.
You may need to regularly delete pads from your account to comply with your company’s data retention policy, or simply because you want a cleaner and up-to-date pad list in your dashboard.
You can do this under Auto-Delete Pads in the Manage Pads section of the Admin Team Settings page.
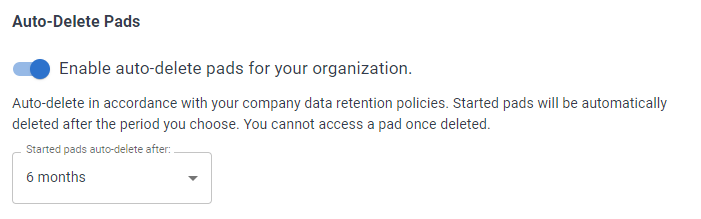
By default the setting is toggled off. To turn this feature on, simply click on the toggle.
Once toggled on, the time-period input will allow you to select a default time. The available time periods are in 6 month increments — 6, 12, 18, and 24 months.
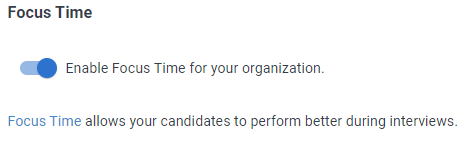
Focus Time
Turning this setting on allows candidates to have five minutes of coding or thought-gathering time where the interviewer will be unable to view their screen.
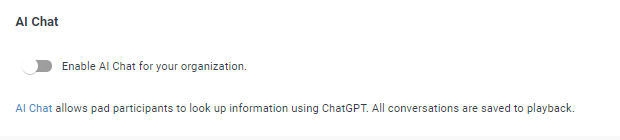
AI Assist
This toggle allows the ChatGPT-powered AI Assist tab to appear in the pad.
Update Account Information
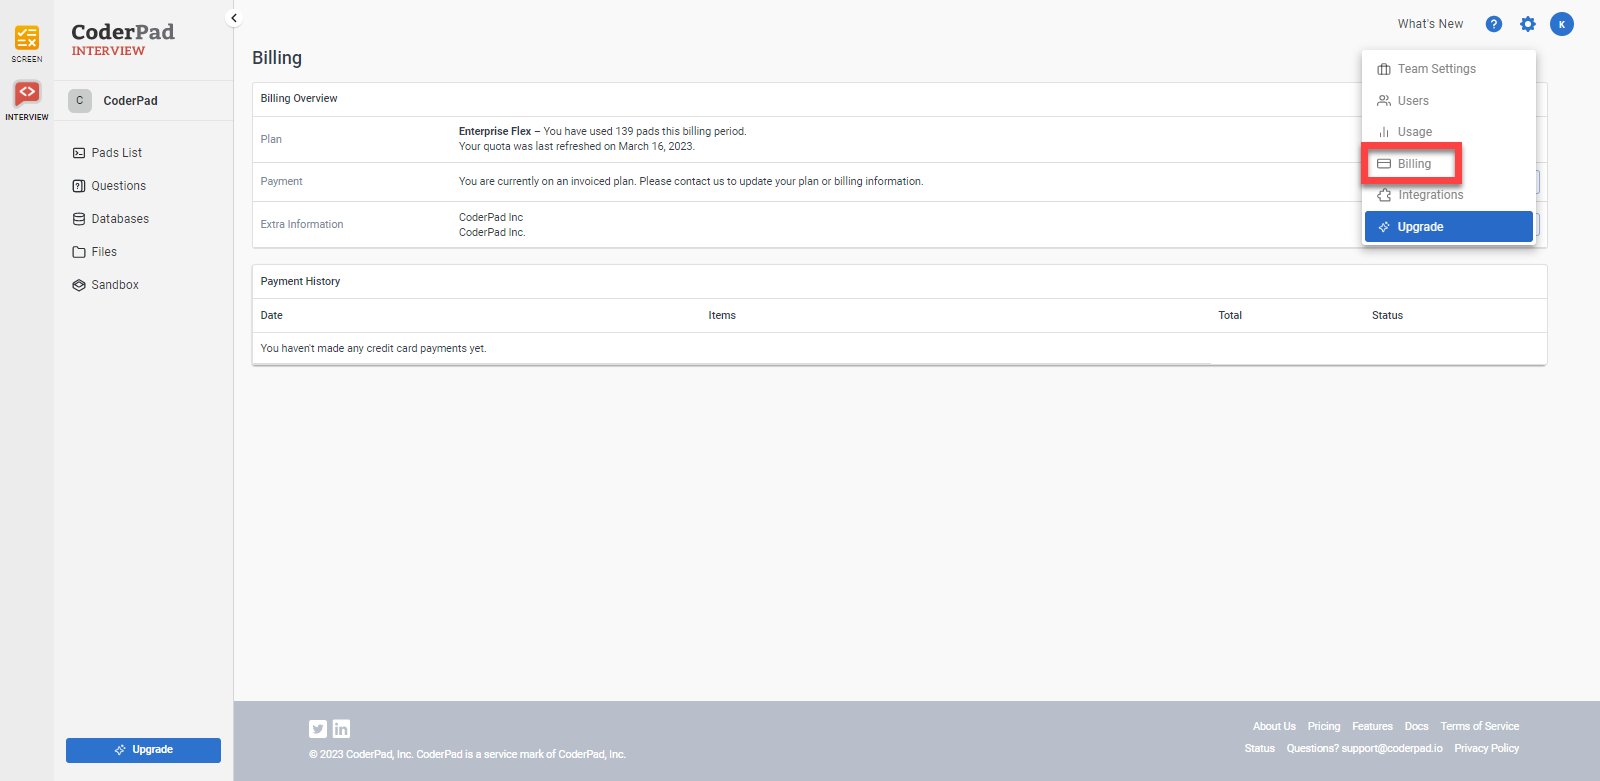
Most of your account information — including your plan type and payment information — can be found under the Billing menu option under your account menu:
❗Please keep the following in mind when it comes to your pad usage:
1) Each pad you create counts against your quota.
2) Pads available for use in upcoming interviews have a ‘Not Started’ status in the dashboard.
3) You can delete pads, but once they’re gone, they’re gone for good, so be careful!
4) Deleted pads count against your interview quota, unless they are deleted within 28 days of creation.
5) We strongly recommend that engineers new to Interview get familiar with the interface by using our sandbox. The Sandbox uses no interview quota.
Final Tip: Onboarding participants
New users receive links to our role-specific, getting started guides via email when they activate their Interview accounts.
Candidates
Interview is free for candidates to use, whether or not they register an account with us.
If they sign up for a free candidate account, they receive a link via email to the Getting Started: Candidates guide and the sandbox. The guide doesn’t give candidates any company specifics, but it does help them learn how to customize their Interview settings for the most comfortable interview experience.
Your recruiters and interviewers are welcome to send candidates a link to the free practice sandbox before the interview so they can familiarize themselves with the coding environment.
Interviewers
Interviewers can access their quick start guide here.
If you have any questions or concerns about how things work in Interview, feel free to contact support – we’re happy to help!