Test cases
Last updated on • Disponible en Français
With take-home projects you have the ability to run test cases. Test cases allow you to test a candidate’s code against certain requirements. You will also be able to view the test cases’ pass/fail results once the candidate has finished their take-home project.
You set them up during Step 2 – Add Take-Home Test Cases of question creation/editing.
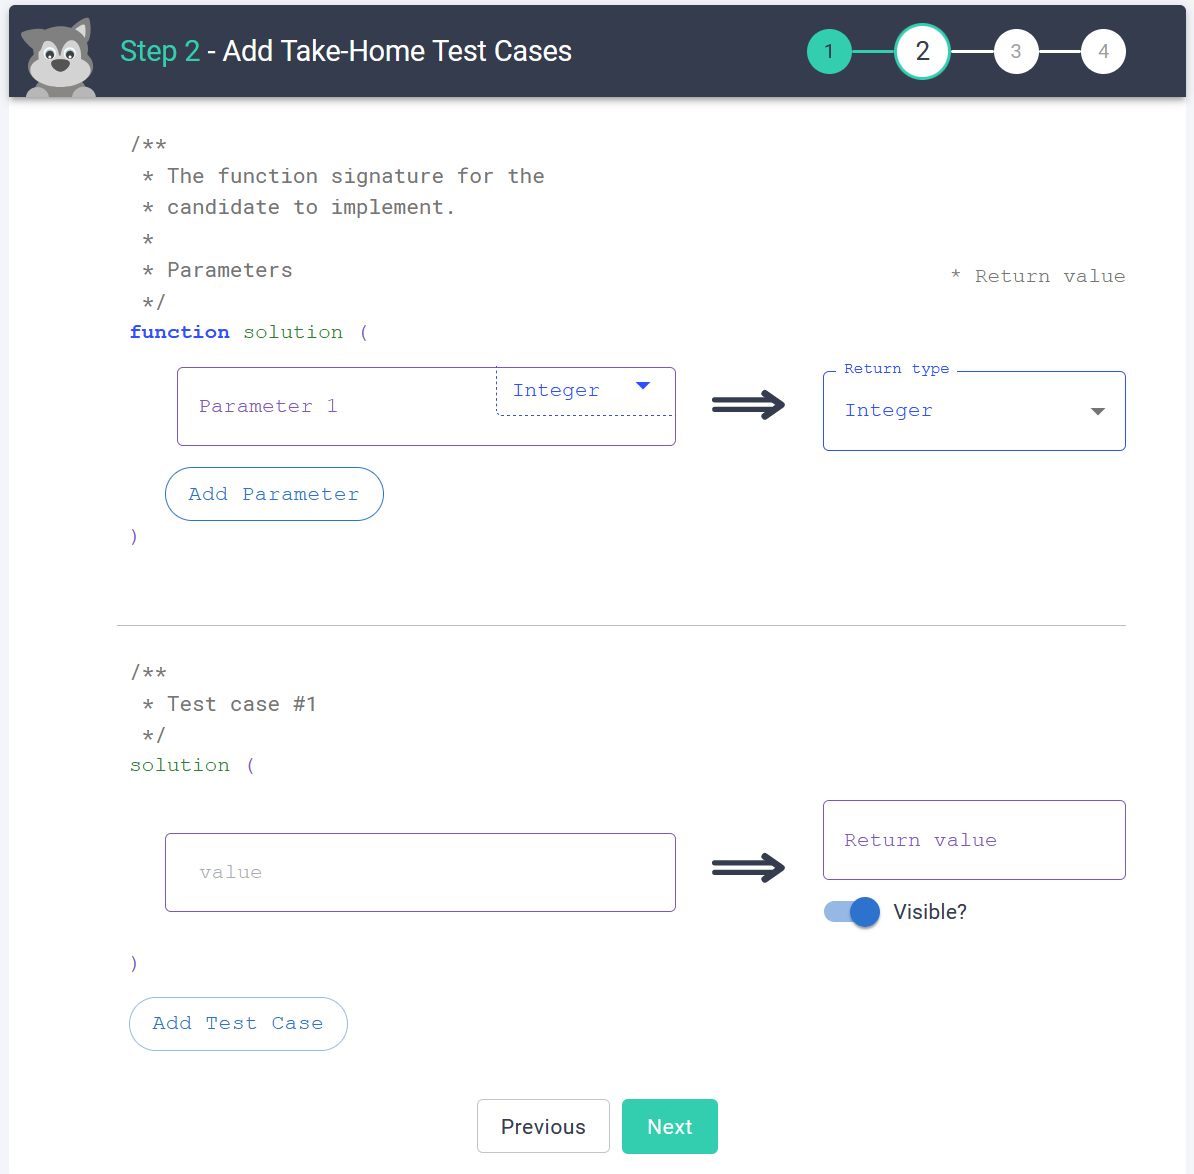
1. Set up the function signature
In order to run tests on the solution function, we must know how many parameters are enabled, what types they are, and what the expected return type of the function is.
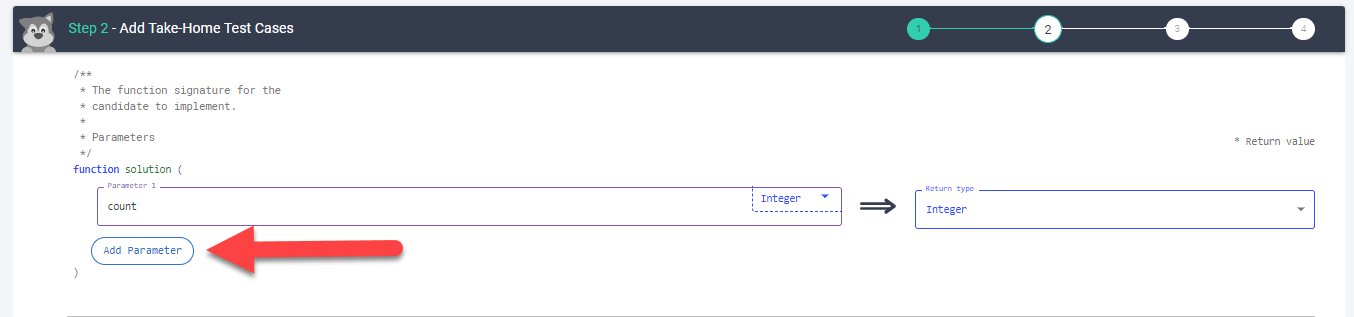
Parameters should be named and assigned a type using the dropdowns.
You can add multiple parameters to a function by selecting the Add Parameter button, and repeating the steps to name the parameter and assign the type.
If you want to remove a parameter, click the trashcan icon on the left-hand side of the parameter.
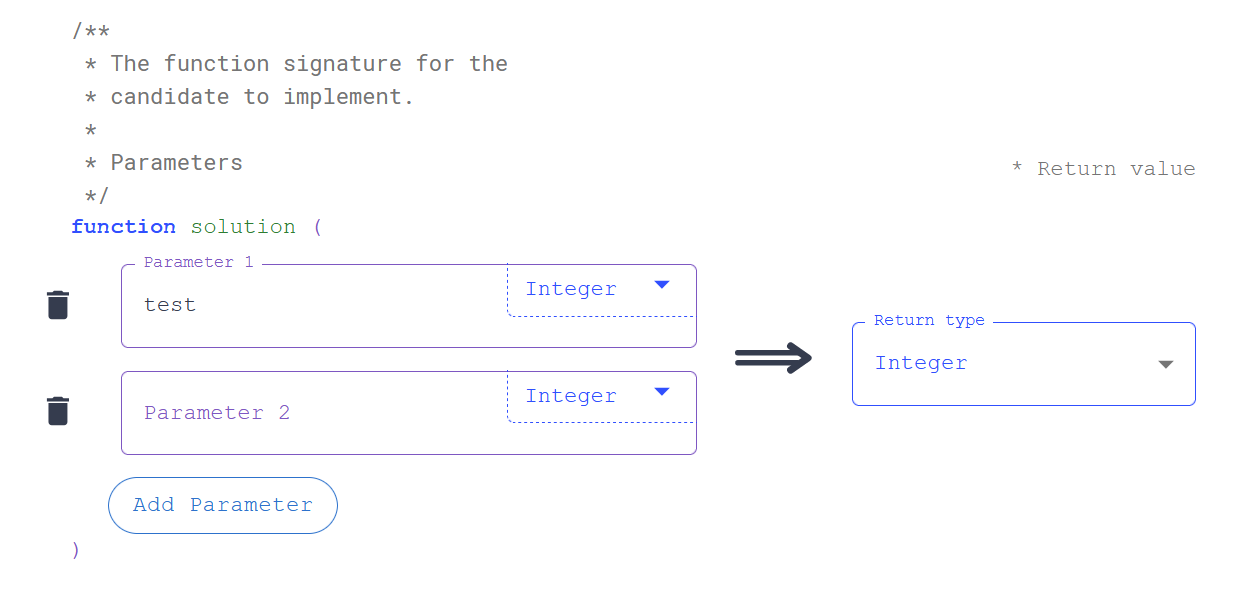
Finally, you can set the type of the function’s return value
Supported types include:
- Integer
- String
- Integer Array
- String Array
These types are consistent across all supported take-home project languages. These same types are enabled for both parameter types and return types.
2. Add the test case solutions
Next you’ll add the inputs and expected outputs you expect to see from a candidate’s solution.
There one test case solution will be automatically added for you to fill out, but you can easily add more by pressing the Add Test Case button.
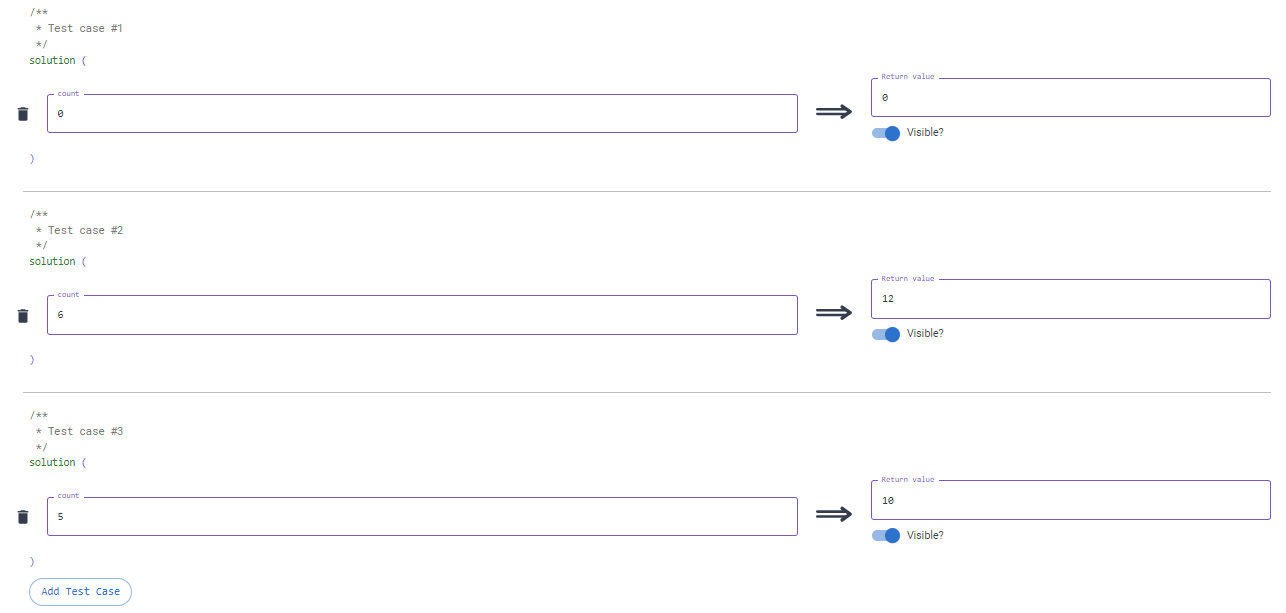
You’re able to remove test cases by selecting the trashcan-shaped delete button to the left-hand side of the test case you’d like to remove.
Each test case also includes a toggle of whether to make it visible to the candidate or not. Non-visible test cases are not shown to candidates but are still tested against the candidate code and reported to the interviewer in playback mode.
Candidate View
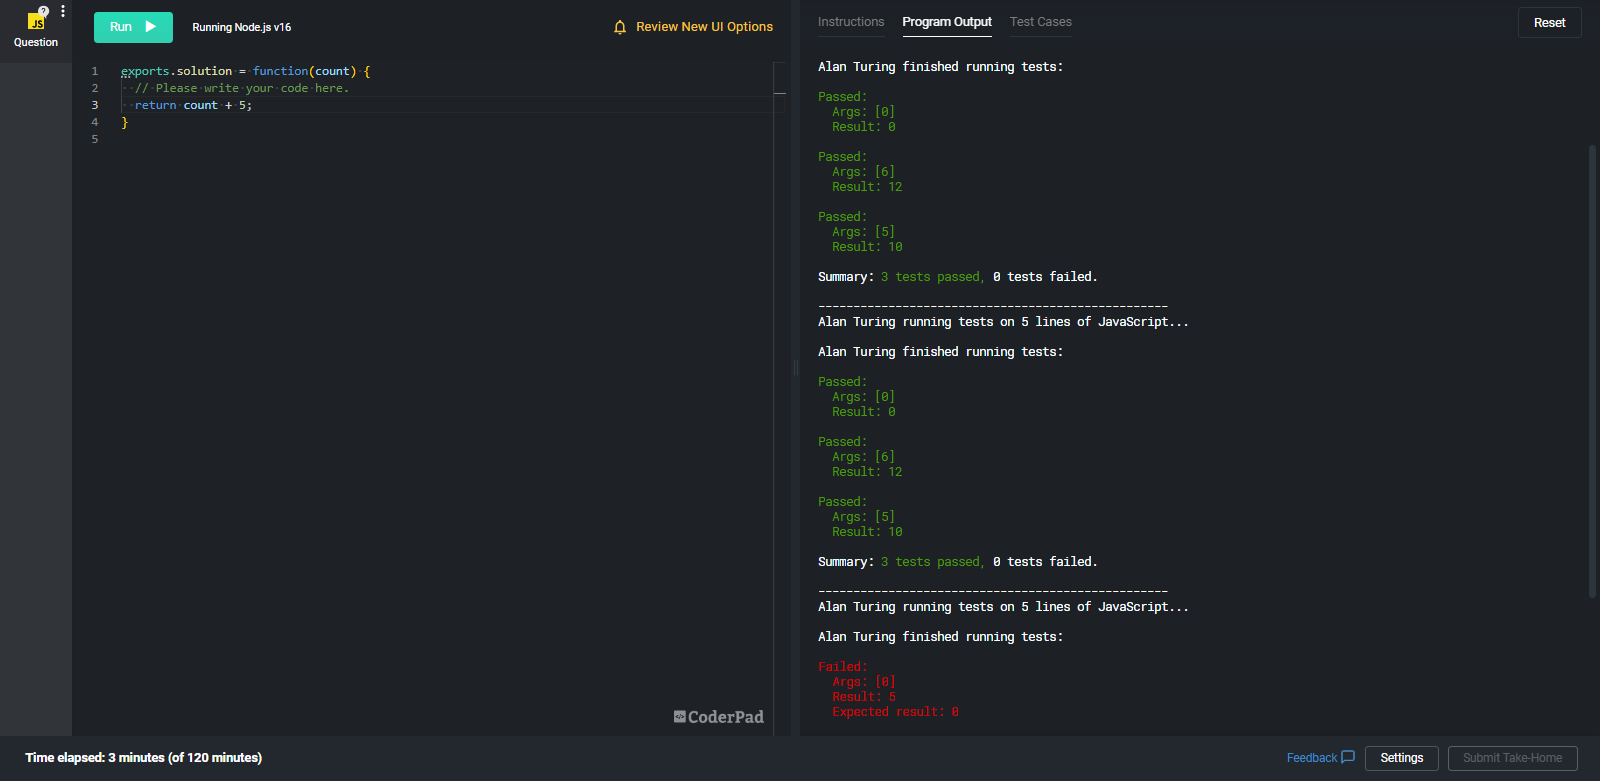
When a candidate accesses a pad with take-home test cases, they’ll be able to see the visible tests within the Test Cases tab:
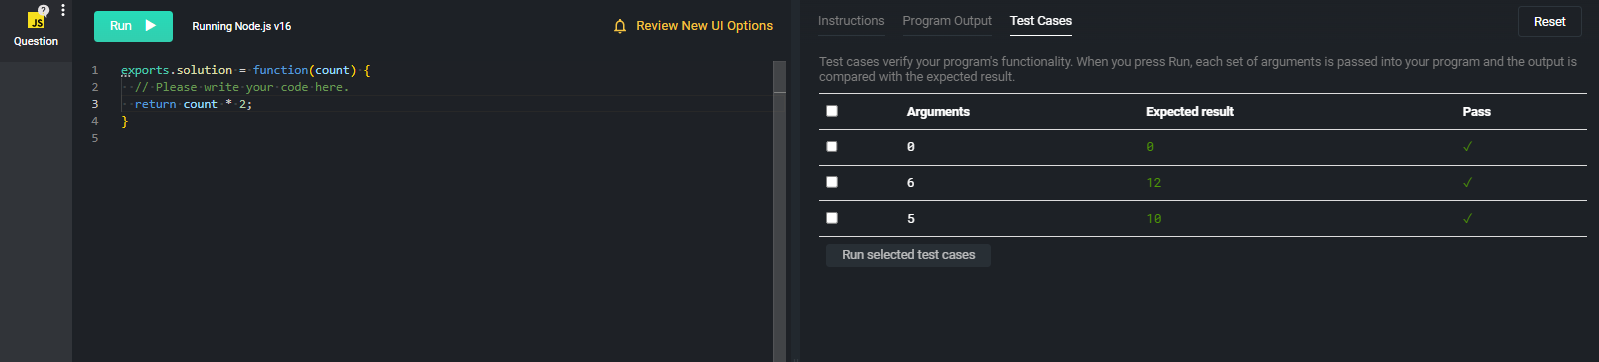
They can run specific test-cases by checking the desired checkboxes and pressing Run selected test cases. Once ran, the Pass column on the right will update to indicate whether the test was successful or not.
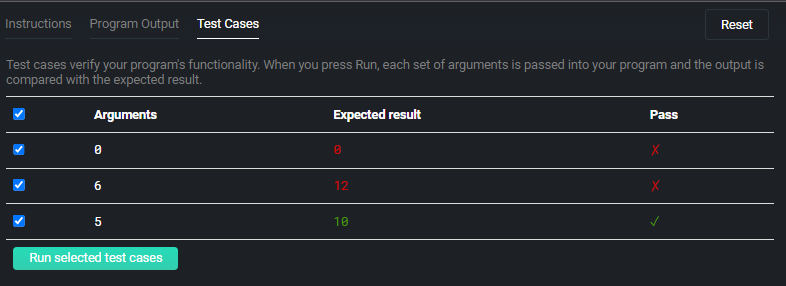
You’re also able to see test output from the Program Output tab, along with the expected and actual results for each failed test.