FigJam + CoderPad: A More Visual Way To Interview
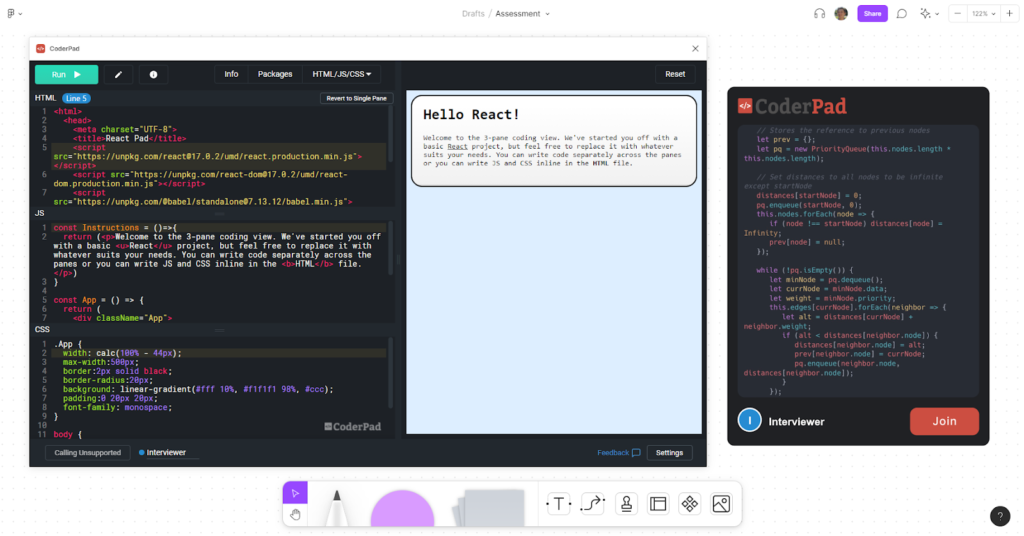
We’ve talked about how beneficial UI mockups can be for Front-End interviews and how visuals can accelerate Back-End interviews in the past.
Luckily, you don’t have to give up your favorite tools to utilize these concepts to their fullest potential. Let’s explore how you can integrate your CoderPad interviews within Figma for each candidate.
Start by setting up your FigJam file to use in your interview. You’ll want to include any relevant diagrams and visuals required for your candidates’ technical assessment.
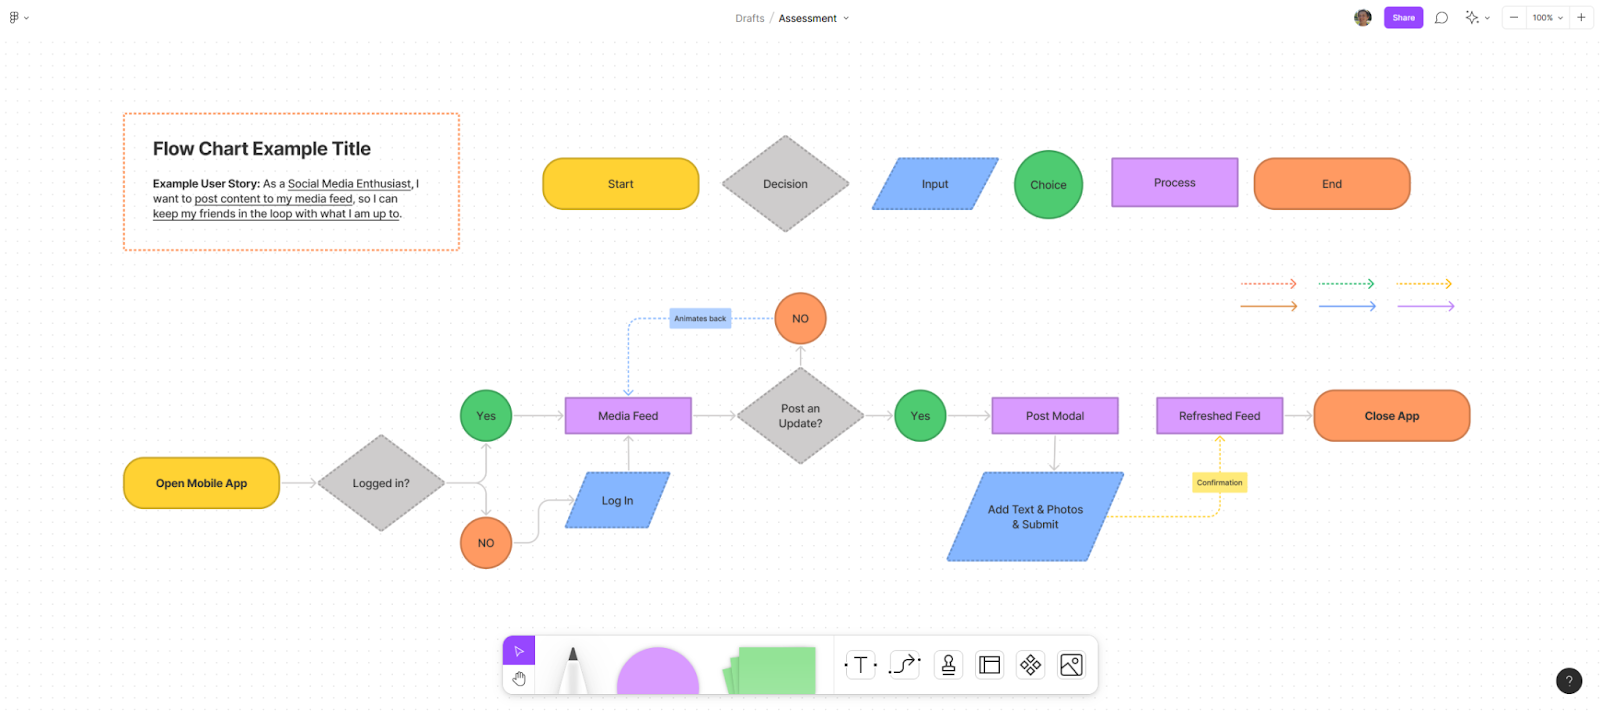
If you want to include a mockup from a Figma file, remember that you can copy and paste assets and frames from a Figma file into a FigJam file
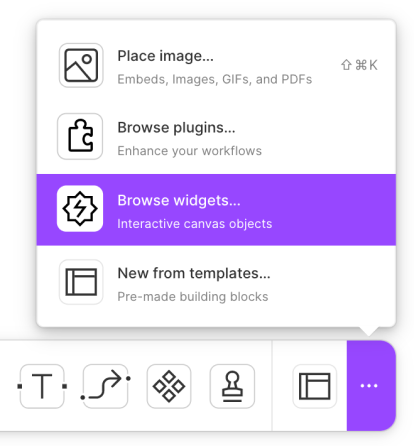
Once this is done, add the CoderPad Widget. To do this, select “Browse Widgets”, and search for “CoderPad”
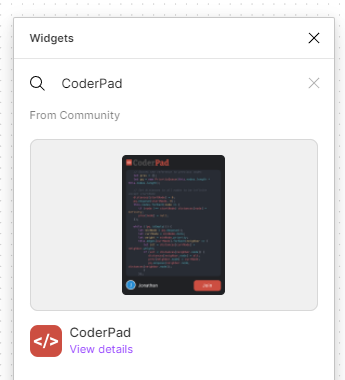
Once you add a CoderPad widget to your FigJam instance, you’ll see a widget with the ability to “Create a pad”: press the button to open your CoderPad instance.
The first time you open a CoderPad widget, it will ask you to add your API key
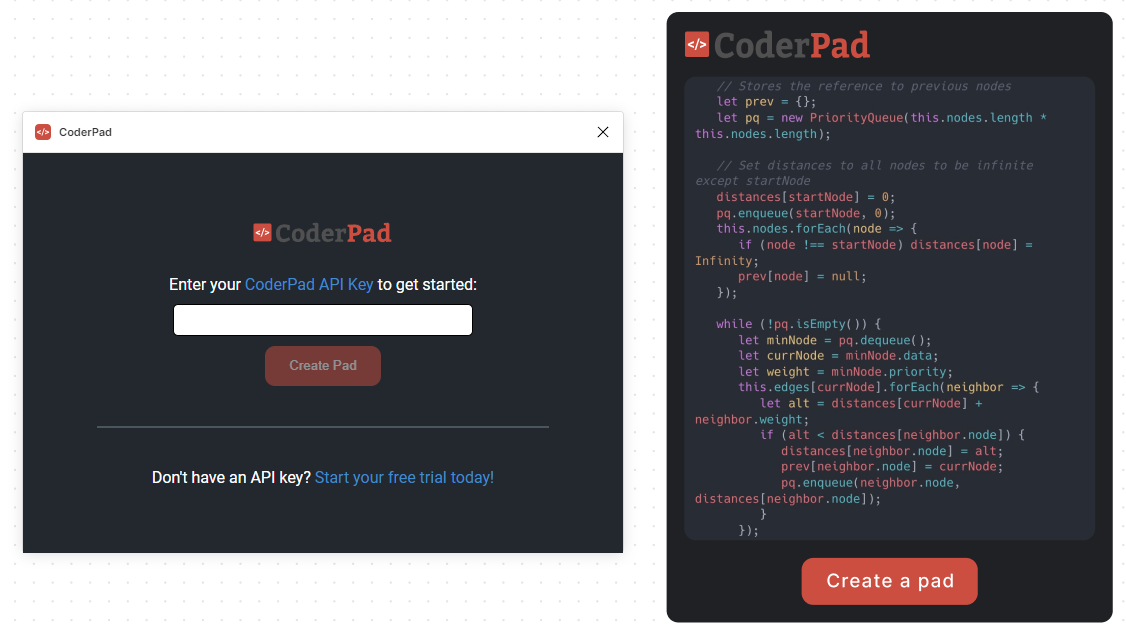
Once you’ve put in your CoderPad API key, you’ll be greeted with an interview pad created with your default language.
To get your CoderPad API key, see our documentation page on retrieving it
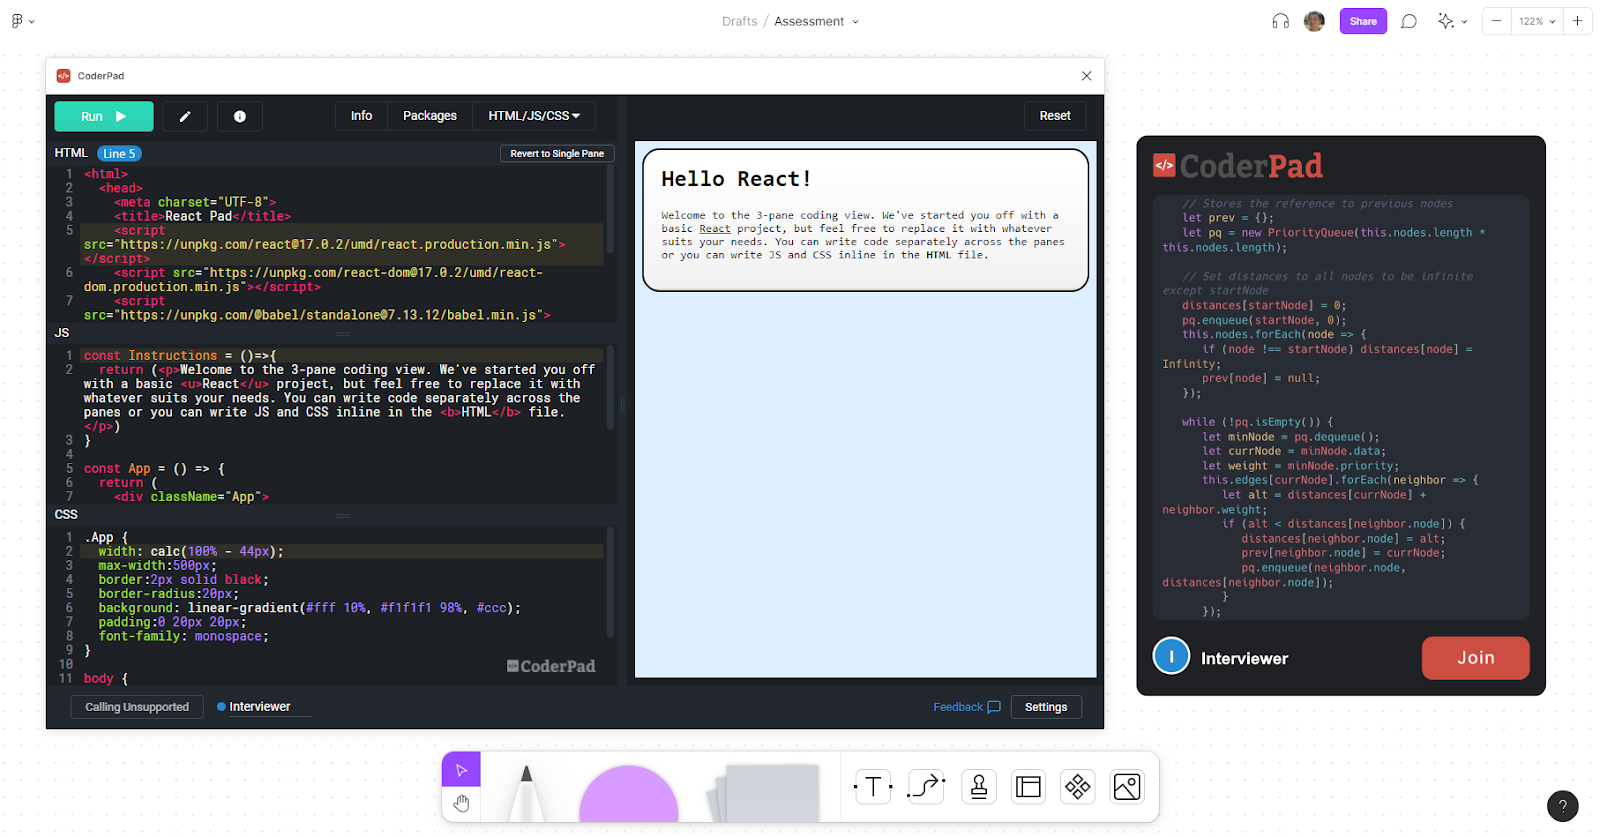
When you join the pad, it will pre-fill your name from your Figma account. When others join the CoderPad interview from FigJam, it will show who’s currently in the pad in the FigJam widget
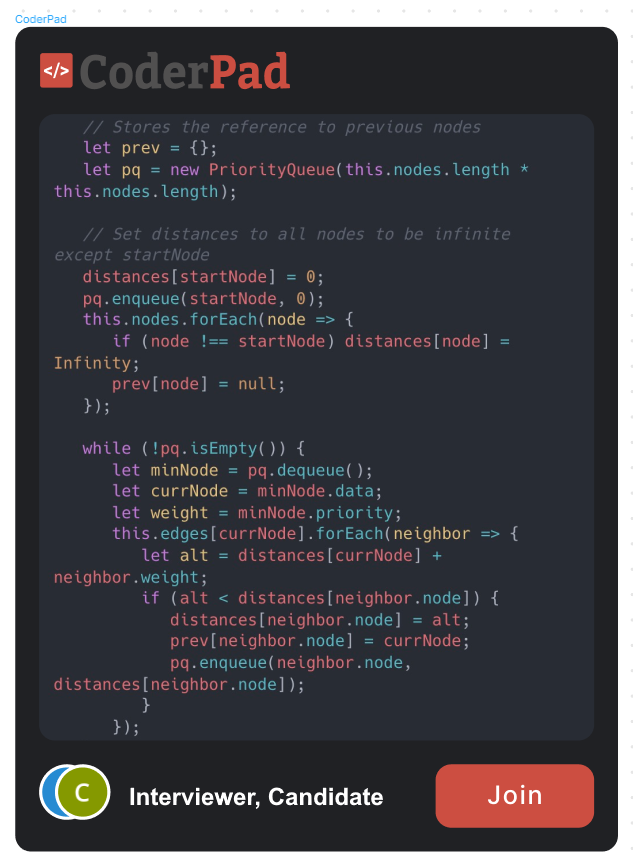
Even if you close a CoderPad widget window, it will not create a new pad. Only once you create a new CoderPad FigJam widget will a new pad be created.
Because of this, if you accidentally close the CoderPad window, you can rejoin the same pad simply by selecting “Join”.