Multitouch gestures like pinching, swiping, and expanding are essentially native to mobile devices like our pads and phones, whereas on desktop, the swipe gesture is most likely to be carried out with mouse events, especially on sites that are specialized in entertainment, education, and we have most recently found them in web projects like e-commerce. This is because the rise of draggable interactions in our mobile browsers gave rise to recent innovations in navigation design.
Its aesthetic objective is to resemble a real-world interaction, bringing skeuomorphic designs to mind. On the desktop, draggable interactions use a mouse and a finger extension to move and pick up objects as we might be able to in real-life situations. Like other gestures, draggable interactions are aesthetically pleasing and increase user interaction, allowing users to stay connected throughout their visit to a site.
In this article, you will build a draggable slider intensively utilizing Javascript and CSS to express your site’s interaction and aesthetics. The GIF below resembles what you will achieve at the end of this tutorial.
A The GIF shows a page containing several cards sliding from right to left and left to the right.
Prerequisites
There are a few requirements that must be met to effectively follow this article:
Start by creating a new folder, draggable, and open the folder in your code editor. In your code editor, create three files: index.html, index.js, and style.css:
Visual Studio Code editor showing three files index.html, index.js and style.css in the sidebar.
In the index.html file, link the style.css and index.js files:
Open the index.html file from your browser. You should see the screen:
The image shows the text Coderpad.
Next, you’ll build the cards for the draggable slider. In your index.html file, add the following:
<body><divclass="container"><divclass="cards"><divclass="card"><imgsrc="https://encrypted-tbn0.gstatic.com/images?q=tbn:ANd9GcT_X3kCeWYJuVS-vouoQhCfcRWKwbBX6RG1bA&usqp=CAU"alt="" /><divclass="card__content"><h1>Coderpad</h1><p>
CoderPad is a simple yet powerful online technical assessment software that makes it easy to interview in the candidate's language of choice so hiring!
</p></div></div><divclass="card"><imgsrc="https://encrypted-tbn0.gstatic.com/images?q=tbn:ANd9GcR-jt3d-_xLuJFSQPmo6Tqepn4_wtLlgb9RHA&usqp=CAU"alt="" /><divclass="card__content"><h1>Coderpad</h1><p>
CoderPad is a simple yet powerful online technical assessment software that makes it easy to interview in the candidate's language of choice so hiring!
</p></div></div><divclass="card"><imgsrc=" https://encrypted-tbn0.gstatic.com/images?q=tbn:ANd9GcSGqsuPapsSkvE1CmgIDKLzz7wae5kXblPhan-of6_uEBgiVuikb7SXAKJuhkEL-7I47Vg&usqp=CAU"alt="" /><divclass="card__content"><h1>Coderpad</h1><p>
CoderPad is a simple yet powerful online technical assessment software that makes it easy to interview in the candidate's language of choice so hiring!
</p></div></div><divclass="card"><imgsrc="https://encrypted-tbn0.gstatic.com/images?q=tbn:ANd9GcQ8IO5pV7-yK2sN_BWo1UKij8xoRE9g2RoPHgqVD44wG0UAwXJyhPLGr4_-intJUVg-I0w&usqp=CAU
"alt="" /><divclass="card__content"><h1>Coderpad</h1><p>
CoderPad is a simple yet powerful online technical assessment software that makes it easy to interview in the candidate's language of choice so hiring!
</p></div></div><divclass="card"><imgsrc="https://encrypted-tbn0.gstatic.com/images?q=tbn:ANd9GcTykw4RpJXpvKdG2mioMW0HfzNjXfGtzS_ojZ3adk_IBqp3xSbSVBIv0jJ2khhML_sZv5s&usqp=CAU"alt="" /><divclass="card__content"><h1>Coderpad</h1><p>
CoderPad is a simple yet powerful online technical assessment software that makes it easy to interview in the candidate's language of choice so hiring!
</p></div></div><divclass="card"><imgsrc="https://encrypted-tbn0.gstatic.com/images?q=tbn:ANd9GcQX5G4dIuaf2GvJH8qrsqK8fJI8jcJbxo_SLQapss5k0fgcS0weQz8T2iL19MoQhBLzJQw&usqp=CAU"alt="" /><divclass="card__content"><h1>Coderpad</h1><p>
CoderPad is a simple yet powerful online technical assessment software that makes it easy to interview in the candidate's language of choice so hiring!
</p></div></div></div></div><scriptsrc="index.js"></script></body>Code language:HTML, XML(xml)
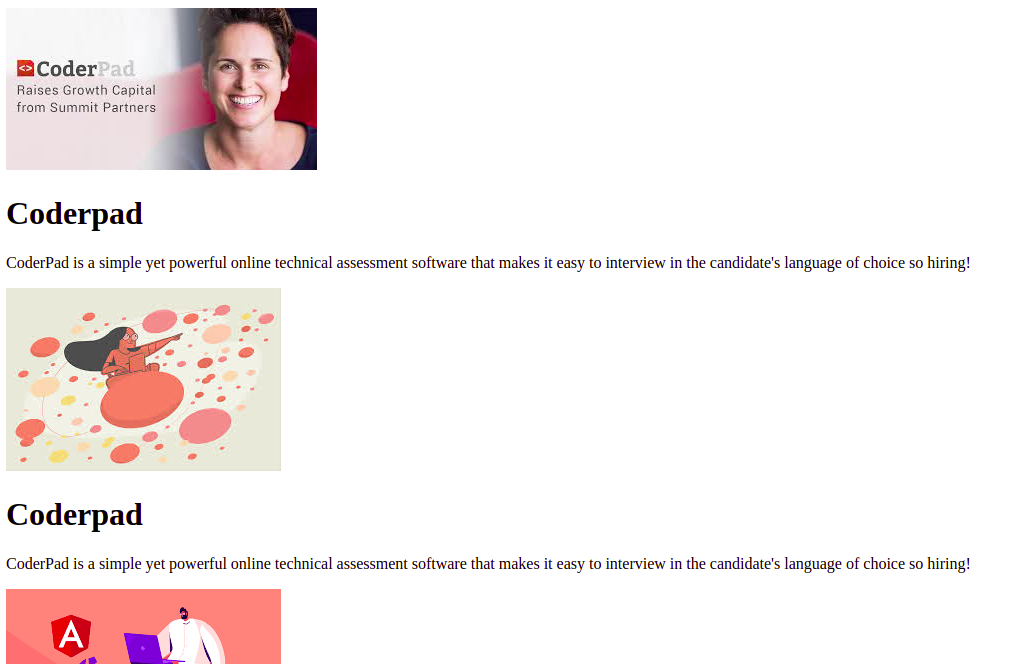
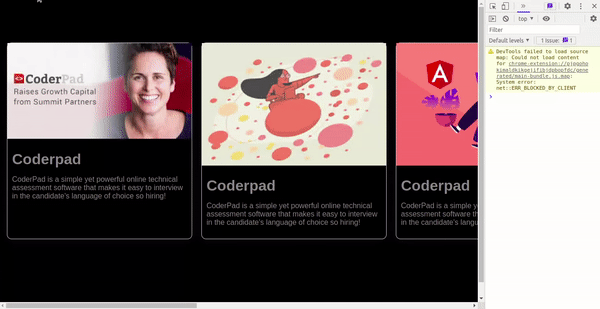
Refresh the page in your browser to view the cards you created:
The page containing cards with the text “CoderPad is a simple yet powerful online technical assessment software that makes it easy to interview in the candidate’s language of choice so hiring!”
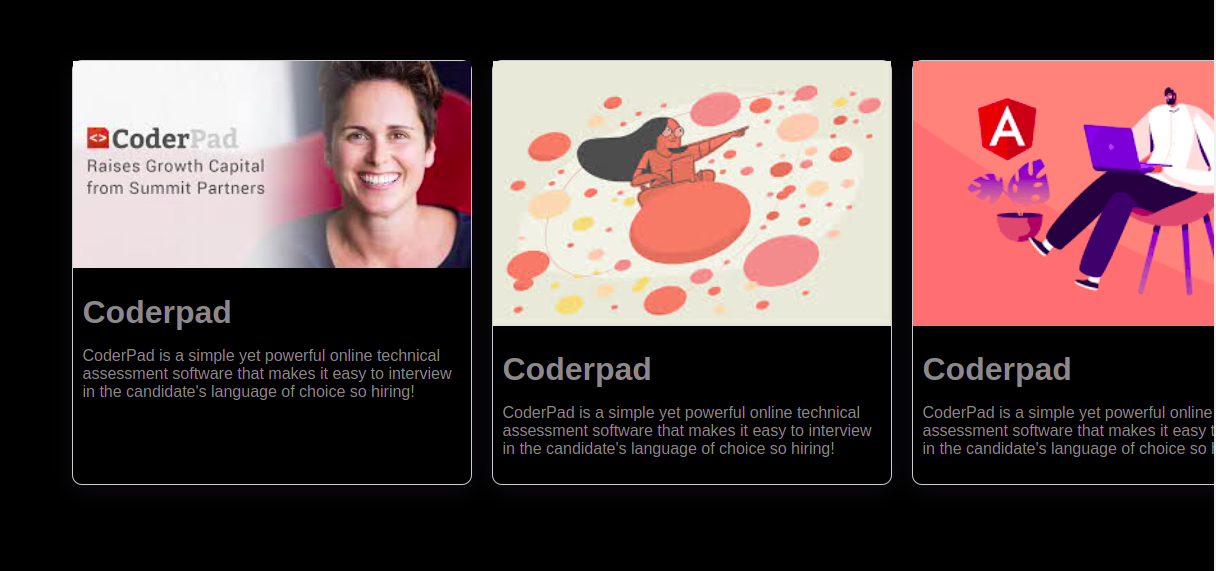
After styling, your page on the browser should look like this:
The cards are aligned horizontally in a black background and white text font.
Implement mouse events
The MouseEvent interface displays actions taken due to a user’s interaction with a pointing device (such as a mouse). The most frequent actions performed on this interface are click, dblclick, mouseup, mousedown, and in our case mousemove.
Implement the draggable gesture in your application using JavaScript by following the steps outlined below:
Select the container and cards elements and store them in their respective variables:
The mousedown event triggers when your mouse is pushed down. In the code block above, the isPressed variable is set to true whenever the mouse is down. Beneath it, the cursorX is defined as the difference of e.offsetX and cards.offsetLeft, and lastly, the slider’s cursor style is set to grabbing which will only run when the mouse cursor hovers over the cards.
ℹ️ OffsetX retrieves the horizontal position of the mouse pointer in pixels relative to the target element.
If you console log e.offsetX and you click on your first card as seen in the GIF below, you have 400pixels, which makes much sense as the grid template column was set to 400pixels:
The horizontal position of the mouse pointer in pixels is logged in the console.
ℹ️ OffsetLeft returns the left position in pixels relative to the left side of the offset parent
Next, you’ll add an event listener to listen to the mousemove event:
In the code block above, the slider listens for the mousemove event. If the mouse moves, the function then updates the card’s left property with the difference between the offsetX and cursorX values.
The mousemove event in action. The page responds by moving left and right depending on the movement of the mouse.
You must’ve noticed that the sliding experience isn’t smooth and has a forceful drag back. To fix this, add a pointer-events: none; to the cards element in your stylesheet:
The slider moves smoothly from a left to right direction.
The GIF above indicates an improvement, but then that is not the level of smoothness desired. To get rid of this behavior, add another event listener mouseup.
The mouseup event listener triggers when a user stops pressing the mouse. So whenever it triggers, isPressed is set to false. Now the slider should be harnessing the completeness of the grab gesture.
The slider works perfectly with the grab gestures implemented.
The slider is now draggable. The slider gets the current coordinates relative to the left-hand side of the cards and then subtracts that from the offset of the parent div which is the container.
Although the grab gesture is operational, the slider continues to scroll off the page after the cards. To fix this, create a boundSlides function which disables the cards if they extend over the container’s width on both sides while sliding. In index.js, add the following:
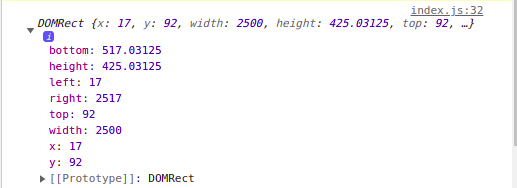
In the boundSlides() function, you defined two variables containerRect and cardsRect to retrieve and store the information on the size of an element and its position relative to the viewport using the getBoundingClientRect() method.
For a better understanding, the values from the getBoundingClientRect() for cards and container elements are logged in the console when the slider is used:
Values of container and cards.
The getBoundingClientRect() returns an object providing information on the size of an element and its position relative to the viewport.
The left side of the card is greater than zero whenever you slide, and it is at zero without the slide action. In the boundSlides() function, if the left property of the cards container is greater than zero, the value of the left property is set to 0. With the GIF below, you can observe that it no longer goes over zero.
Lastly, you need to also do the same to the right. The boundSlides() function checks if the cards’ right position is less than the containers’ and then assign the cards’ left position value to the difference of their width.
In the mousemove event listener, call the boundSlides() function:
Our draggable gesture is complete! View the draggable slider in action in the sandbox below:
ta-da 🎉
In this article, you learned how to build a draggable carousel from scratch using vanilla JavaScript leveraging the power of mouse events. Tools of this kind are aesthetically pleasing, which is always a benefit for websites that ask for greater user interaction. I want to take this opportunity to thank you for reading this far.
Uma Victor is a software developer based in Nigeria who is familiar with a variety of different web technologies and frameworks. He is also keen on finding ways to explain things as simple as possible. You can reach out to me on twitter.