AddEventListener JavaScript: What It Is and How To Use It
JavaScript event listeners (or event handlers) are essential in web development. Why? Events constantly occur on your website, and they often change the interface.
Event handlers provide a built-in solution for configuring activities anytime your page changes.
In this post, you’ll learn about addEventListener, a particular event handler in JavaScript. We’ll cover its definition, syntax, and code example. In the end, you’ll learn how to remove the handler using removeEventlistener and some other concepts.
Let’s get to it.
What is addEventListener in JavaScript?
When a user or browser interacts with a webpage, an event occurs. Event handlers are used to create a customized piece of code that will run in response to specific events (e.g., opening a pop-up window when a user clicks a button). Some events are user-generated, while some are generated by APIs.
JavaScript includes a built-in method called addEventListener. It’s a DOM Level 2 event handler. You can use it to attach an event handler to a specific element. It in no way replaces the existing event handlers.
addEventListener makes adding many event handlers to one element easy — it lets you respond to events associated with an element via an event handler function. The change effect is an example of an event. You can attach an event handler to any DOM object.

AddEventListener syntax in JavaScript
Let’s take a look at the syntax: target.addEventListener(event, function, useCapture)
addEventListener has three parameters. event and function are most frequently used. useCapture is used occasionally.
Here’s what all that syntax means:
targetis the most important parameter; it specifies the DOM object you wish to attach an event listener to. HTML elements are frequently targeted DOM objects.eventis a necessary parameter. It’s a string that provides the event’s name. The first thing to remember is that the parameter value does not include the prefix “on.” For instance, use “change” rather than “onchange.” Some DOM events areclick,change,drag,copy, etc.functionis a piece of code that triggers when the event fires. It makes the web pages dynamic and is an essential part of the method. Want to learn more about how JavaScript functions work under the hood? Read our guide here.useCaptureis an optional parameter. It’s a Boolean data type with either true or false values.addEventListenerexecutes in two phases—capturing or bubbling—anduseCapturesets the propagation phase.
To better understand useCapture, let’s take a closer look at bubbling and capturing.
What are bubbling and capturing?
We can better explain this by looking at a parent element and its child—for example, a div and a button inside it.
Suppose I applied a click event on both elements using addEventListener. Which element event gets handled first when a user clicks the button? Well, it depends on the propagation phase.
- Bubbling is an inside-out execution phase. That means that execution starts from the inner element and then will move to the outermost element’s event. Therefore, the
button‘s event will be handled first, followed by thedivelement’s event. - Capturing is the opposite of bubbling. It starts the execution from the outside. In this case, when you click the button, capturing makes the event listener handle the
divelement’s event first, then handles the innermost element’s event.
Do you want your event in a bubbling phase? Set the bubbling to false, which is the default value. Conversely, set the value to true to specify the capturing phase.
AddEventListener code example
Now that you understand addEventListener and its syntax, let’s see it in action with a code example.
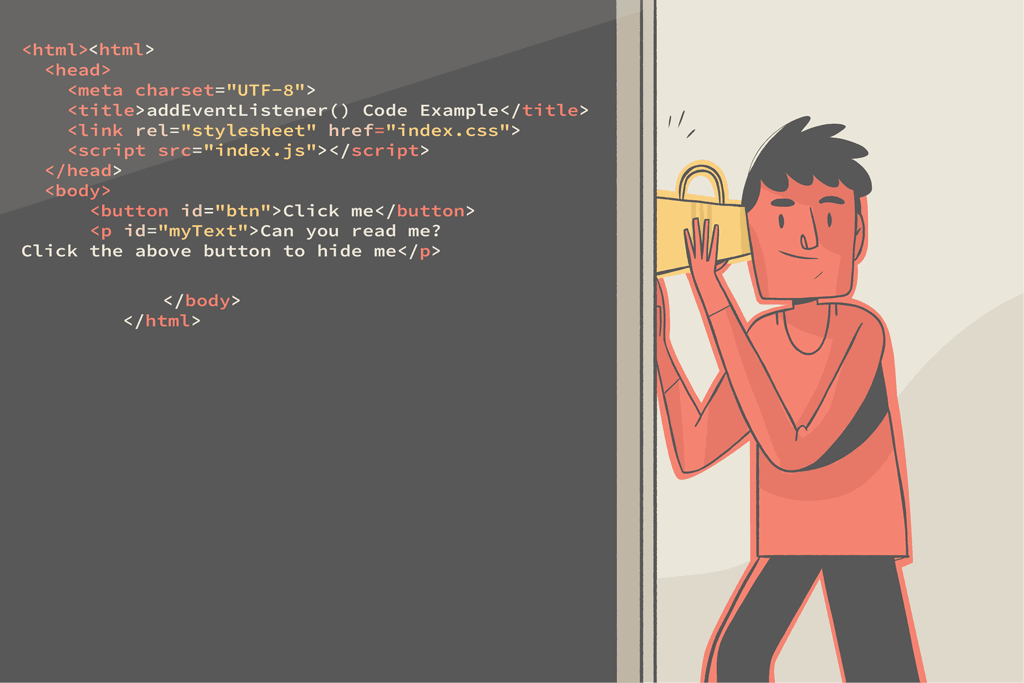
Let’s say you want to give users the ability to hide paragraph text on a webpage by clicking a button. Here’s the initial HTML to build that:
<html>
<head>
<meta charset="UTF-8">
<title>addEventListener() Code Example</title>
<link rel="stylesheet" href="index.css">
<script src="index.js"/>Code language: HTML, XML (xml)Now we need to access elements on the HTML file and assign a handler that listens for a click event. This handler will hide the paragraph when you click the button. Here’s the JavaScript to accomplish that:
let myBtn=document.getElementById('btn');
let msg=document.getElementById('myText');

myBtn.addEventListener('click', ()=>{
  msg.style.display='none';
})
Code language: JavaScript (javascript)
Here’s what’s happening:
You’ll see two elements in the HTML file, each with an ID. This enables them to be accessed by our JavaScript snippet.
In the JavaScript file, you first create a variable myBtn. After that, you access the button element in the HTML with its ID. Eventually, you assign it to the variable you created.
You then repeat the same action–assign the p element to a variable, then name the variable.
Eventually, use addEventListener. Your target element is the button at this point, and the event is click. Then, you create a function. This function adds display: none to the p element. useCapture is false, the default value.
To summarize, you can hide the paragraph by simply clicking on the button.
How to remove the handler
To remove a handler, you’ll utilize JavaScript’s removeEventListener:
target.removeEventListener(event, function, useCapture)
removeEventListener has the same parameters as addEventListener, which makes it easy to implement when needed.
To remove the event on the button element in the previous example, you can write the code as shown below:
let myBtn=document.getElementById('btn');
let msg=document.getElementById('myText');

myBtn.removeEventListener('click', ()=>{
  msg.style.display='none';
})
Code language: JavaScript (javascript)
How to stop event propagation
You may need to stop the propagation of an event because you only want it to affect a limited element.
Let’s take a div and a p inside the div as a use case. You want to stop the event from getting to the p element.
<div>
     <p>I am a paragraph</p>
</div>
Code language: HTML, XML (xml)
The first thing to remember is that you can use useCapture to catch an event on the parent element before it gets to the children and stop it.
To do this, you’ll need to set useCapture to true and use the stopPropagation function on the event object, like so:
div.addEventListener("click", myFunc => {
  console.log("The child Event won't execute")
  myFunc.stopPropagation()
}, { capture: true })

p.addEventListener("click", () => {
  console.log("You can't find me on the console")
})
Code language: JavaScript (javascript)
When you run the code above, you’ll see "The child Event won't execute" logged to the console and nothing else. This happens because we stopped the event propagation on the parent using stopPropagation.
Is it better to use addEventListener or onClick?
onClick is an example of an HTML event handler attribute. It’s also used to handle events. Meanwhile, addEventListener is the recommended way to assign event handlers.
Why?
addEventListener gives you control over the execution phase. Bubbling and capturing are not easy to handle with onClick.

Additionally, addEventListener allows the addition of multiple events to an element. It also allows the addition of multiple handlers to an event. It works well with libraries and JavaScript modules.
Before parting ways
addEventListener is an easy way to handle events on your websites. You can add multiple events to a particular element. You can remove events and even set the propagation phase. This is a superpower that enhances writing clean code.
Play around with the code you learned today in the sandbox below:
This post was written by Akande Olalekan Toheeb. Akande is a front-end developer and technical writer who loves teaching, learning, and building web tools and applications. He has experience with HTML, CSS, BOOTSTRAP, TAILWIND, LESS, SASS, GIT, NODEJS, and JAVASCRIPT and has built projects with other frameworks too.