How To Get Started With TypeScript in Node.js
TypeScript was the third most popular programming language in 2022, following Rust and Python. It’s widely admired by the JavaScript community and used by many companies to build front-end and back-end applications. Typescript’s versatility enables use with any framework or technology powered by JavaScript. This includes JavaScript back-end frameworks like Node.js, which developers use to build RESTful web services and back-end systems.
In this post, we’ll dive deeper into TypeScript and why it can be useful for you. Then you’ll learn how to use TypeScript in a Node.js application.
What is TypeScript?
Typescript is an open-source programming language developed by Microsoft. It’s an extended version of JavaScript that offers support for using variable types.
JavaScript itself is a weakly typed language. That means it assigns variable types at runtime instead of compile time. In Typescript, you can leverage the type system to create and declare type interfaces for your variables.
This kind of interface defines what type, either primitive or custom, your variable poses. Therefore we can say that TypeScript is a typed superset of JavaScript. When you compile your TypeScript code, the compiler translates it back to JavaScript. Therefore, you can also think of TypeScript as an abstraction layer for JavaScript applications, with an extended type system.
TypeScript: pros and cons
As a weakly typed language, JavaScript isn’t an ideal choice for writing applications that can grow in size and complexity. This is because variable types aren’t known beforehand, and there’s no development-time check to validate them. A string variable may be assigned a boolean at some point later that causes a bug in the program. TypeScript prevents this by identifying those kinds of errors beforehand, due to its strictly typed nature.
TypeScript has been around for quite some time and is loved by the community. Adding support for variable types in your program not only makes it less prone to errors but also makes your code self-documenting. If any other developer looks at your TypeScript function and the variables it takes and returns, they can easily understand what’s happening in that code.
In addition, TypeScript has enhanced IDE support that automatically recommends types for your variables, function parameters, return values, and so on. Moreover, as a superset of JavaScript, you can always go back to writing a TypeScript function in pure JavaScript, if needed.
Therefore, TypeScript makes your application more robust, reduces errors, and makes your code self-documenting. However, as a strongly typed version of JavaScript, it has a steeper learning curve. Hence some developers find it difficult to work with, especially beginners.
Getting started with TypeScript in Node.js
Now that you have an idea about what TypeScript is, let’s see how we can set up and start using it in a Node.js application.
Setup
First, we’ll create a new directory for our Node.js project:
$ mkdir nodejs-typescriptThen, we’ll navigate inside this directory and create a new Node.js project:
$ cd nodejs-typescript && npm init -yThe above command should return an auto-generated package.json file as shown below:
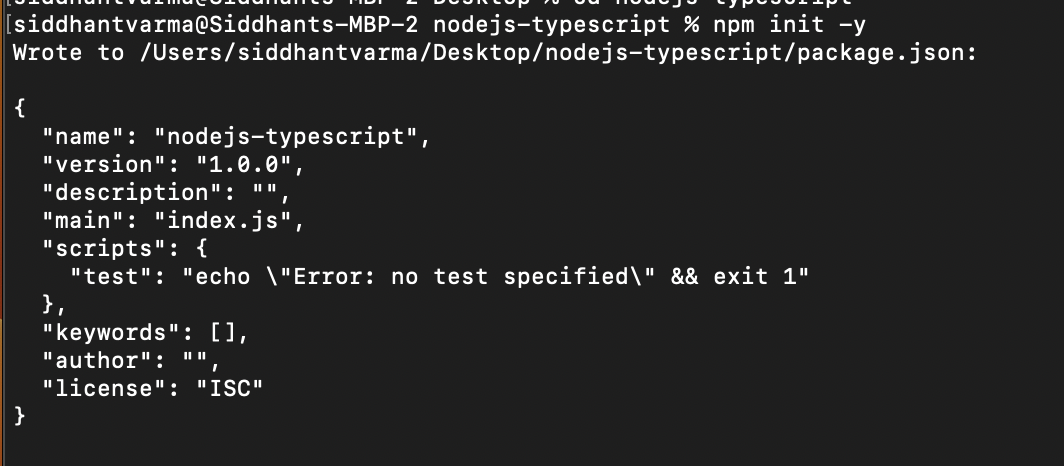
packgae.json file generated from the npm init -y command.Great! Now, let’s install TypeScript by running the following command in the root directory of the project:
$ npm i typescript -save-devI also like to install the @types/node module. This contains the type declarations for some common Node.js modules, like the file system and OS.
$ npm i -D @types/nodeYou’re all set! You should now have a node_modules folder in the project, along with a package.json file.
Adding a TypeScript config file
Next, create a file called tsconfig.json in the root directory with the following contents:
{

    "compilerOptions": {

      "module": "NodeNext",

      "moduleResolution": "NodeNext",

      "target": "ES2020",

      "sourceMap": true,

      "outDir": "dist",

    },

    "include": ["*"],

  }Code language: JSON / JSON with Comments (json)
This file configures the behavior of the Typescript compiler. Let’s quickly go over what each compiler option means.
- The
moduleoption defines the module system for your application. - The
targetspecifies the version of JavaScript our code will compile to. - The
sourceMapoption, set to true, compiles JavaScript code back to TypeScript for debugging, when needed. - The
outDirspecifies the output directory where your compiled JavaScript code will reside. - The
includeoption tells Typescript where to look for the files to build. - The
*indicates that all our TypeScript code will live directly in the root directory.
Building a TypeScript project
You have everything set up now. Let’s create our first script in Typescript and build it in JavaScript. Create a new file called app.ts in the root directory. Here, you’ll add some fairly simple and straightforward code to calculate the sum of two numbers:
const a: number = 10;

const b: number = 20;

function add(a: number, b: number): number {

    return a + b;

}

const sum=add(a,b);

console.log(`Sum of ${a} and ${b} is ${sum}`);Code language: TypeScript (typescript)
All Typescript files get a .ts extension. Notice how we declared types for the variables, function parameters, and return values. You’ve written your first Typescript code in Node.js — not bad!
Now let’s compile it. In your package.json file, under the scripts section, add the following script:
{
...

 "scripts":{

    "build": "tsc",

     ...

  }

}Code language: JSON / JSON with Comments (json)
Use the following command to execute the above script:
$ npm run buildIt should look through your TypeScript files in the root directory and start compiling them:

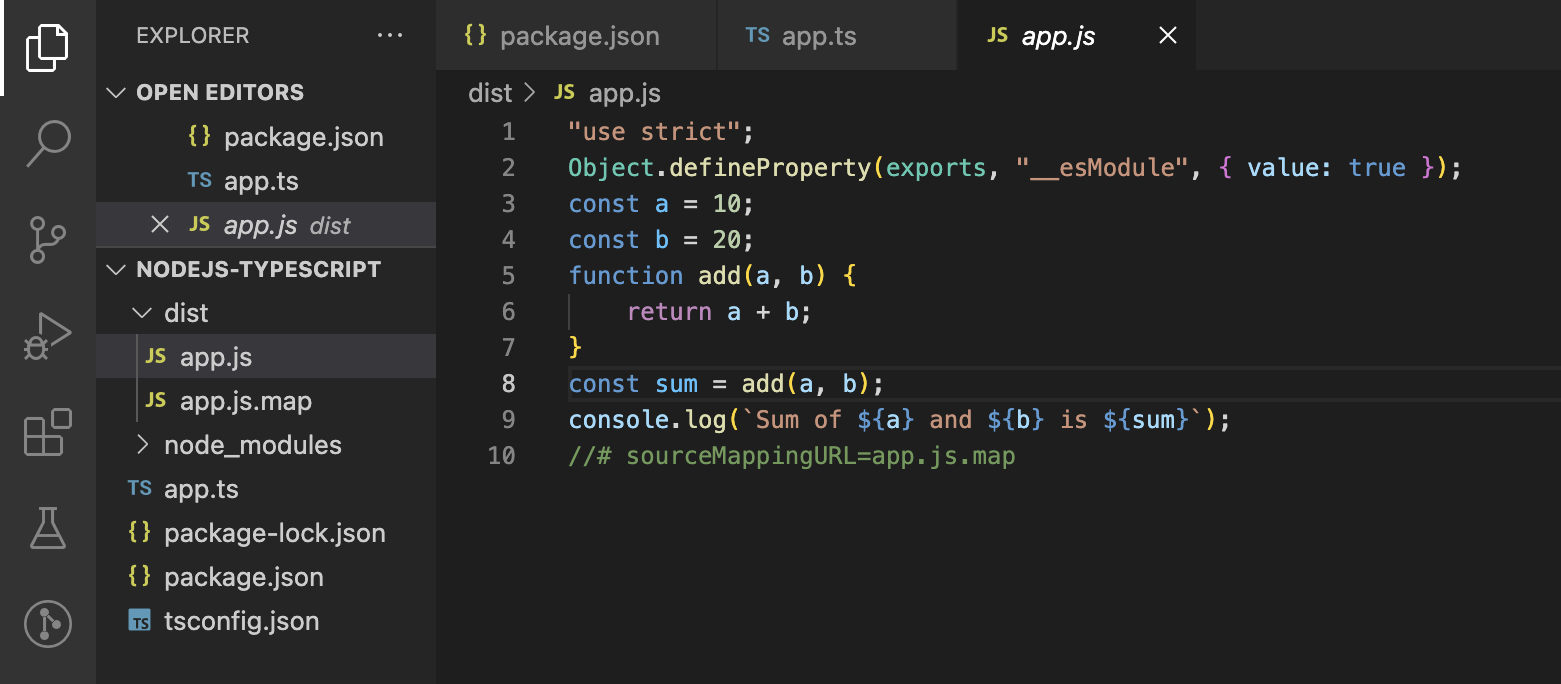
Once that finishes, you should see a dist directory with the following files:
|- dist
  |- app.js
  |- app.js.map
|- node_modules
|- app.ts
|- package-lock.json
|- package.json
|- tsconfig.json
Here, app.js.map represents the source map code, whereas app.js file represents the compiled JavaScript code:
You can now use this (app.js) JavaScript file in production wherever you like!
Using ts-node
You’ve seen how to build and compile a TypeScript project to JavaScript for production, but what about development-time or run-time? You can run your Node.js app in dev mode and see any logs it creates in the terminal. You can do the same with TypeScript. For that, we need to use a package called ts-node.
It’s a just-in-time compiler for your TypeScript project that provides an execution engine for your TypeScript code. You can use it to run your TypeScript files locally at development time. You can either install ts-node in your project as a development dependency or install it globally:
$ npm i -g ts-nodeNow you can run any Typescript file you want using the following command:
$ npx nodemon app.tsWe use nodemon here, which automatically watches for changes and runs the file again if it finds any:
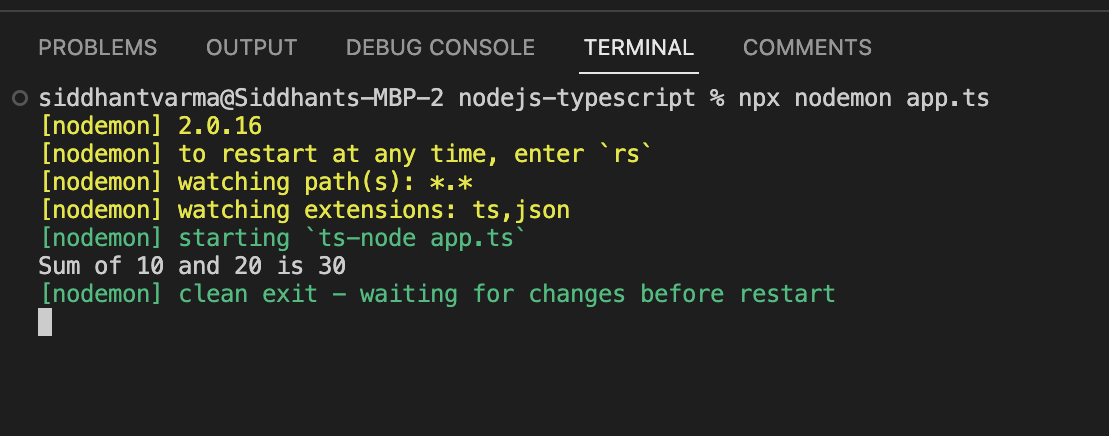
As you can see, the console output prints to the terminal. If you make any further changes to the app.ts file, the watcher should automatically restart the server.
Is it OK to use ts-node in production?
You can use the ts-node development-time tool locally with Node.js to run your TypeScript application. You can also use it to debug your application in development mode.
But you don’t really need to use it for production because for your production application, you don’t need a just-in-time compiler for production. The only thing you need for a production Node.js TypeScript application is the compiled JavaScript version or the dist directory that you saw earlier.
However, if you still want to use ts-node in production, you can because there’s no performance overhead associated with it.
TypeScript best practices
Some novice developers, as well as experienced developers, find TypeScript tricky to work with. Here are some of the best practices you can follow when working with TypeScript:
- Use
letandconstwherever possible, instead of blindly usingvarfor variable declarations. You should useletfor local variable declarations. For variables that don’t mutate, useconst. - To compare two variables, use
===instead of==for a more fool-proof comparison that incorporates type checks in addition to the value. - Avoid using the
anytype for your variables as much as possible. The typeanyexists for complex use cases where it’s difficult to assert the type of a variable at the time of definition or declaration. Oftentimes, developers use it casually. This can make your code more prone to type errors and bugs in production. - Understand the difference between the
anyand theunknowntype when you use them with your variables. You cannot use methods and properties on a variable with the typeunknown. However, you can do so with a variable of typeany.
Conclusion
In my opinion, TypeScript is an awesome tool for writing back-end applications in Node.js. It may initially feel difficult to get the hang of, but once you do, you’ll never want to go back to JavaScript again. It gives you confidence that your code has no type errors and also helps other developers understand your code.
This post was written by Siddhant Varma. Siddhant is a full stack JavaScript developer with expertise in frontend engineering. He’s worked with scaling multiple startups in India and has experience building products in the EdTech and healthcare industries. Siddhant has a passion for teaching and a knack for writing. He’s also taught programming to many graduates, helping them become better future developers.