How To Build A Web Application with TypeScript and Remix
Remix is a full-stack web framework that focuses on the user interface and works backwards through web standards to provide a quick, slick, and dependable user experience. It focuses on web standards and modern web app UX, allowing you to create better websites quickly. In addition, it can run anywhere because it is built on the Web Fetch API.
Remix runs natively on Cloudflare Workers and includes support for both serverless and traditional Node.js environments. In addition, it was designed to address web applications’ page speed issues to provide a better user experience.
In this article, you’ll learn the Remix framework and how to use it by building a full-stack web application using Remix and TypeScript.
Prerequisites
To get the best out of this tutorial, ensure you have met the following requirements:
- Node.js version 14 or later installed
- PostgreSQL database installed
- Knowledge of TypeScript
Setting up a new Remix project
With the above requirements met, proceed to set up a new Remix project by running the command below in your terminal:
$ npx create-remix@latestThe command above will prompt you to choose the configurations for the project. First, you’ll call our app task-app, choose Just the basics, then the Remix App Server deploy target, use TypeScript, and have it run the installation for you.

npx create-remix@latest command.After the installation is complete, the command will create the following folder structures below:
📦task-app
┣ 📂app
┃ ┣ 📂routes
┃ ┃ ┗ 📜index.tsx
┃ ┣ 📜entry.client.tsx
┃ ┣ 📜entry.server.tsx
┃ ┗ 📜root.tsx
┣ 📂public
┃ ┗ 📜favicon.ico
┣ 📜.eslintrc.js
┣ 📜.gitignore
┣ 📜README.md
┣ 📜package.json
┣ 📜remix.config.js
┣ 📜remix.env.d.ts
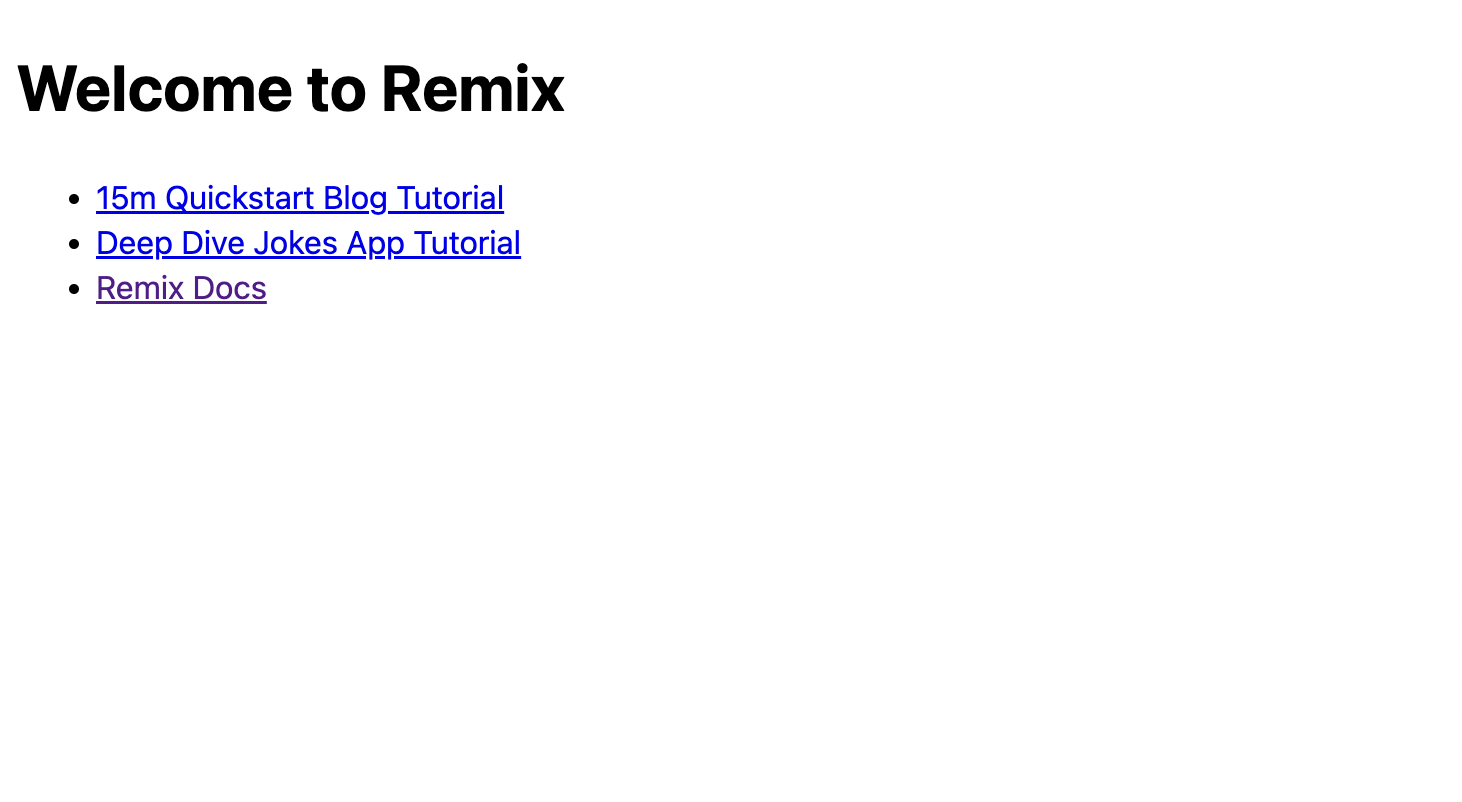
┗ 📜tsconfig.jsonCode language: CSS (css)Now run the application locally on a computer with the command npm run dev and navigate to http://localhost:300 on your browser.
Connect to a database
Now, let’s connect your application to a database to allow you to save the user’s record. First, we’ll combine the application with a PostgreSQL database using the Prisma ORM. To get started, you’ll need to install the Prisma package in your project by running the commands below.
$ npm install Prisma --save-devThen initialize Prisma using the CLI tool by running the command below:
$ npx prisma init --datasource-provider postgresqlThe above command will create a new Prisma directory in the project root folder with a Prisma schema file and configures PostgreSQL as your database with some dummy credentials. First, you’ll need to update DATABASE_URL in the .env file created by the prisma command with your database credentials.
Create schema
With the database configurations all set up, let’s create a schema to define how the data stored in our database will be organized. To do that, open the Prisma/schema.prisma file and replace the code with the code snippets below.
// This is your Prisma schema file,
// learn more about it in the docs: https://pris.ly/d/prisma-schema

generator client {
  provider = "Prisma-client-js"
}

data source DB {
  provider = "PostgreSQL"
  URL      = env("DATABASE_URL")
}

model Task {
  id        String  @id @default(UUID())
  name      String
  completed Boolean
  createdAt DateTime @default(now())
  updatedAt DateTime @updatedAt
}Code language: TypeScript (typescript)
In the code snippet above, we define a Task schema with the fields we want in our task table in our database. The id field will be a randomly generated string achieved using the UUID library. We have the name field, which is also a string, a completed field to know the task’s status, a boolean, and createAt and UpdateAt fields to keep track of when the task was created and updated.
Now let’s run a migration to create a database table from the schema you define with the command below.
$ npx Prisma migrate dev --name initThe above command will create a new SQL migration file in the prisma/migrations directory and run the SQL migration file against the database. At this point, your database is set for use.
Create application components
Components in Remix have been created in the app folder in the routes directory. Inside the routes folder, you can create the components for your application.
By default, Remix creates an index.ts file with an Index component. This component is rendered when you visit the root URL of the web application. Since we are only causing the tasks in the application, we’ll update the routes/index.ts file with the code snippet below.
export default function Index() {
  return (
    <div className="container">
      <div className="task-tab">
        <h4>Task List</h4>
        <hr />
        <div>
          <form action="" method="POST" className="form">
            <input type="text" name="name" />
            <button type="submit">Add</button>
          </form>
        </div>
        <div className="task-list">
          <ul>
              <li>
                <p>Task 1</p>
                <input type="checkbox" name="brand" id="" />
              </li>
          </ul>
        </div>
      </div>
    </div>
  );
}Code language: JavaScript (javascript)
Style the application
To make the application look appealing, you need to add some styling to the application. We’ll create a custom style and export at route layout boundaries (root.ts file) in the route function in the links export function. Create a styles directory in the app folder to get started.
In the styles directory, create a global.css file and add the following:
* {
  padding: 0px;
  margin: 0px;
  box-sizing: border-box;
  font-family: Verdana, Geneva, Tahoma, sans-serif;
}
.container {
  display: flex;
  align-items: center;
  justify-content: center;
  height: 100vh;
}
.container .task-tab {
  box-shadow: rgba(50, 50, 93, 0.25) 0px 13px 27px -5px,
    rgba(0, 0, 0, 0.3) 0px 8px 16px -8px;
  padding: 20px;
}
.container .task-tab h4 {
  margin-bottom: 5px;
  font-size: 25px;
}

.container .task-tab .form {
  width: 400px;
  display: flex;
  margin-top: 5px;
}

.container .task-tab .form button {
  padding: 10px;
  border: 1px solid rgb(217, 217, 217);
  border-left: 0px;
}
.container .task-tab .form input {
  width: 100%;
  padding: 10px;
  outline: none;
  border: 1px solid RGB(217, 217, 217);
  border-right: 0px;
}
.container .task-list ul li {
  padding: 10px;
  display: flex;
  justify-content: space-between;
  background-color: rgb(230, 235, 235);
  margin-top: 10px;
  margin-bottom: 10px;
}
.container .task-list ul li .done {
  text-decoration: line-through;
}Code language: CSS (css)
Then update the root.ts file to import and make the styles available to your components.
//...
import styles from "~/styles/global.css";
export function links() {
  return [{ rel: "stylesheet", href: styles }];
}
//...Code language: TypeScript (typescript)
Now refresh your browser and you should see the output below.
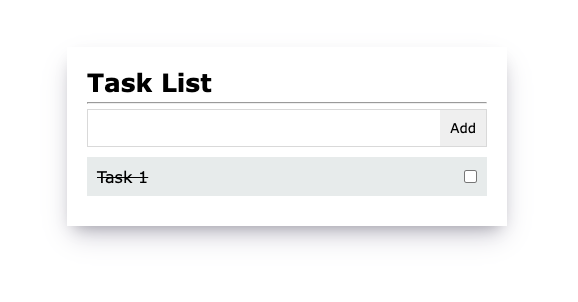
At this point, we have a hard-coded task in our application. First, let’s create some routes to create and read data from our database.
Create API routes
API routes in Remix are created in the app/routes/api folder. Every file in the api folder is treated as an API route. We’ll create three routes to create a new task, read the tasks and update the status of the task. But first, we need to initialize the Prisma client to allow you to send queries to your database.
Create a config folder in the app directory to do that. Then inside the config folder, create a dbConfig.ts file and add the code:
import { PrismaClient } from "@prisma/client";
let prisma: PrismaClient;

declare global {
  const DB: PrismaClient | undefined;
}

if (process.env.NODE_ENV === "production") {
  prisma = new PrismaClient();
  prisma.$connect();
} else {
  if (!global.db) {
    global.db = new PrismaClient();
    global.db.$connect();
  }
  prisma = global.db;
}

export { prisma };Code language: TypeScript (typescript)
In the code snippet above, we initialized the PrismaClient in a variable prisma to create a connection with our application and database, ensuring that a new connection is not created when our application reloads the development environment.
Next, create a createTask.ts file in the api folder and add the code:
import type { ActionFunction } from "@remix-run/node";
import { prisma } from "../../config/dbConfig";

export const action: ActionFunction = async ({ request }) => {
  const data = await request.json();
  const newTask = await prisma.task.create({
    data: { name: data.name, completed: false },
  });
  return newTask;
};Code language: TypeScript (typescript)
In the code snippet above, we imported the ActionFunction type for TypeScript, which we’ll use to show the type for our action function. When you make a POST, PUT, and DELETE requests to Remix API, it will locate the action function and execute the code in the function. Next, we created an action function to add new records to the database using the prisma client initiated in the dbConfig file. The prisma client object provides us with the methods required to perform CRUD operations on our database.
Now update the index.ts file to send a request to the API to create a new task with the code snippet below.
import { useState } from "react";
export default function Index() {
  const [task, setTask] = useState('');

  const createTask = async () =>
    await fetch("http://localhost:3000/api/createTask", {
      method: "POST",
      body: JSON.stringify({
        name: Task
      })
    })
  return (
    <div className="container">
      <div className="task-tab">
        <h4>Task List</h4>
        <hr />
        <div>
          <form className="form" onSubmit={createTask}>
            <input type="text" name="name" onChange={(e) => setTask(e.target.value)} />
            <button type="submit">Add</button>
          </form>
        </div>
        <div className="task-list">
          <ul>
              <li>
                <p>Task 1</p>
                <input type="checkbox" name="brand" id="" />
              </li>
          </ul>
        </div>
      </div>
    </div>
  );
}Code language: JavaScript (javascript)
Read data from the database
Next, create a getTasks.ts file in the api folder and add the code snippets below to get all the tasks in your database.
import type { LoaderFunction } from "@remix-run/node";
import { prisma } from "../../config/dbConfig";

export const loader: LoaderFunction = async () => {
  return prisma.task.findMany();
};Code language: TypeScript (typescript)
Here, we imported the LoaderFunction type to specify the type for our loader function. Like the action function, Remix executes the code in a loader function whenever you send a GET request to the API. So we used the prima.findMany method to get all the tasks in our database.
Finally, update the code in the index.ts file to loop through all the tasks from our API and display and render them on our UI:
//...
import { json } from "@remix-run/node";
import { useLoaderData } from "@remix-run/react";

type Task = {
  id: string;
  name: string;
  completed: boolean;
  createdAt: Date;
  updatedAt: Date;
}

export async function loader() {
  const res = await fetch("http://localhost:3000/api/getTask");
  return json(await res.json());
}

export default function Index() {
  //...
  const tasks = useLoaderData();
  return (
    <div className="container">
      <div className="task-tab">
        <h4>Task List</h4>
        <hr />
        <div>
          <form className="form" onSubmit={createTask}>
            <input type="text" name="name" onChange={(e) => setTask(e.target.value)} />
            <button type="submit">Add</button>
          </form>
        </div>
        <div className="task-list">
          <ul>
            {tasks.map((task: Task) => (
              <li key={task.id}>
                <p className={task.completed ? 'done' : ""}>{task.name}</p>
                <input type="checkbox" name="brand" id="" />
              </li>
            ))}
          </ul>
        </div>
      </div>
    </div>
  );
}Code language: JavaScript (javascript)
In the code snippet above, we imported the JSON function to parse the response return from the API, useLoaderData hook to load the data from the returned in the loader function to your components. Then we created a task to define the structure of data from the API, and then we looped through the task data and rendered them on the component.
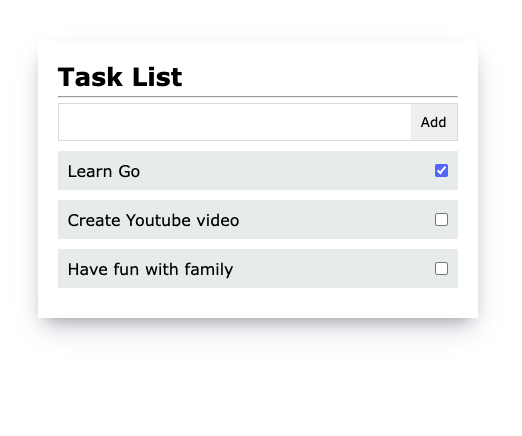
Now, go ahead and add some tasks to the application, and you should see a similar output to the one on the screenshot below, depending on the tasks you’ve created.
Conclusion
In this tutorial, you learned to build a web application with TypeScript and Remix. You learned how to set up a Remix app, connect the Remix application to a database using Prisma, create an application schema with prisma, and perform create and read operations.The code used in this article can be found in this GitHub repository.
Remix is an exciting tool, and I recommend checking out the Remix documentation to learn more. Finally, I hope you enjoyed this article, and happy coding!
Uma Victor is a software developer based in Nigeria who is familiar with a variety of different web technologies and frameworks. He is also keen on finding ways to explain things as simple as possible. You can reach out to me on twitter.