The live Interview pad environment provides a collaborative technical IDE for an interviewer and candidate to share. Everyone within a pad can type and run code at the same time.
We offer 30+ languages within a live environment, and you can change them at any time. When selecting a language, you can also view the packages & libraries included with each language. For our most popular languages (Java, Python, Javascript, C++), we usually include the most popular HTTP request library for the given language, and the most popular testing libraries.
Setting up a live pad in Interview
Once you’re ready to set up a live Interview pad, there are a few steps to take and key features to consider. Take a look at the guide below to create an effective interview – from start to finish.
To set the stage for your live coding interview, we often suggest discussing and aligning on the following with your team:
The core skills you want the candidate to demonstrate.
The types of questions you want to ask in their live interview. We suggest tailoring exercises to core competencies of the role you’re hiring for.
How you’ll be assessing the interview, including the guidelines for using different languages, how you’ll help the candidate if they get stuck, and the grading system you want to use.
Having this knowledge as a team will make interviews easier to set up and more consistent from candidate to candidate.
✅Interviewer ProTip: If you have a favorite question to ask during a live interview, you can save it ahead of time to your Question Bank – and then it can be used in any live interviews moving forward. If you need some inspiration, you can also check out the Interview platform’s Example Questions within your Question Bank.
2. Set up the interview
Once you’ve planned your interview, you’re ready to set up and conduct a live interview. To get started:
Login to your account and navigate to the “Pad’s List”
Click on the “Create Pad” button
This will open up the pad environment where the interview will be conducted.
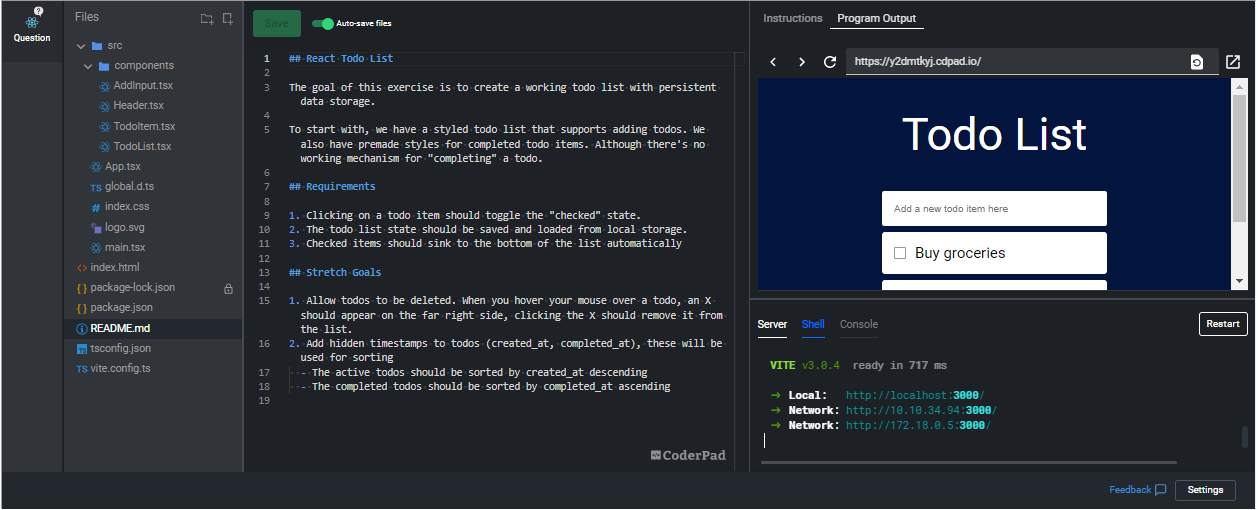
The pad is similar to a regular IDE, where you write code in the left-hand pane and view execution output in the right-hand pane. As an interviewer, you also have the option of taking notes in the right-hand pane as well.
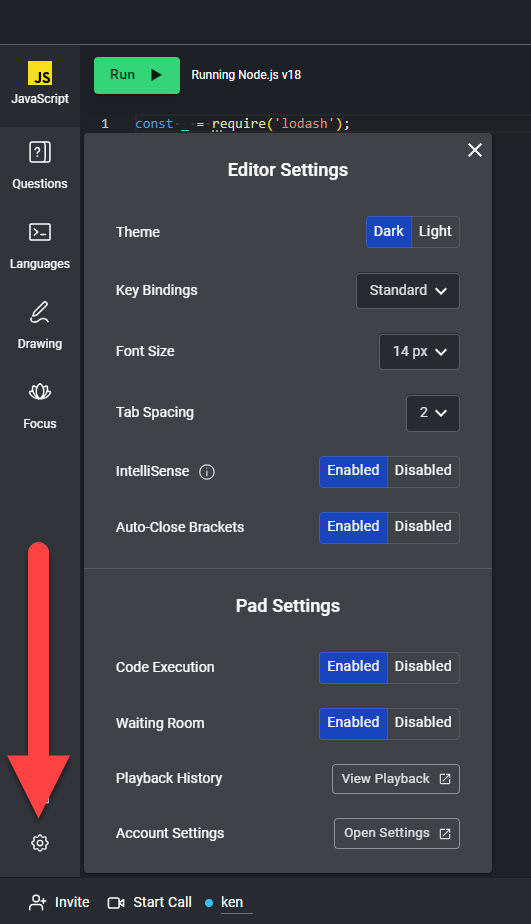
You will have the ability to update settings for both your editor as well as for the pad itself. To access these settings, simply click on the Settings button in the lower left hand corner of the pad:
Note: Your Editor Settings won’t affect the editor settings of the candidate.
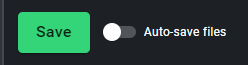
To execute the code, click on the Run button that is located in the top left hand corner:
✅ If you’re using a multi-file framework, you’ll see Save instead of run. You also have the option to toggle auto-save so you don’t have to worry about continually hitting the Save button.
You can also execute the code using a shortcut:
Mac: ⌘ + enterOR ⌘ + S
Windows: CTRL + enterORCTRL + S
✅Interviewer ProTip: Enable Focus Time to give candidates the best interview experience. This gives them several minutes near the beginning of the interview to collect their thoughts. You can find the Focus Time tutorial here.
3. Start the interview
To invite a candidate to an interview, simply send them the pad link. To provide your candidate with the pad link, you have a few options:
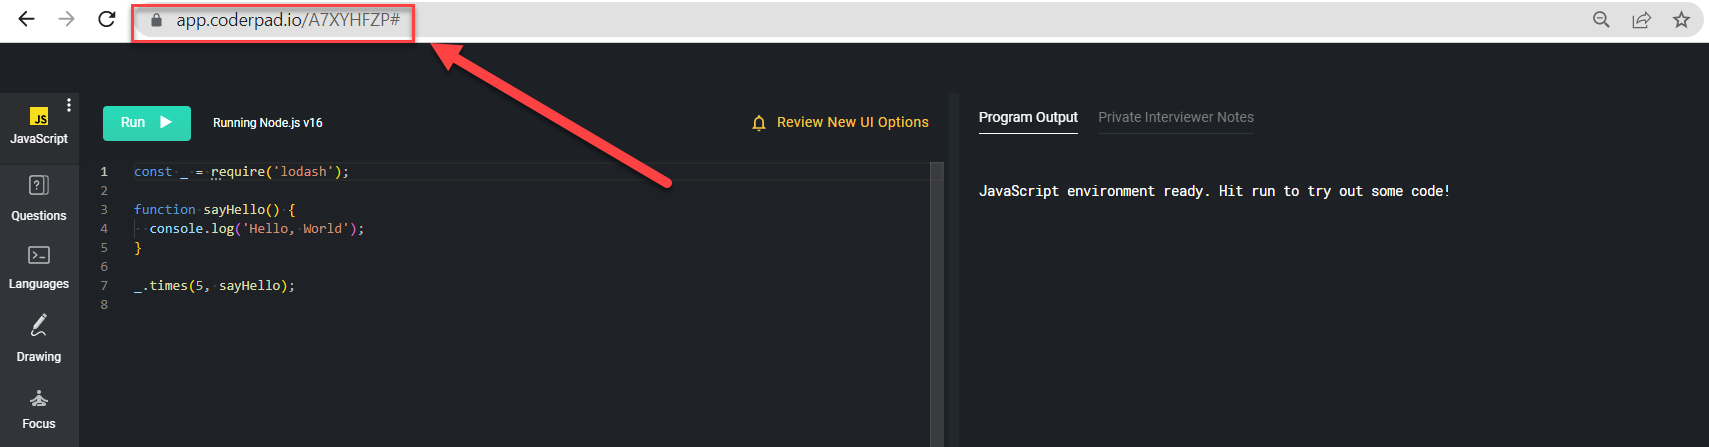
Copy the browser link from the pad you’ve created and include this in your candidate communications (e.g., Google Calendar interview meeting invite)
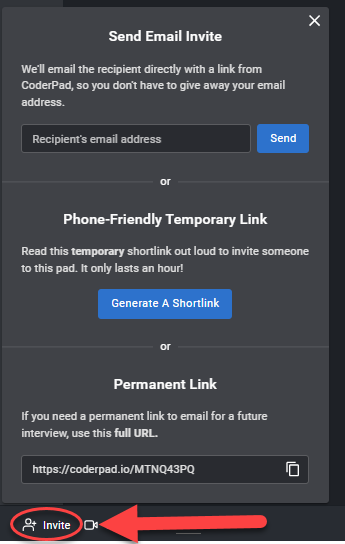
From within the pad, click on the Invite button located in the bottom left hand corner of the pad. This will open a pop-up with a few different options:
Enter the candidate’s email to send the pad via an Interview email invite
Generate and read over the phone the temporary short link
Copy the permanent link (which is the same as your browser URL)
❗ As the interviewer, you must be logged into your Interview account to be able to end the interview. If you do not end your interview, you will not be able to view Playback later.
Once your candidate has joined your pad, take some time for introductions. Then, add a technical interview question to the pad. You have two options when it comes to adding questions:
Questions saved in Interview’s Question Bank can include a custom file or database and are available for shared use within your team.
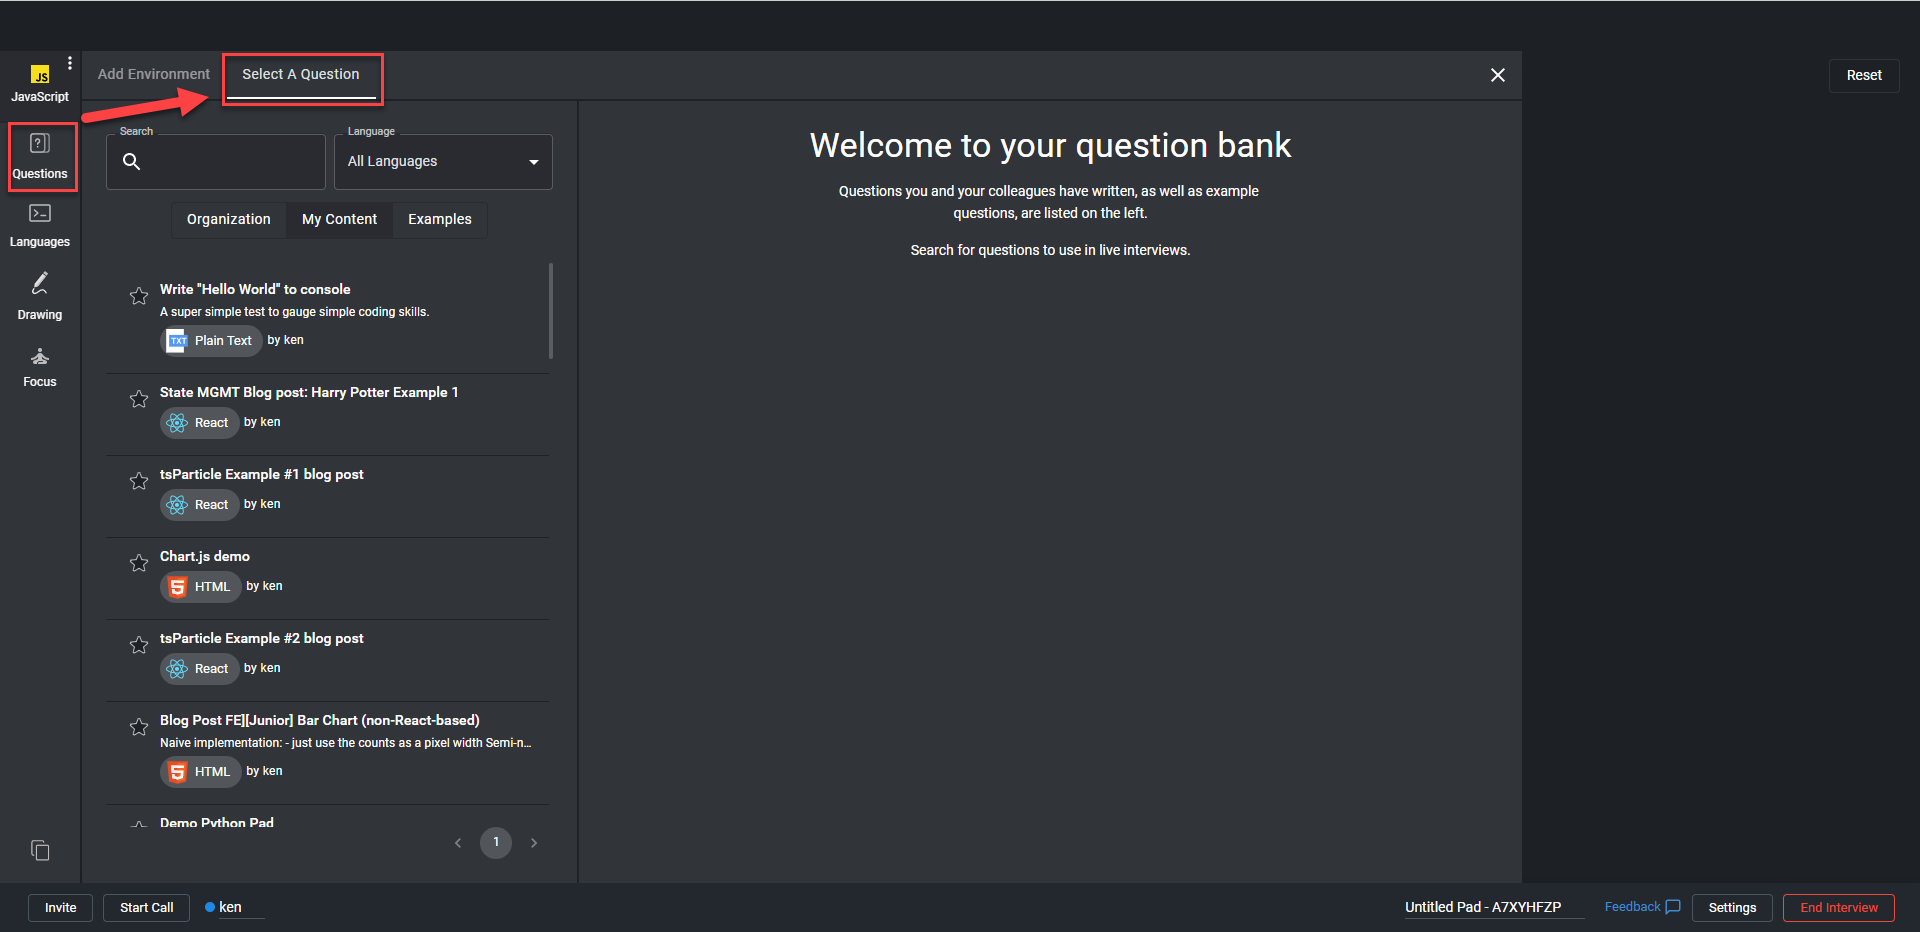
To access questions in your pad, first click on Questions in the left tabs menu, the Select A Question tab at the top of the pop up window will be highlighted.
This is where you will view and add interview questions to your pad. You should then see the following screen:
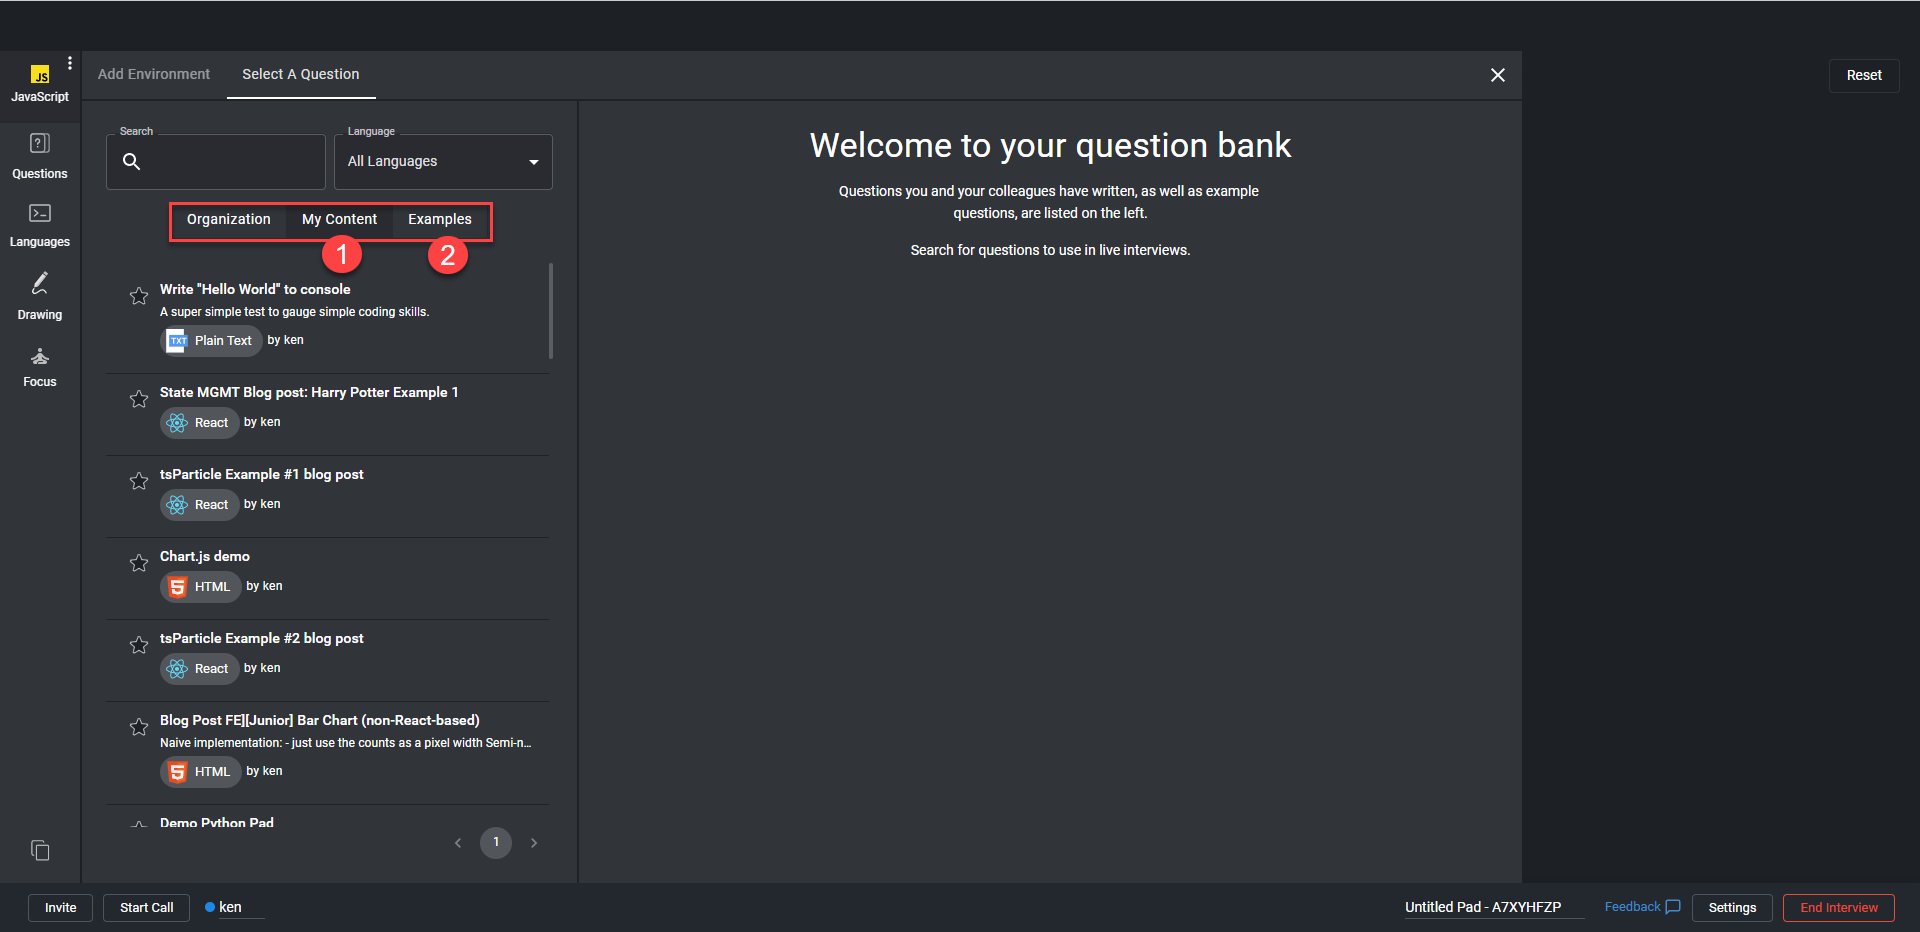
From here, you can:
View questions you or your colleagues have already created and add them directly to your pad.
📃To learn more about creating interview questions, check out our Docs on Interview’s Question Bank.
Sometimes you’ll need more than one engineer on the technical interview. You can have as many of your engineers join a pad as you would like. All participants within a pad can code at the same time, although we advise you let the candidate do most of the driving during the interview.
All participants have access to:
Change the pad language
Query a custom file (if attached to question)
Write code
Change their own settings
Start a video/audio call
Interviewers that are logged in can:
End the interview
Write down notes on the candidates interview in the right hand pane
Attach a question to the pad
Candidates can:
Join a pad without a login (they are asked to input their name upon entering a pad)
5. Start the call
As with any interview, you will want to speak live with your candidate. To help you with this, and minimize the number of links or services used, Interview gives you a built-in option to video or audio call your candidate.
To start a call, follow these steps:
In the bottom left corner of a pad, click the Start Call button.
✅If this is your first time ever using the audio/video feature in Interview, you will be asked to accept browser permissions.
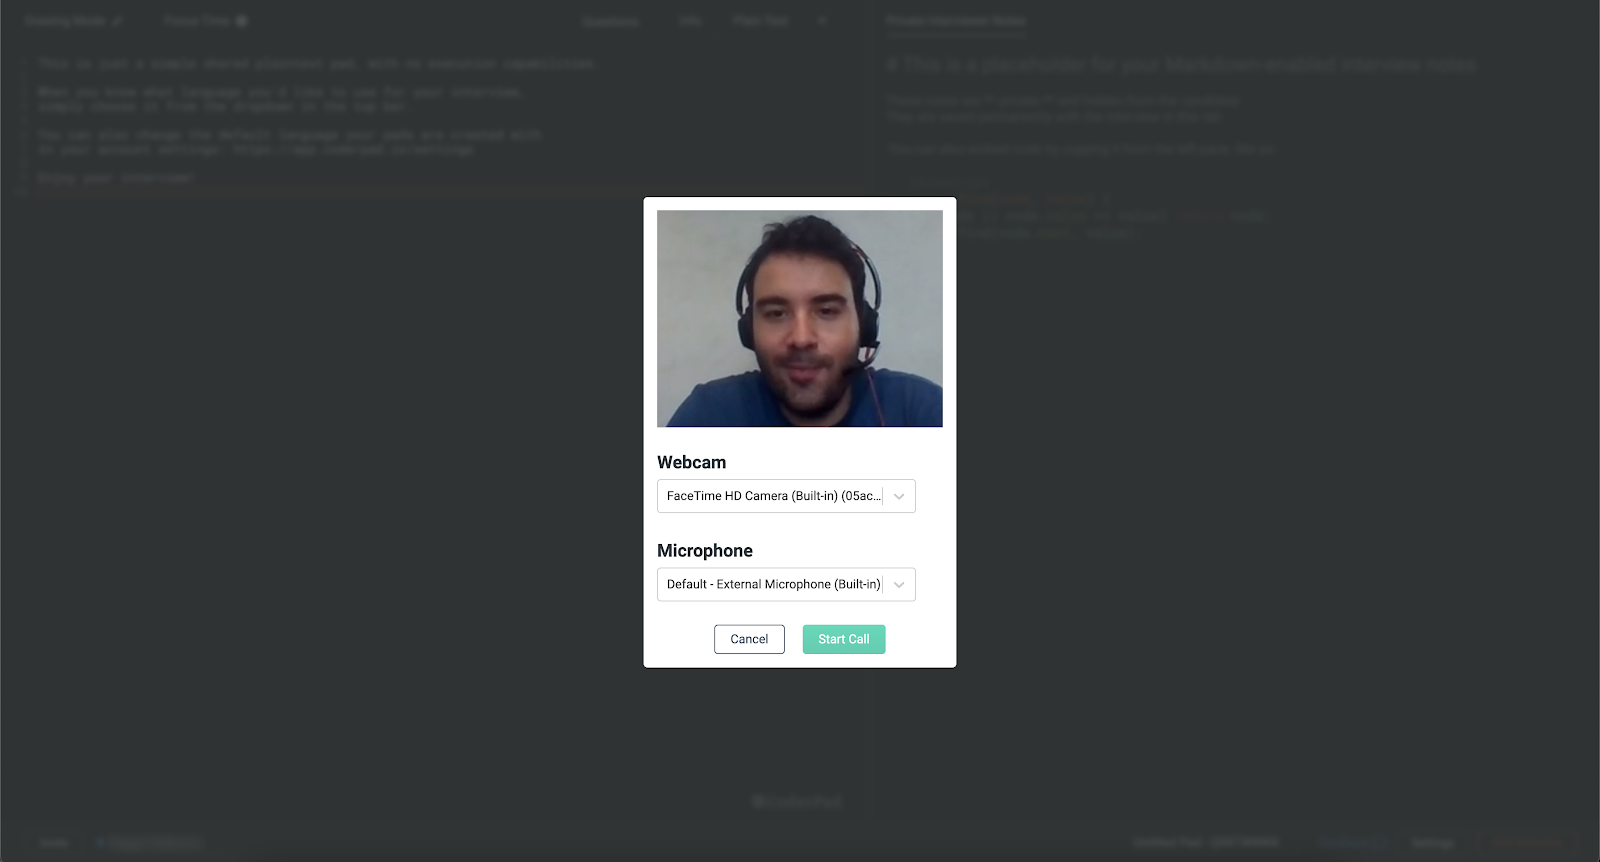
You’ll be presented with a preview screen to verify the webcam and microphone that you’d like to use. Select Start Call to begin the call.
You, and the candidate have the option to accept or decline on both the video and audio permissions. If you only want to audio call, then simply decline the permissions on the video.
All video/audio calls are hosted through Twilio. If you have problems at any time, we recommend troubleshooting the following:
Your browser permissions for audio/video on the pad itself. Sometimes you may have declined the permissions, or your browser has automatically set these for you.
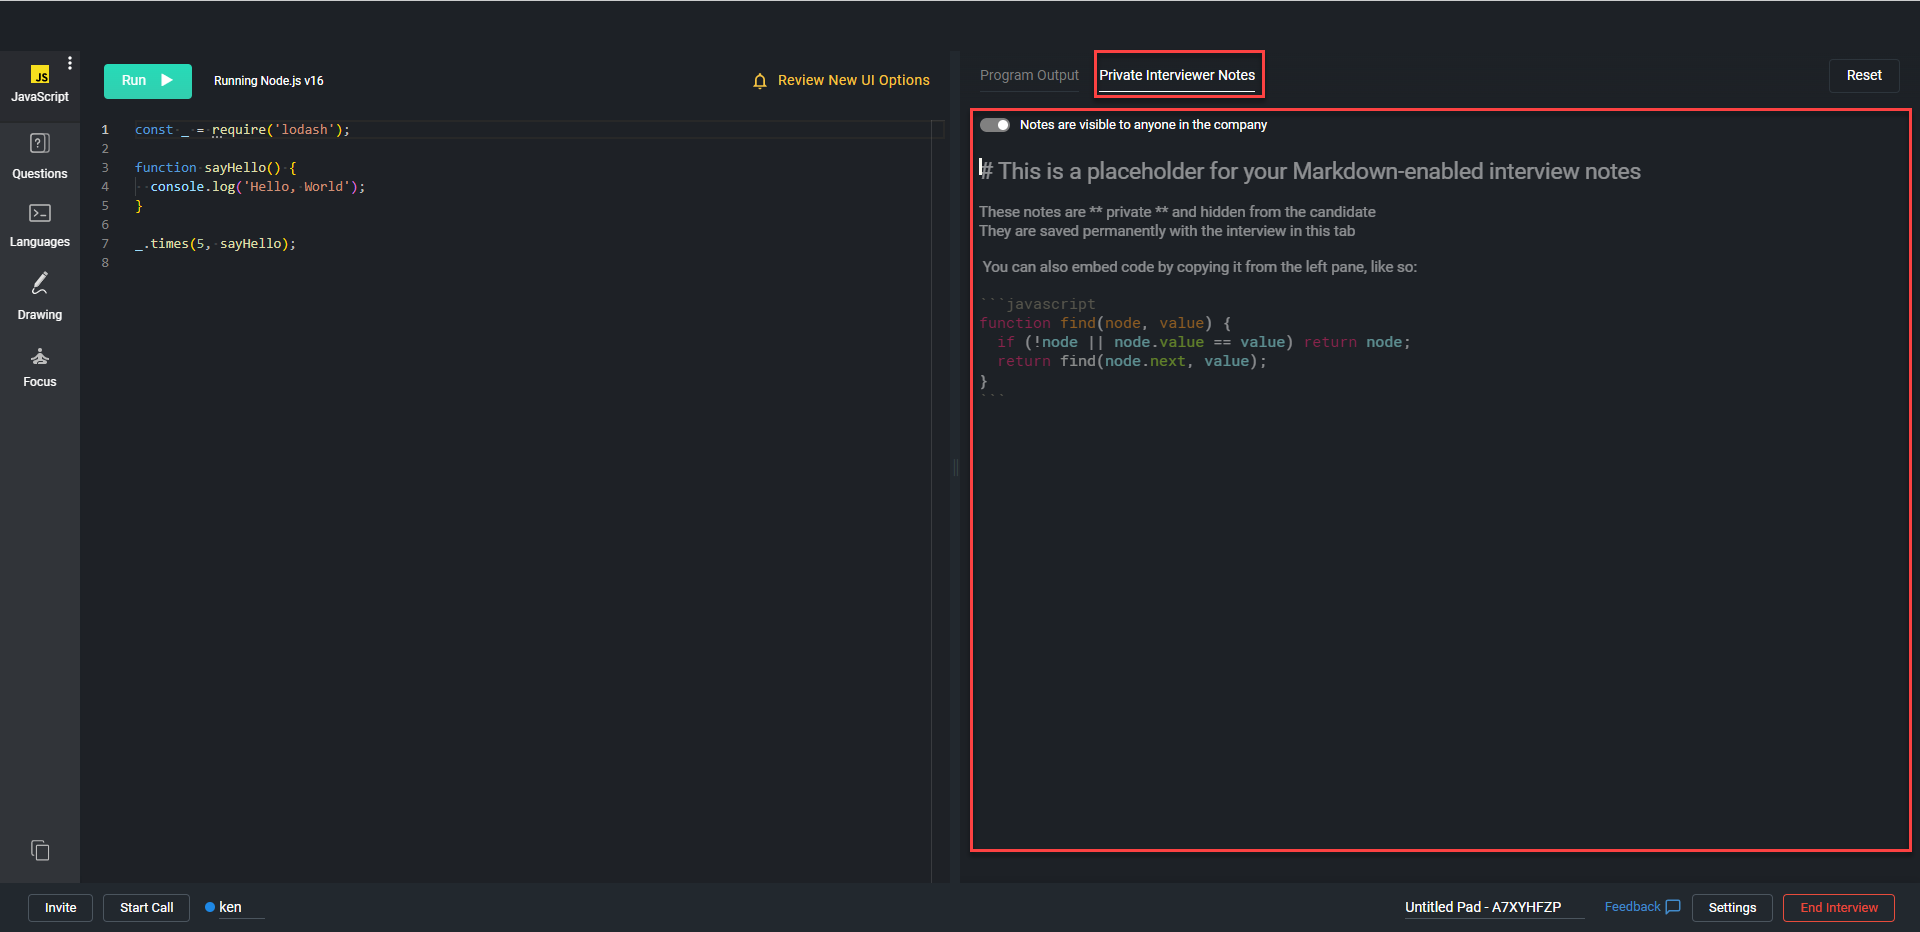
During the interview the Interview platform gives you the ability to type out private notes. The candidate is not able to see these notes. All notes can be saved in markdown.
To access the interviewer notes, simply click on the Private Interviewer Notes tab located in the right pane of the pad, next to the Program Output tab. You can switch between these tabs at any point during the interview.
End the interview
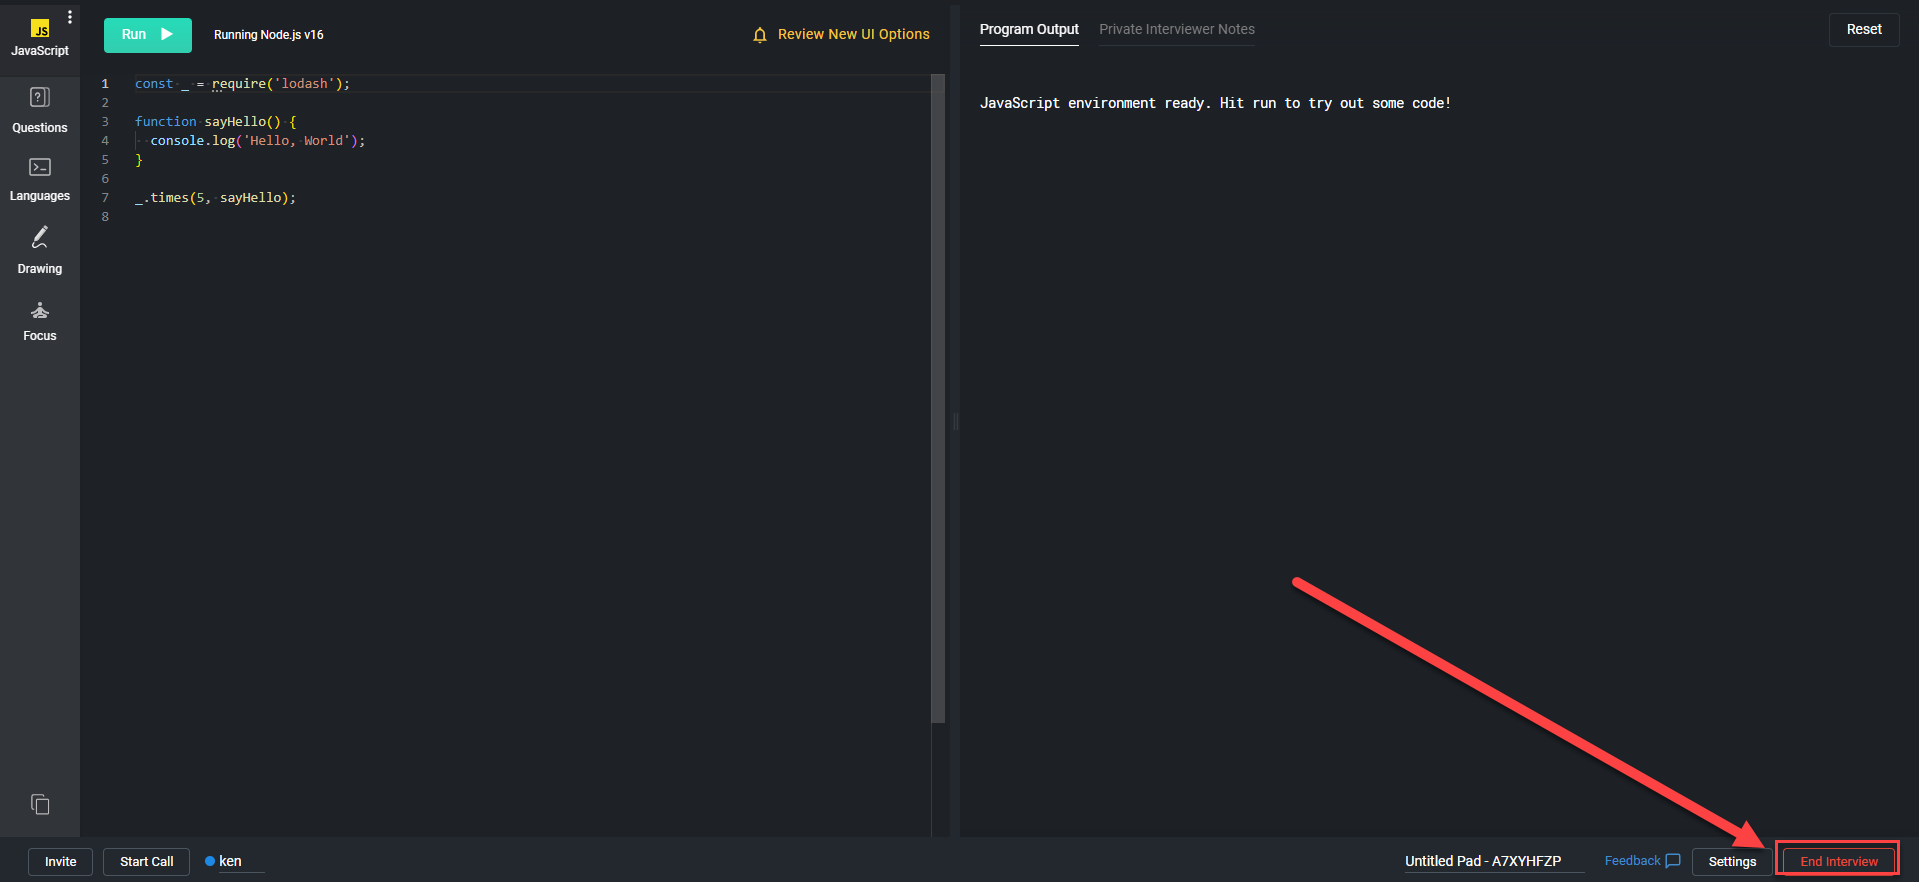
To end your live interview, click the ‘End Interview’ button on the lower right hand corner. This puts the pad into Playback Mode.
The ‘End Interview’ button is only accessible to interviewers and will prevent any future pad access by candidates.
❗You can’t access playback mode until you click on End Interview in the bottom right hand corner of the pad.
Review Playback
Interview tracks every single keystroke of every participant’s solution within a pad during the interview. Once the interview has ended, interviewers will be able to replay the entire interview keystroke by keystroke. This is useful to review during a debrief to easily recall how a candidate reached their solution.
To access the playback, simply navigate back to your Pads List on your dashboard, find the pad you want to review, and click on Playback: